

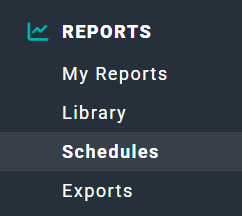
Figure 1 - The Schedules Item in the Reports Section of the Main Nav Bar
Enabling the Feature
Report Schedules is an optional workspace feature. Before you can create a schedule, a workspace administrator must enable the Report Schedules feature in your workspace. For more on enabling features, please refer to the Features article in the Ruddr Help Center. Once the feature is enabled, a Schedules item appears in the Reports section of the main nav bar (Figure 1), alongside My Reports, Library, and Exports.Which Reports Can Be Scheduled
You can schedule any report that your security role allows you to view, with two exceptions: the Project Time Statement and Client Statement reports cannot be scheduled, because each runs against a single project or client that you select at the time you view it. Each scheduled report is personal to you. When the report runs, Ruddr generates it using your own security permissions, so a scheduled report returns the same data that you would see if you ran the report yourself. Other members do not see your schedules, and you do not see theirs.Creating a Report Schedule
To create a report schedule, click on Schedules in the Reports section of the main nav bar to open the Report Schedules screen (Figure 2).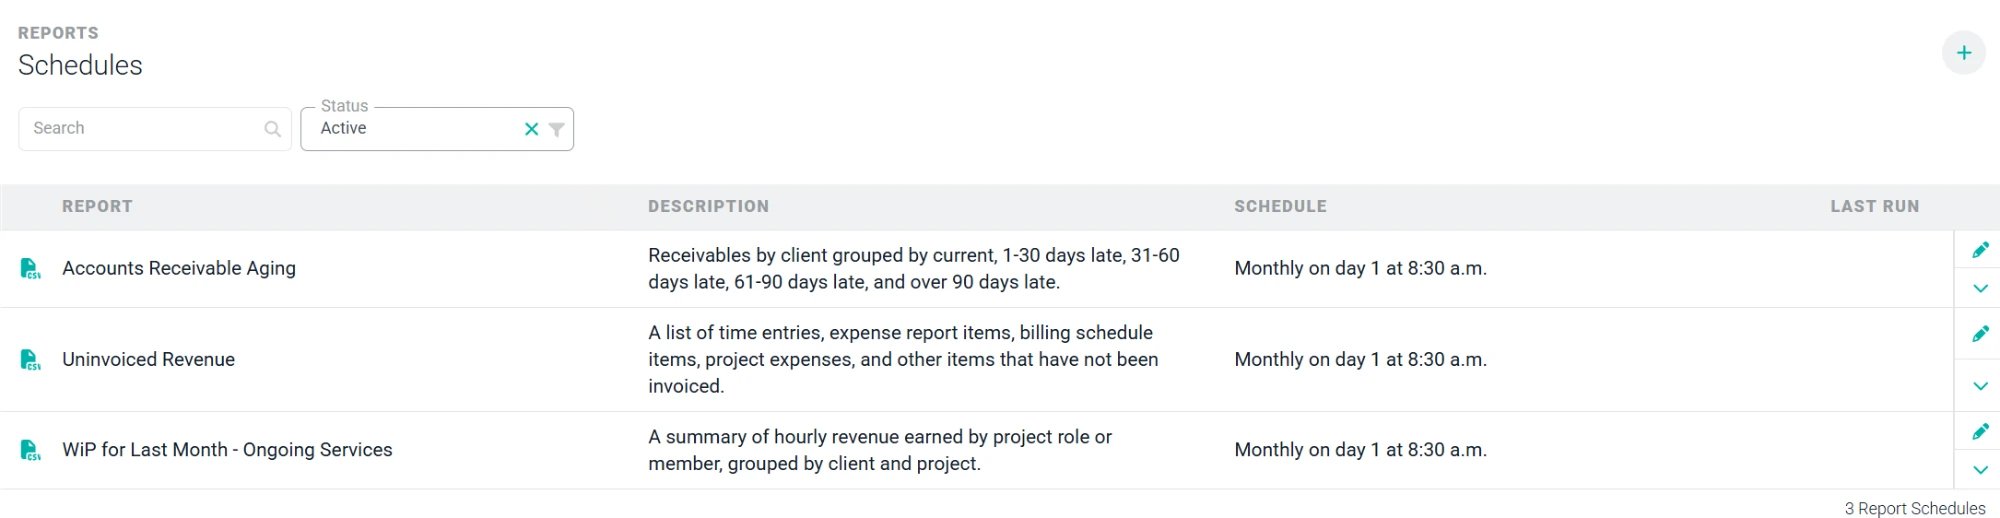
Figure 2 - The Report Schedules Screen
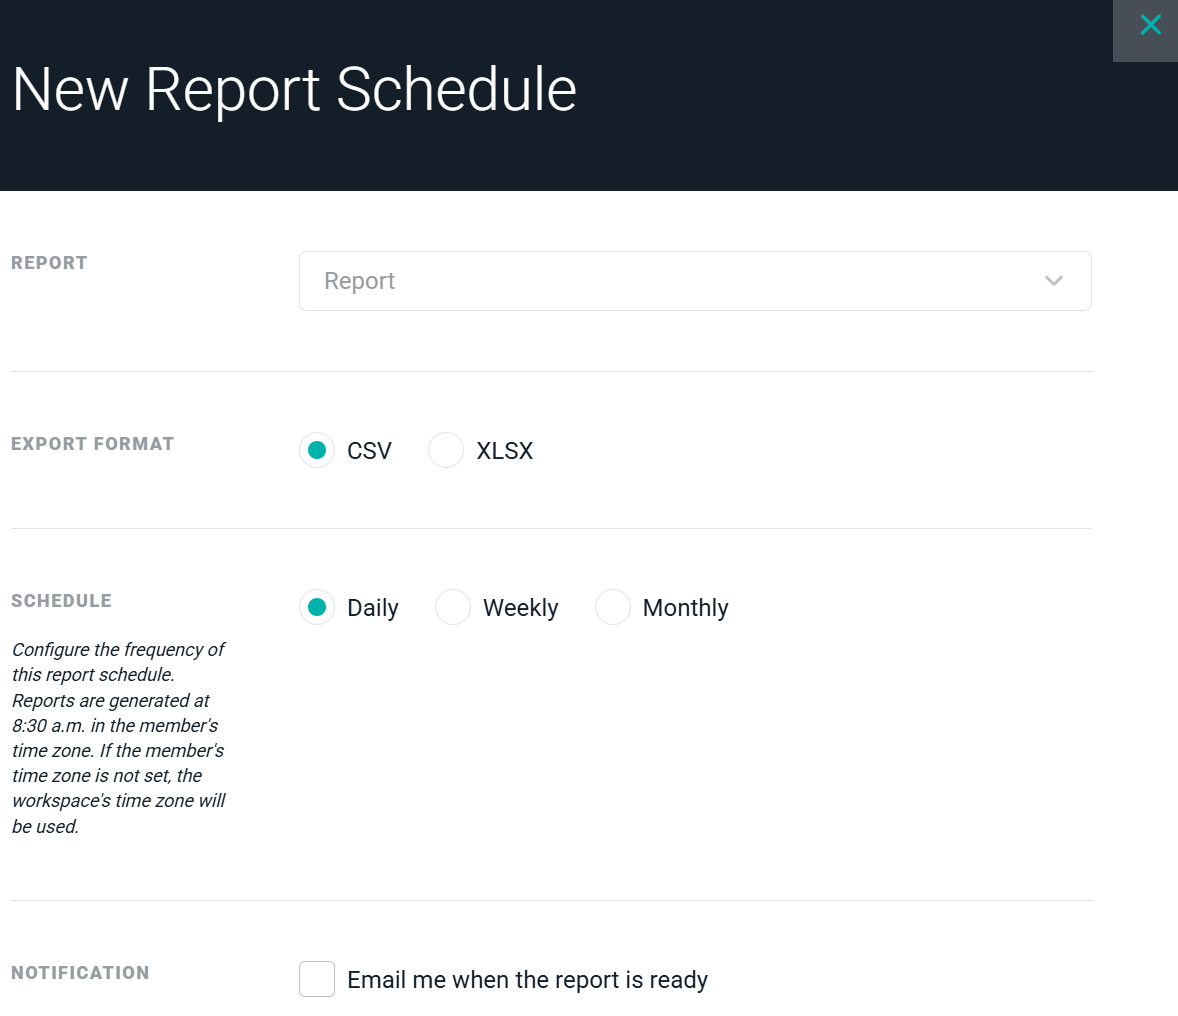
Figure 3 - The New Report Schedule Drawer
- Report - Select the report you want to schedule. You can type in the field to search for a report by name. The list includes every report you have permission to view, except the Project Time Statement and Client Statement reports.
- Export Format - Choose the format of the generated file, either CSV or XLSX (Excel).
- Schedule - Configure how often the report runs. See Setting the Frequency below.
- Notification - Check Email me when the report is ready if you want Ruddr to email you each time the scheduled report has been generated. If you leave this unchecked, the report file is still saved to your Exports; you just will not be notified by email.
Setting the Frequency
In the Schedule section, choose one of three frequencies:- Daily - The report is generated every day.
- Weekly - The report is generated once a week. Select the day of the week on which it should run (Figure 4).
- Monthly - The report is generated once a month. Select the day of the month on which it should run - any day from the 1st through the 28th, or the last day of the month (Figure 5).
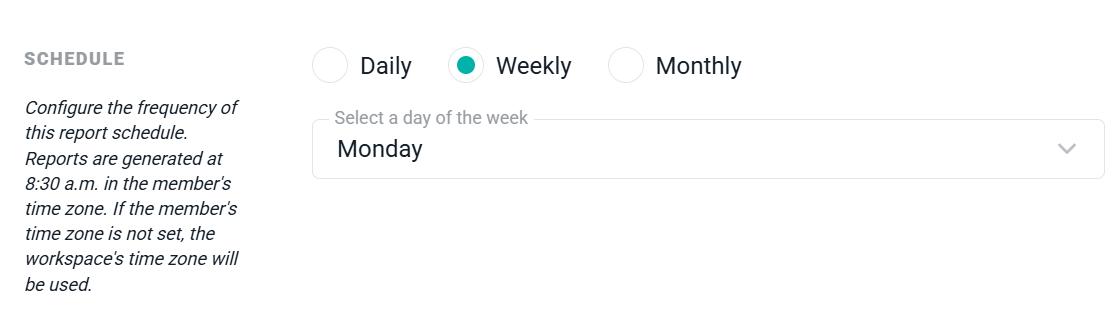
Figure 4 - Selecting the Day of the Week for a Weekly Schedule
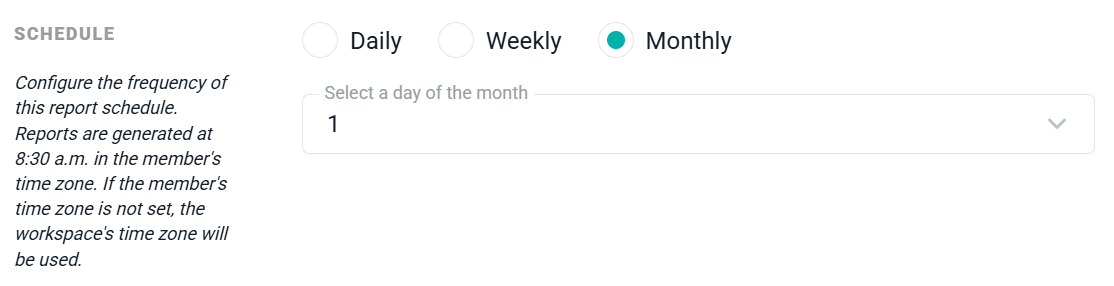
Figure 5 - Selecting the Day of the Month for a Monthly Schedule
Where Scheduled Reports Are Delivered
Each time a scheduled report runs, Ruddr generates the export file and saves it to Exports, found in the Reports section of the main nav bar. From there you can download the file in the format you selected. If you checked Email me when the report is ready, Ruddr also sends you an email once the file has been generated so that you know it is ready to download.Managing Report Schedules
The Report Schedules screen (Figure 2) lists your schedules, with a column for the report, its description, the configured schedule (for example, “Weekly on Monday at 8:30 a.m.”), and the status of its most recent runs. Use the Search field to find a schedule by report name, and the Status filter to show Active or Inactive schedules. To act on a schedule, use the actions menu at the end of its row (Figure 6):- Edit - Change the report, format, frequency, or notification setting. You can also open a schedule for editing by clicking its row.
- Run - Generate the report immediately, outside of its normal schedule. The file is saved to your Exports, where you can download it.
- Deactivate / Activate - Temporarily turn a schedule off without deleting it. An inactive schedule does not run until you activate it again.
- Delete - Permanently remove the schedule. This does not delete any files already generated and saved to your Exports.
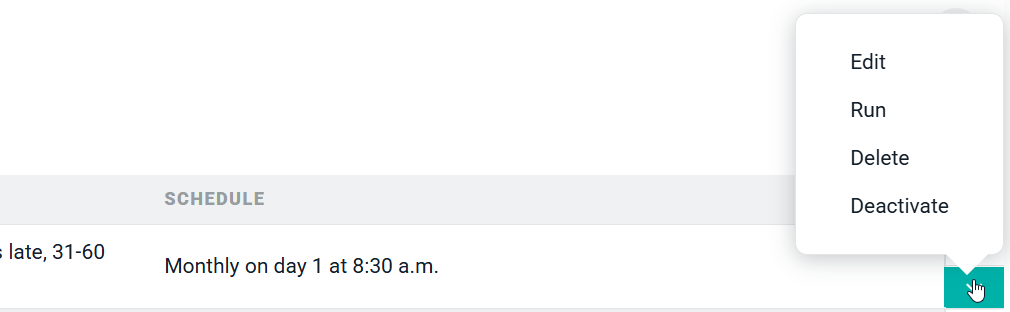
Figure 6 - The Actions Available on a Report Schedule