
Opportunity Dashboard
The opportunity dashboard (Figure 4) presents information about the opportunity as well as any related pipeline activity. The opportunity dashboard also includes an opportunity’s contacts and any files that you wish to associate with the opportunity.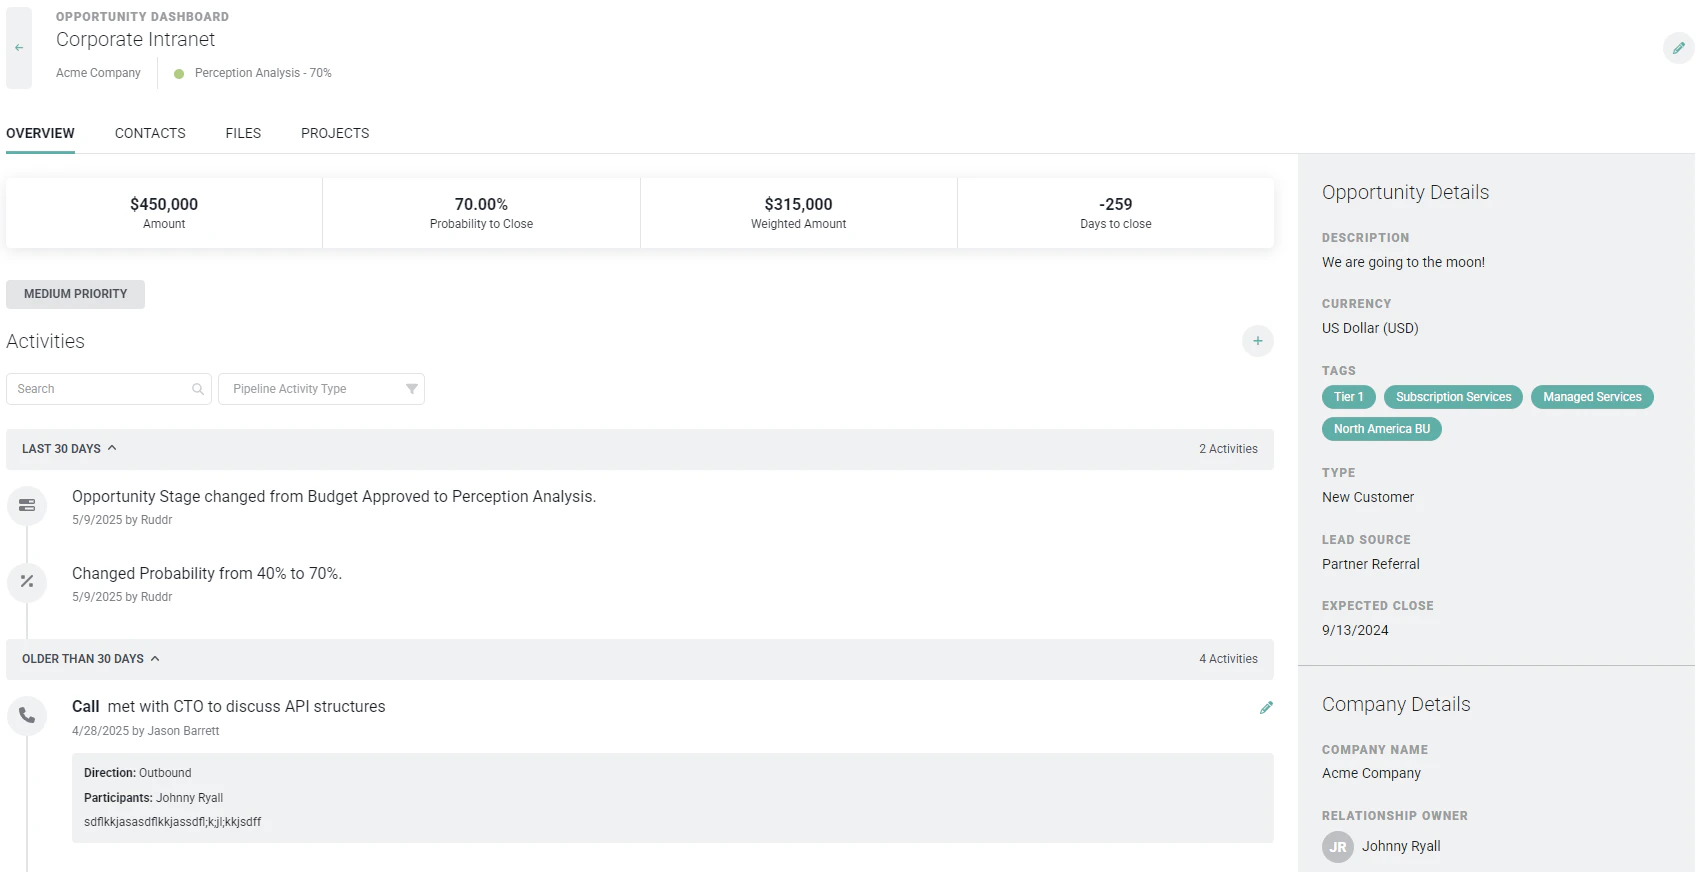
Editing an Opportunity
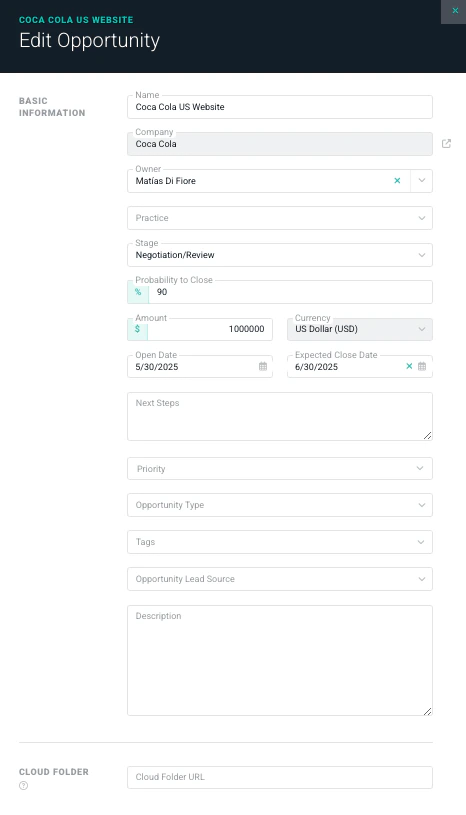
Once an opportunity has been created, you can edit the opportunity by clicking the edit pencil icon at the top-right of the opportunity dashboard (Figure 4). This will open the Edit Opportunity drawer (Figure 5), where you can provide the following information about the opportunity.- Name - The name of the opportunity.
- Company - The company associated with the opportunity.
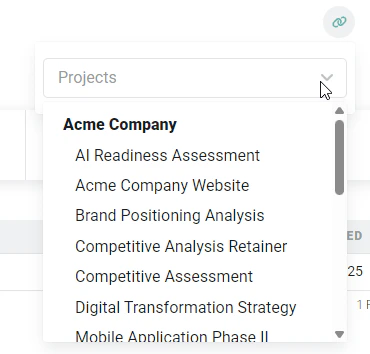
- Project - The project associated with the opportunity. You can also create a project from an opportunity.
- Owner - The workspace member that owns the opportunity.
- Practice - The Ruddr Practice to which you want to assign the opportunity. This is available if the Practices feature is enabled in your workspace.
- Pipeline - The opportunity pipeline assigned to the record. This will associate that pipeline’s set of opportunity stages with this opportunity.
- Stage - The current opportunity stage. Opportunity stages are managed values in the Custom Data section of Workspace Settings and are assigned to individual opportunity pipelines, also manage in Custom Data.
- Probability to Close - The estimated probability of winning the opportunity.
- Amount - The expected revenue value of the opportunity.
- Currency - The currency that you expect the opportunity to be billed in.
- Open Date - The date the opportunity began.
- Expected Close Date - The date on which you expect contract execution for the opportunity.
- Next Steps - A short description of the next activity that you expect to occur related to the opportunity.
- Priority - The priority of the opportunity, which can be High, Medium, or Low.
- Opportunity Type - The type of opportunity. Opportunity Types are managed values in the Custom Data section of Workspace Settings. You can define the various opportunity types that your organization uses to categorize opportunities.
- Opportunity Lead Source - The source where the opportunity originated. Opportunity Lead Sources are managed values in the Custom Data section of Workspace Settings. You can define the various opportunity lead sources that your organization attributes to opportunities.
- Description - The nature of the opportunity, providing as many details as desired.
- Cloud Folder - Assign a shared cloud folder to this opportunity to let team members view files.
Creating a Project from an Opportunity
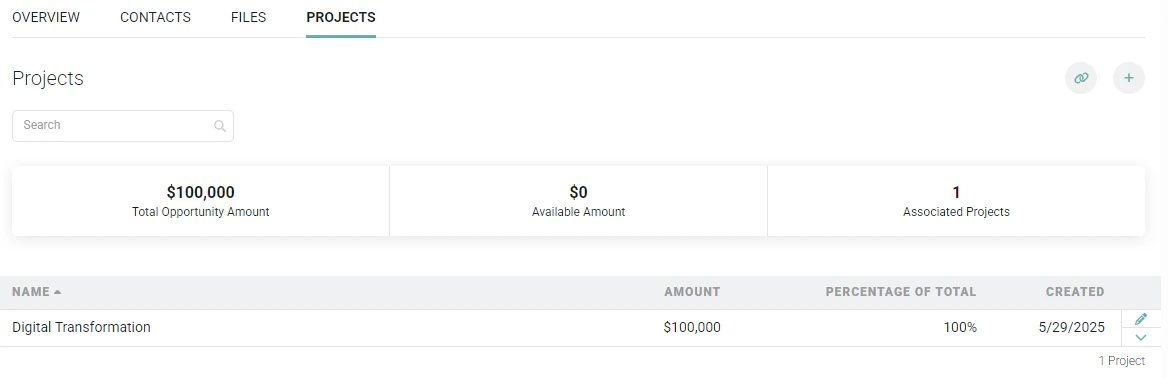
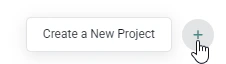
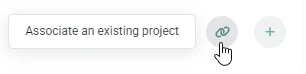
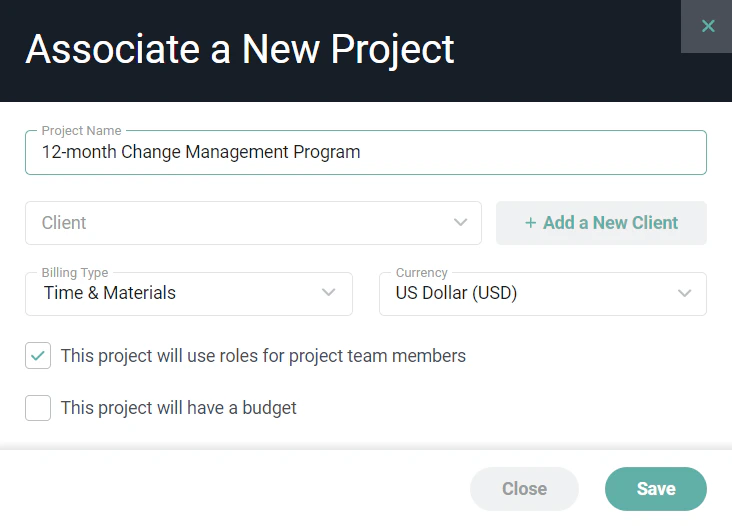
As an opportunity advances through opportunity stages and the probability increases, you may wish to align a new project with the opportunity. Creating a new project would allow you to allocate resources, forecast hours and revenue, and provide an initial project configuration. As mentioned above, an opportunity can be associated with an existing project. For opportunities that do not yet have a corresponding project, a project can be created from the opportunity, bringing over specific details of the opportunity as project settings. When creating a project from an opportunity, the project will be initially set to a Tentative project status. On the opportunity dashboard, you will see a Projects tab (Figure 6). Clicking on that tab will take you to a view where you can see any associated projects, you can associate a new project to the opportunity, or you can associate an existing project to the opportunity.