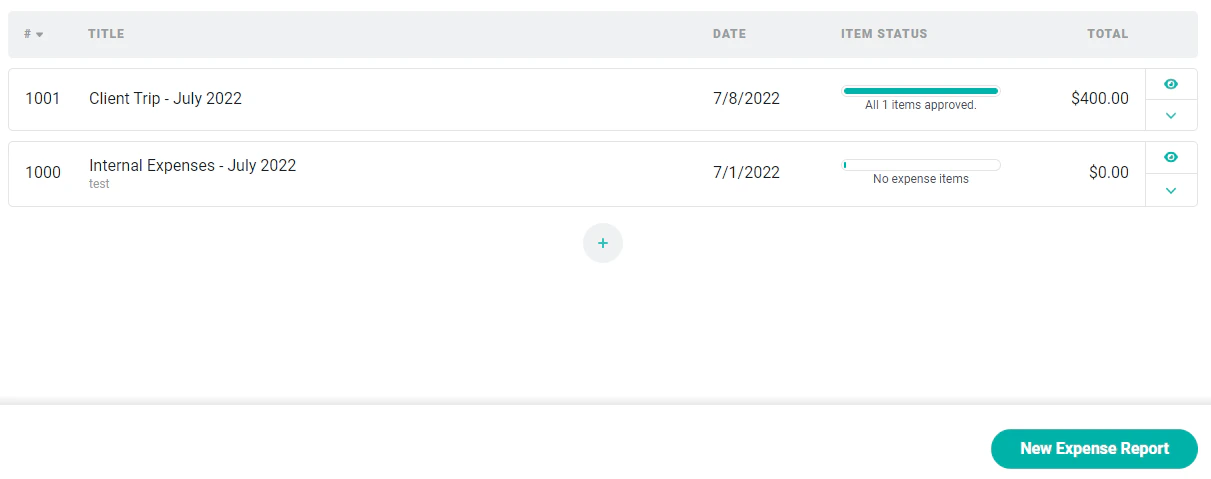
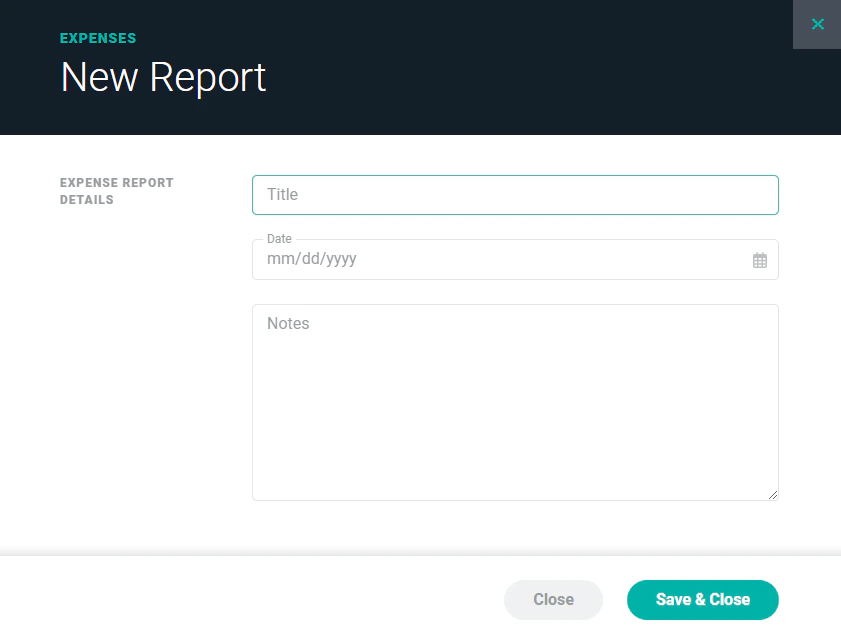
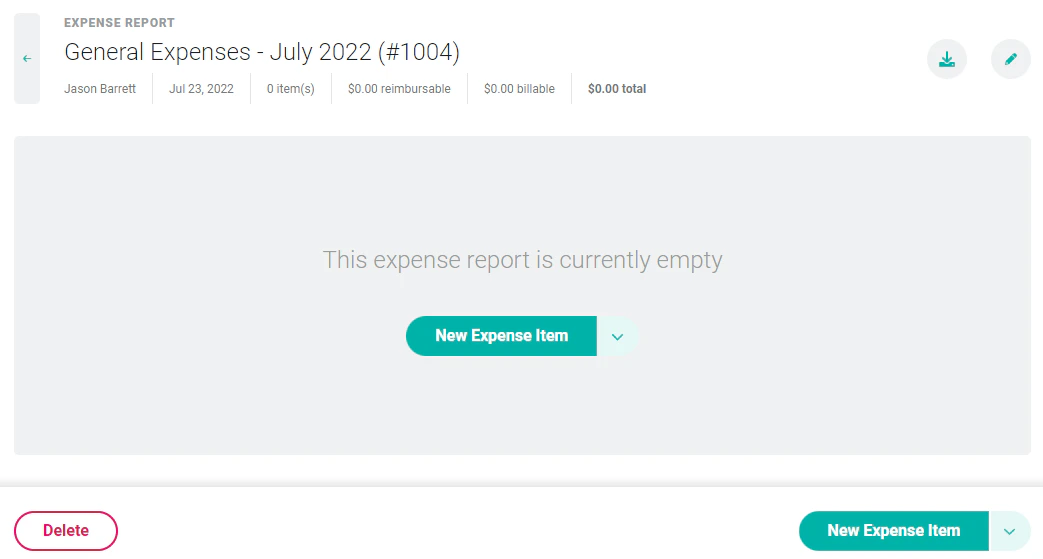
Before you can start creating individual expense items, you must first create an expense report to house those items. From the expense report list page (Figure 2), click the New Expense Report button (Figure 1) at the bottom of the screen.Figure 1 - Create a New Expense Report to which you can add New Expense ItemsFigure 2 - Expense Report ViewThis will bring up the new expense report drawer (Figure 3). To create a report, simply provide the title and date. Optionally, you can provide notes about the nature of the expense report.Figure 3 - Create a New Expense ReportOnce you have these fields entered, simply click the Save & Close button at the bottom of the drawer. This will take you to the expense report detail screen (Figure 4) where you can add the individual expense items to the report.When an expense report is created, it is automatically given a unique expense report number. No two expense reports in the workspace can have the same expense report number. The expense report number is assigned by Ruddr and cannot be changed.Figure 4 - On the Expense Report Detail Screen you can add Multiple Expense Items