

Enabling Timesheet Attestation
The Timesheet Attestation feature (Figure 1) is available to Ruddr customers subscribed to our Pro Plan. The feature is disabled by default in every workspace and thus must first be enabled from the Features screen within Settings. Note that the Timesheets feature must be enabled to turn on the Timesheet Attestation feature.
Figure 1 - The Timesheet Attestation Feature
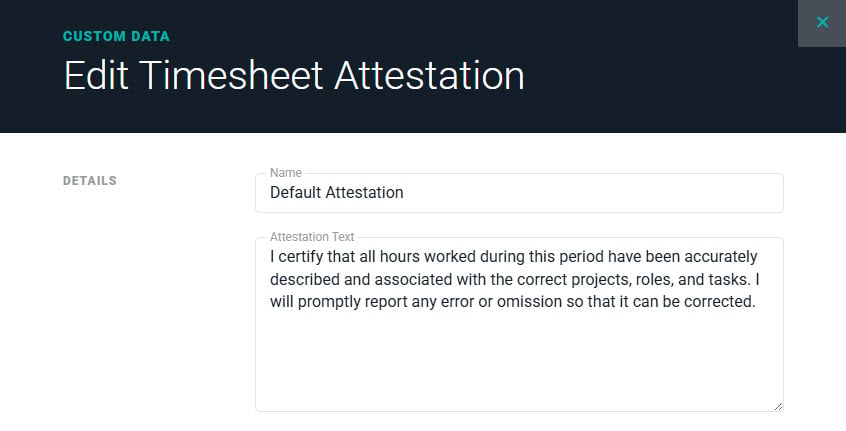
Figure 2 - Creating a Timesheet Attestation Text
Configuring Attestation for Workspace Members
Once the attestation text has been created, the Workspace Admin can then edit the Time Tracking settings for each member that will be required to attest upon timesheet submission (Figure 3). The Timesheets require attestation checkbox should be checked and then the specific attestation text can be selected from the dropdown.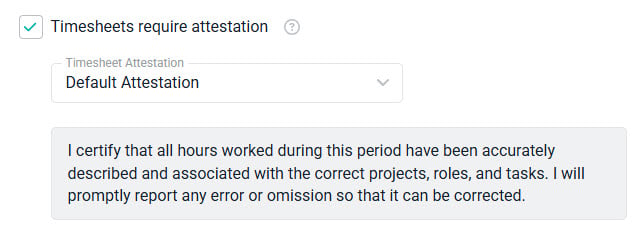
Figure 3 - Enabling Timesheet Attestation for a Workspace Member
Assigning Attestation in Bulk
To configure attestation for multiple members at once, you can use bulk updates on the members list (Figure 4). The Timesheet Attestation field is available in the bulk edit options when the feature is enabled; setting a value assigns that statement to all of the selected members, while clearing the field removes the attestation requirement.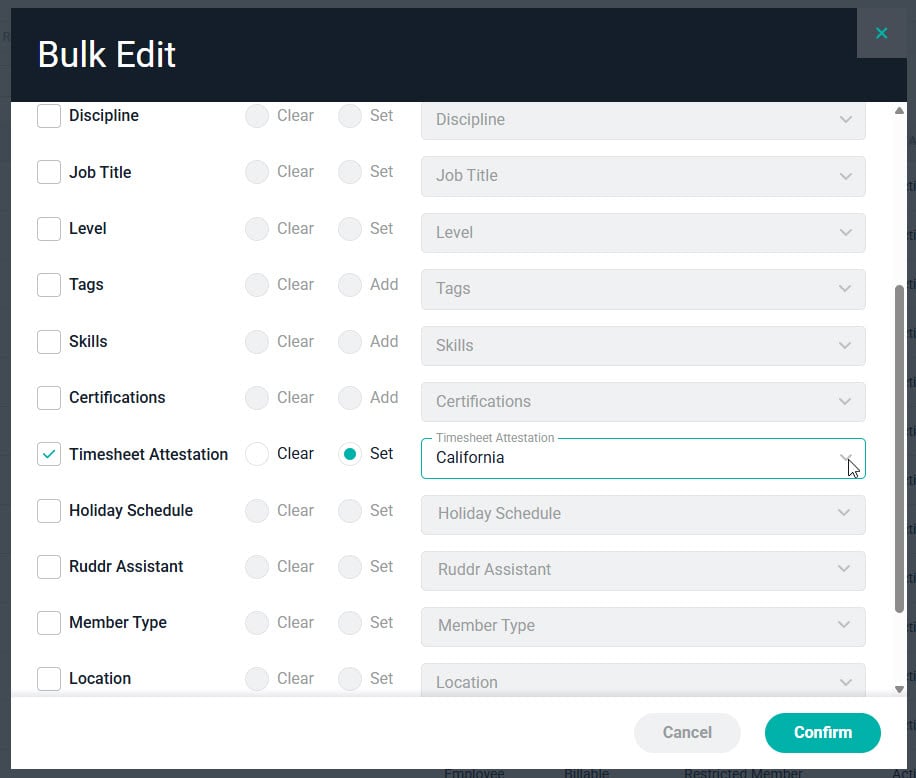
Figure 4 - Applying Timesheet Attestation in Bulk
Timesheet Submission
When a member that is required to attest submits their timesheet, they will be shown the attestation text on the Submit Timesheet window (Figure 5). To submit the timesheet, the member is required to digitally attest by typing in their name into the Signature textbox. The member must type their name or initials (at least three characters are required) into the Signature textbox before the Submit Timesheet button is enabled.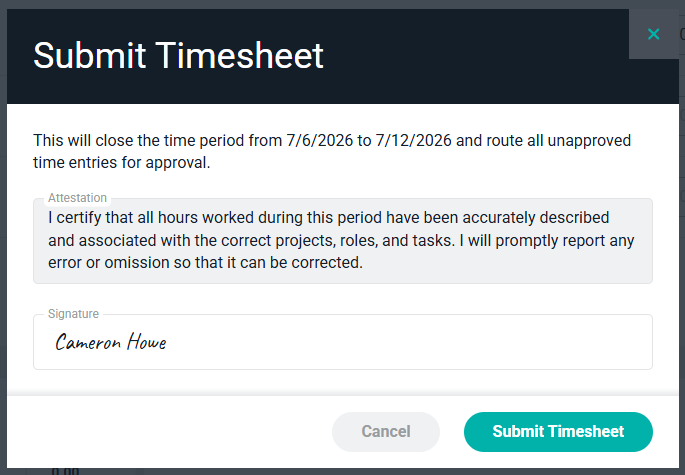
Figure 5 - Timesheet Submission and Signature
Timesheets Report
The Timesheets report shows all of the submitted timesheets for a given period of time. In the CSV or Excel exports of the report, there will be several columns related to timesheet attestation (Figure 6). These will include fields related to whether or not the timesheet required attestation, the attestation text, and the signature text provided by the member.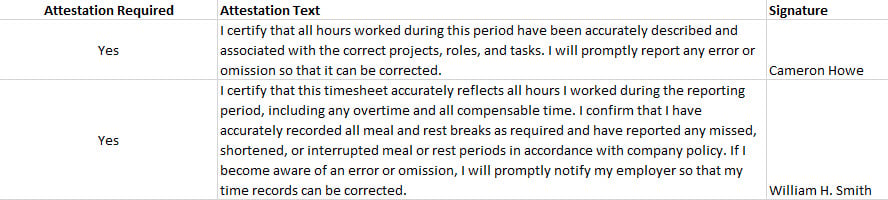
Figure 6 - Export Columns from the Timesheets Report