Scheduling the Billing and Revenue Recognition of Project Expenses
The Project Expenses ledger on the Accounting tab has two purposes. First, it allows for a project expense to be incurred and then optionally invoiced via the Ready to Bill screen as of the date of the line item in the ledger. Second, it enables revenue recognition for the billable project expense on that same date. Non-billable expenses will only have cost recognition. There are two ways to add expenses to the Project Expenses ledger on the Edit Project drawer:- Add a Single Expense to the Project Expenses Ledger
- Add a Recurring Expense to the Project Expenses Ledger
Add a Single Expense to the Project Expenses Ledger
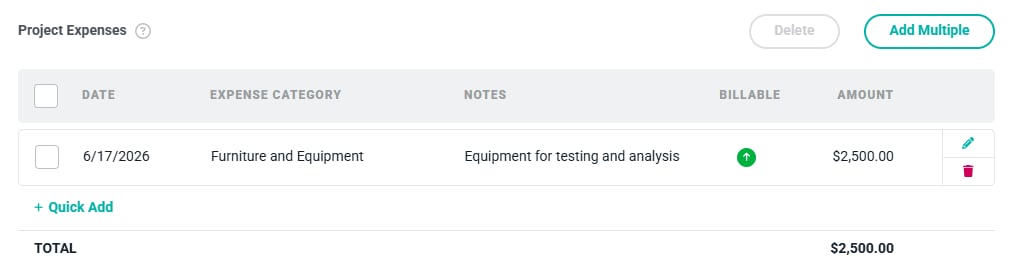
To bill for a project expense, simply click on the + Quick Add button at the bottom of the Project Expenses ledger (Figure 2).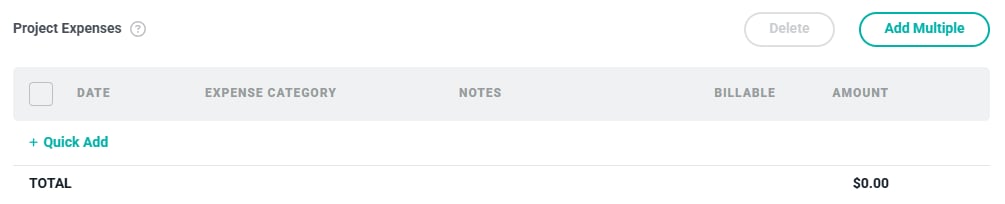
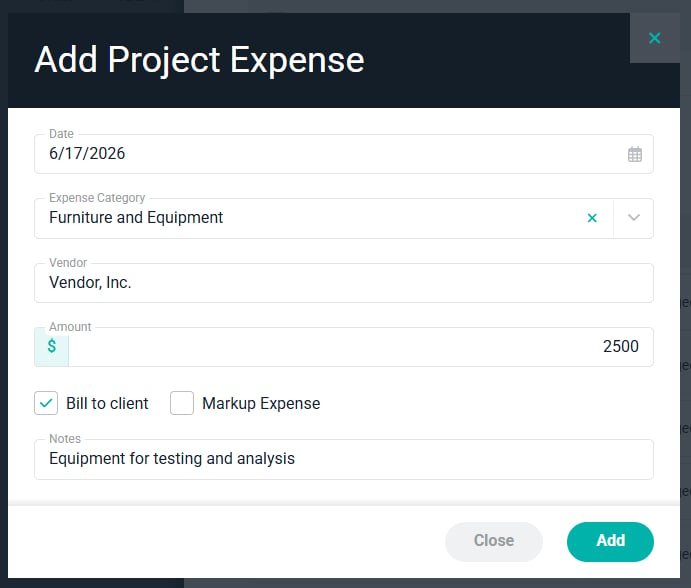
- Date - The date that you want the project expense to be incurred. For billable expenses, this is also the date that the expense will be picked up on the Ready to Bill screen for invoicing.
- Expense Category - The expense category that is suitable for this type of expense. Note that Workspace Admins can create as many expense categories as needed within the Custom Data section of Workspace Settings.
- Vendor - The vendor that was paid for this project expense.
- Amount - The amount of this project expense.
- Bill to client - A checkbox that denotes whether the client should be invoiced for this project expense.
- Markup Expense - A checkbox that denotes whether the project expense should be marked up for invoicing. Note that this checkbox is only available if the Expense Markup feature is enabled.
- Notes - The description of the project expense that will show on the invoice line item.

Add a Recurring Expense to the Project Expenses Ledger
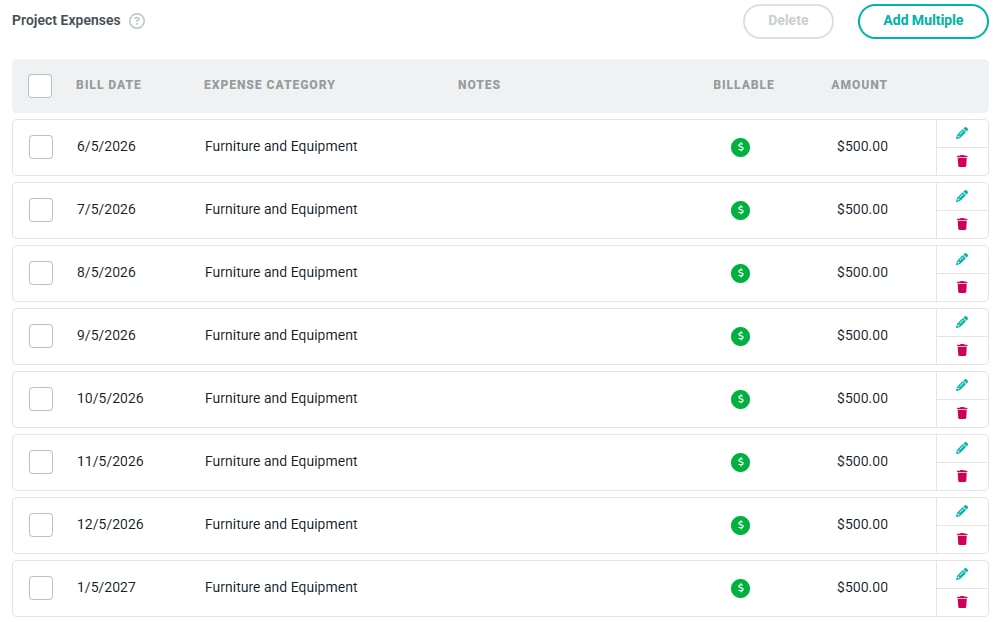
Some Ruddr customers need to incur expenses, and possibly invoice clients for them, in a monthly recurring manner. To set up a recurring schedule of expenses, click the Add Multiple button at the top of the Project Expenses ledger (Figure 2). This will open the Add Multiple Project Expenses window (Figure 6).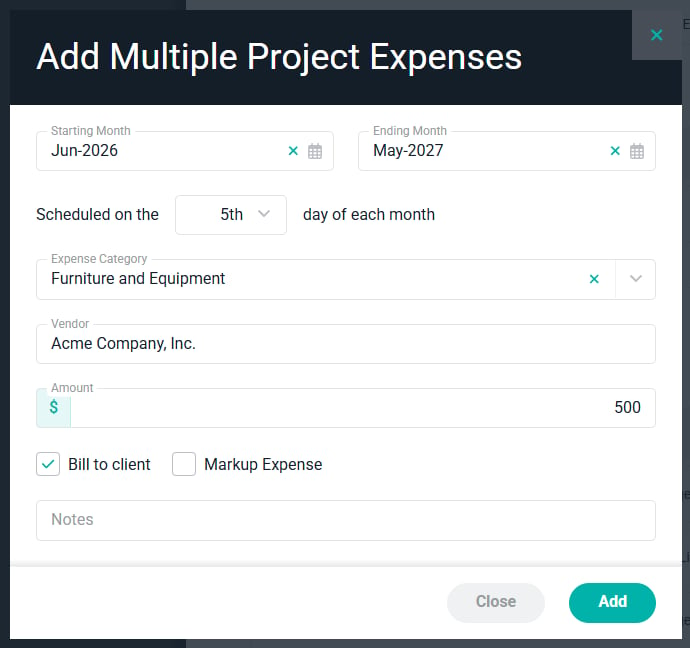
- Starting Month - The first month that you want this monthly recurring project expense to be incurred and optionally invoiced (if the Bill to client checkbox is checked).
- Ending Month - The final month that you want this monthly recurring project expense to be incurred and optionally invoiced (if the Bill to client checkbox is checked).
- Scheduled on the X Day of Each Month - The exact day of the month that you want this monthly recurring project expense to be incurred and optionally picked up on the Ready to Bill screen (if the Bill to client checkbox is checked). This is also the date that the associated cost and revenue will be recognized.