

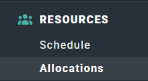
Figure 1 - Select Allocations under Resources in the Nav Bar
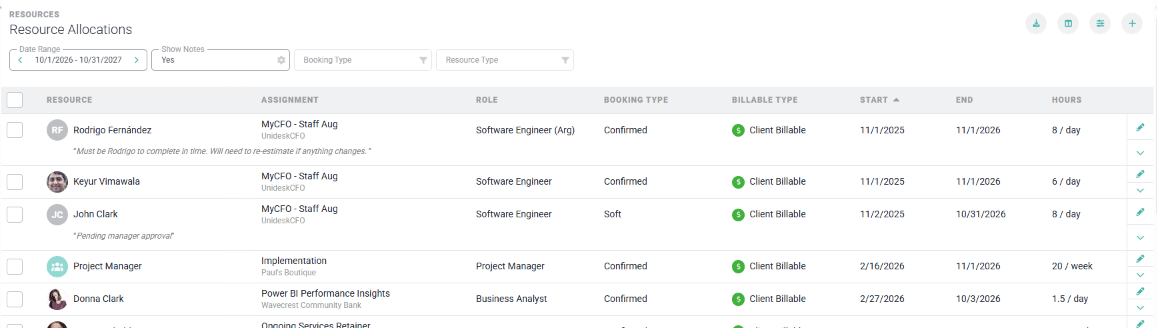
Figure 2 - The Allocations List, with the Export, Columns, Filter, and + Buttons at the Top-Right
Filtering the List
Click the filters button at the top-right of the screen to open the filters drawer (Figure 3). You can filter by:- Date Range - All Dates, a rolling window (Next 3 / 6 / 9 / 12 Months), or a custom range.
- Client and Project
- Member and resource attributes such as Resource Type
- Booking Type - see Confirmed and Soft Bookings
- Billable Type
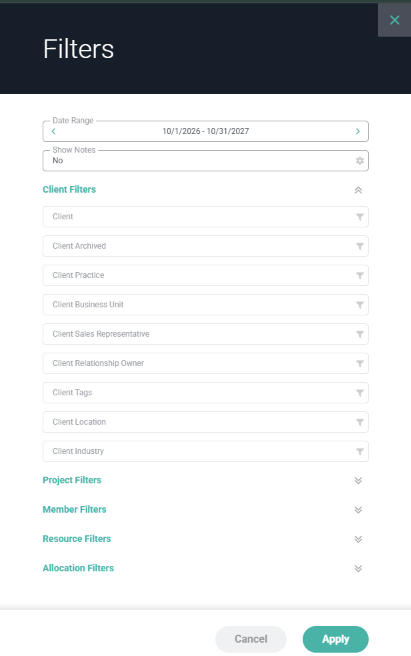
Figure 3 - The Filters Drawer, Including the Show Notes Setting and the Client, Project, Member, Resource, and Allocation Filter Groups
Sorting and Columns
Click a sortable column header to sort the list by that column; click again to reverse the direction. Use the columns button (Figure 4) to choose which columns are shown — Resource and Assignment are always shown, and you can add or remove columns such as Role, Task, Booking Type, Billable Type, Start, End, Hours, and Total Allocated. Your column selection is remembered per workspace the next time you visit the list.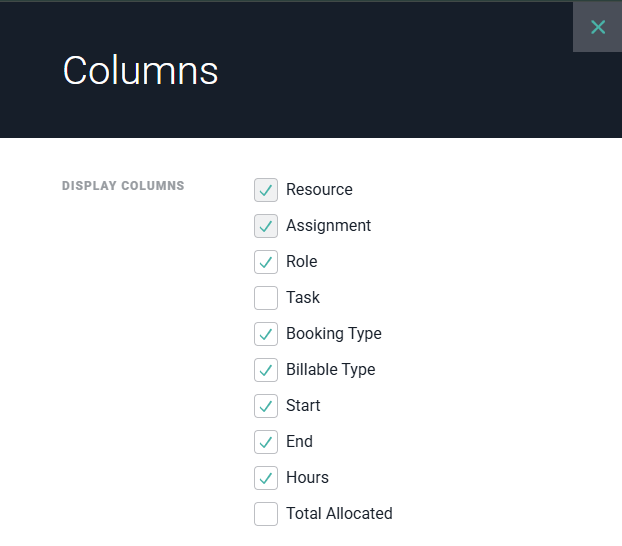
Figure 4 - The Columns Picker Controls which Columns Appear in the List
Opening, Creating, and Editing Allocations
Click any row to open that allocation. If your security role has the Administer resource allocations permission, this opens the allocation for editing; otherwise it opens in view-only mode. To create a new allocation, click the + button at the top-right of the screen — this requires the same Administer resource allocations permission and opens the same drawer used to create a resource allocation from the Schedule.Bulk Actions
Members with the Administer resource allocations permission can select multiple rows using the checkboxes on the left of the list, then use the bulk actions bar to act on all of them at once (Figure 5):- Set Booking Type - Set the selected allocations to Confirmed or Soft. Allocations already at the target booking type are skipped.
- Reassign Resource - Move the selected allocations to a different member or placeholder.
- Shift Dates - Move the selected allocations’ start and end dates forward or backward. Allocations whose dates wouldn’t change as a result are skipped.
- Delete - Delete the selected allocations.
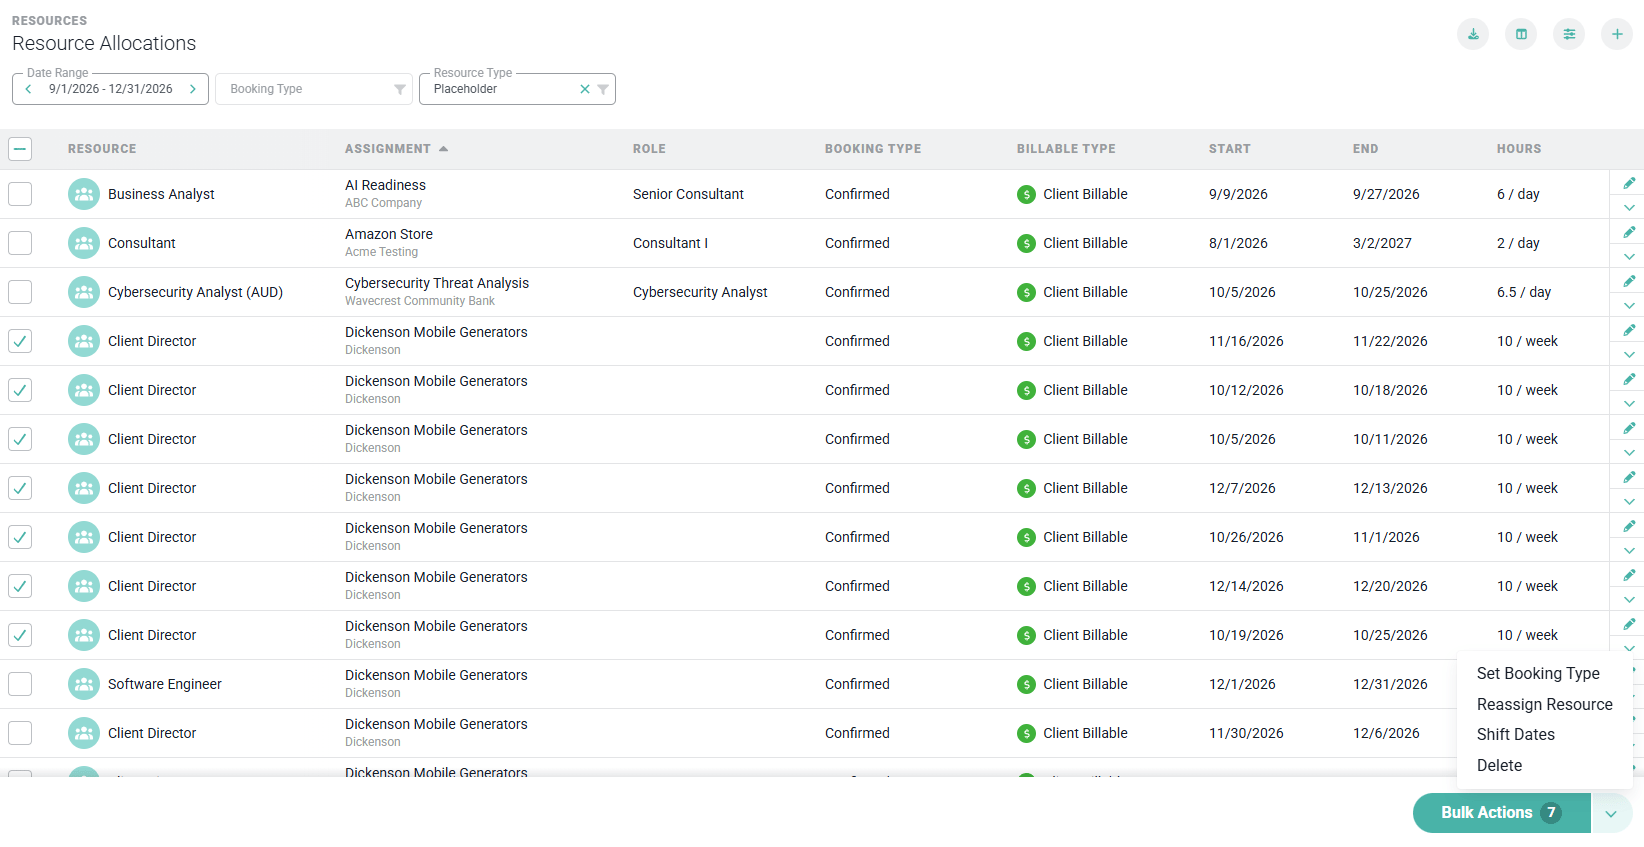
Figure 5 - Selecting Rows Opens the Bulk Actions Bar, with the Set Booking Type, Reassign Resource, Shift Dates, and Delete Actions
Exporting the List
Click the export button (Figure 6) to download the current filtered list as CSV or Excel. The export includes every allocation that matches your active filters (not just the rows currently loaded on screen) plus a few columns not shown in the list itself, such as project and client codes, resource location, notes, and created and modified timestamps. If your security role doesn’t include visibility into project bill rates, bill-rate columns are omitted from your export.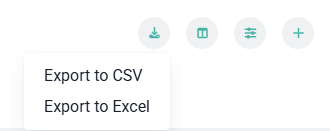
Figure 6 - Export the Current Filtered List to CSV or Excel