Resource placeholders are leveraged to allocate project hours when you have yet to identify a specific member for that work. Placeholders can help you account for hours on a tentative project, adjust to a sudden change in project resources, or signify a need for a project extension.

Creating a Resource Placeholder

You can create placeholders in Custom Data in the Settings section (Figure 1) or from within the Allocations screen (Figure 2). Figure 1 - Resource Placeholder list where you can edit and adjust You can create Placeholder options under the Allocation tab by clicking the ”+” sign next to the Placeholder header. (Figure 2) A drawer will open for you to input the Placeholder information (Figure 3). Figure 2 - Where you can create a new Placeholder under allocations Figure 3 - Drawer to input new Placeholder information

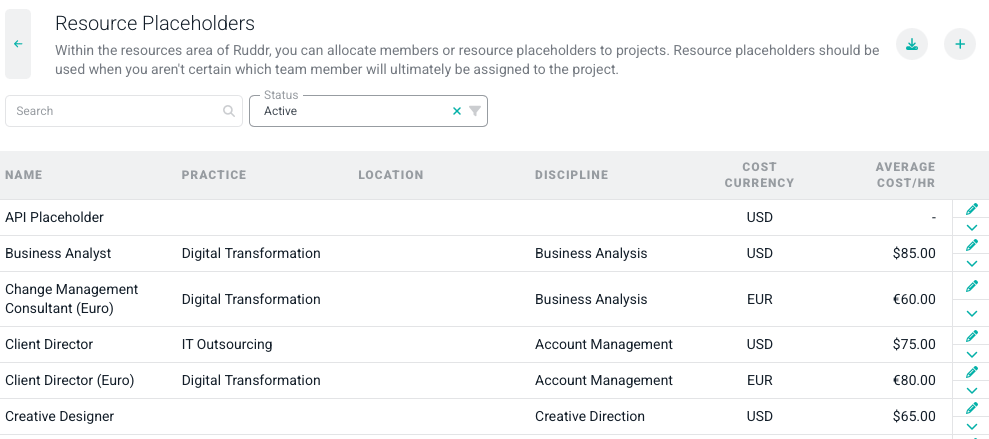
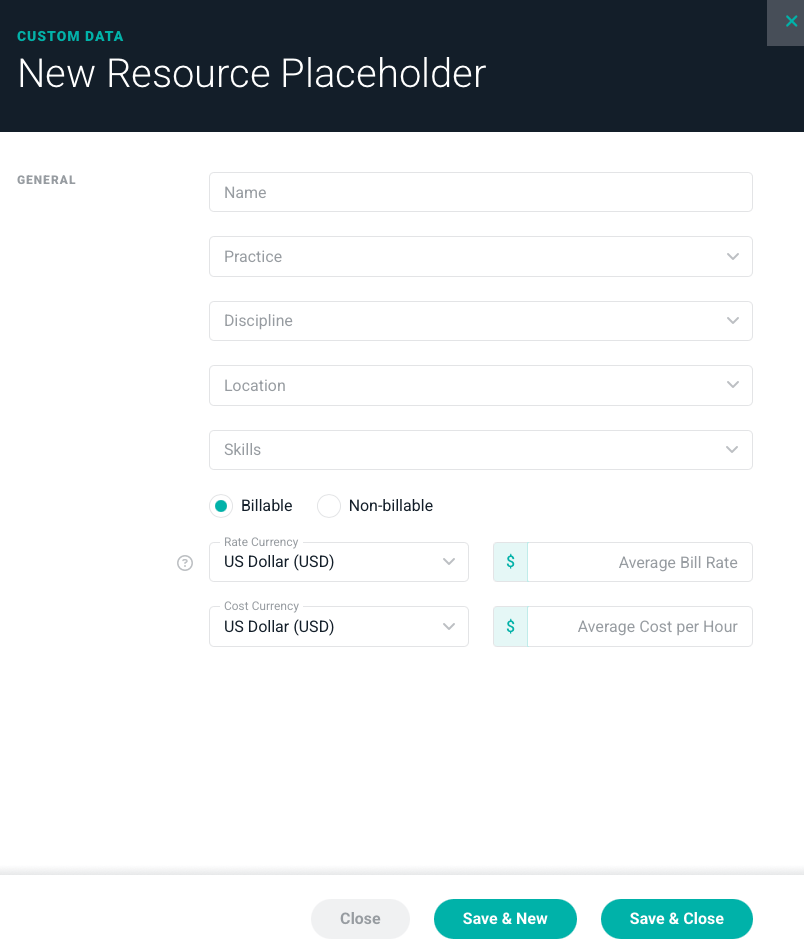
Rates and Costs for Resource Placeholders

When creating resource placeholders, you can provide an Average Bill Rate and / or an Average Cost per Hour. When Ruddr calculates planned services cost on a project, it will include resource placeholder allocations when an Average Cost per Hour has been provided. Likewise, when considering planned Time and Materials Revenue, Ruddr can leverage the placeholders’ Average Bill Rate in cases where the allocation itself is not already associated with a bill rate. This would most often be the case on projects that do not use project roles.

Creating Allocations for a Placeholder

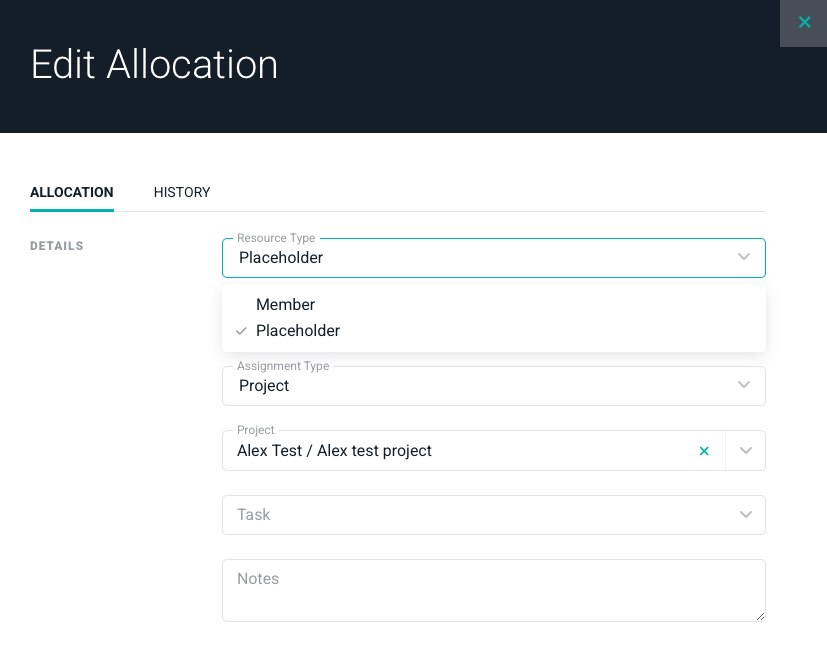
Allocating a placeholder on a project is as easy as creating a regular allocation and selecting “Placeholder” as the Resource Type. (Figure 4) Figure 4 - Assigning an allocation to a Placeholder type Once the type is set to Placeholder, you will be able to view that allocation under the assigned project as a placeholder. (Figure 6) Figure 6 - Place Allocation on a project

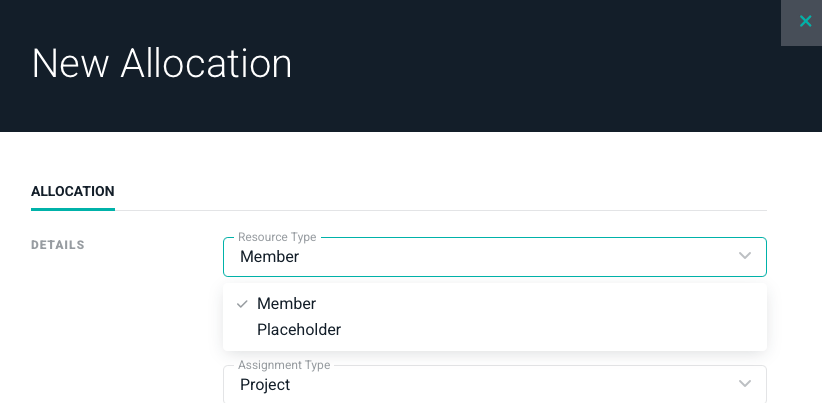
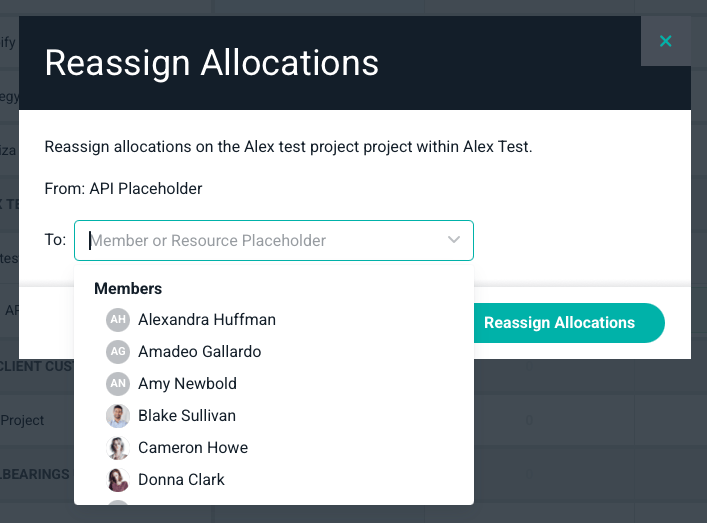
Reassigning Placeholder Allocations to a Member

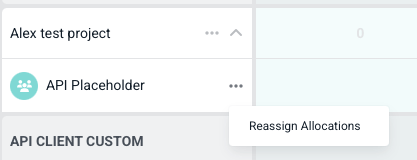
Once you are ready to assign a Placeholder to a project, you can do that in 2 places. You can select the three dots next to the placeholder allocation and an option will appear to Reassign Allocations. (Figure 7) Figure 7 - Reassign the selected allocation You can either reassign to a member or if needed, assign to a different Placeholder Type at the bottom of the options. (Figure 8) Figure 8 - Select which type you want the allocation to move to Additionally, you can edit the Placeholder by right clicking on the allocation and selecting edit. (Figure 9) Figure 9 - Select the Placeholder you want to adjust Here you can change the type to Member or you can change the Placeholder type if you need to adjust. (Figure 10) Figure 10 - Edit a Placeholder Allocation