Leverage Workspace Roles and Rates
Ruddr provides workspace admins with the ability to define workspace-level Project Roles and Rates within the Custom Data section of Workspace Settings. Once these roles are established, they are available to be used on clients throughout the workspace. Note that a member must have a combination of certain permissions on their security role to leverage workspace roles on a client. This restriction on who can apply workspace roles is due to the sensitivity of established bill rates. In order to use workspace roles on a client, a member’s security role must contain the following permissions:- Create client
- Access all clients
- Edit all clients this member can access
- Link to workspace roles and rates
- Add workspace roles and rates
Linking to Workspace Roles
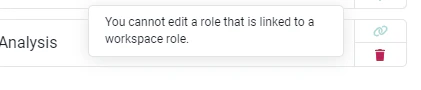
To “link” to workspace roles and rates is to create a linked relationship between the client and the roles and rates established for the workspace. When an workspace administrator links to roles and rates, the following relationship is established:- Any linked roles and rates on the client are read-only; these are not editable via the client.
- Any changes to the workspace roles and rates will propagate to all clients that are linked to them.

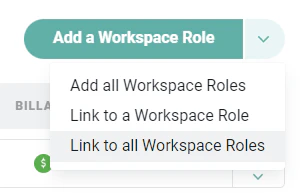
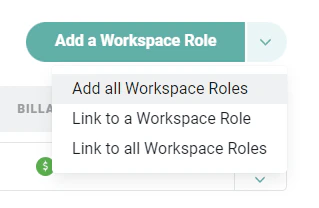
Add a Workspace Role
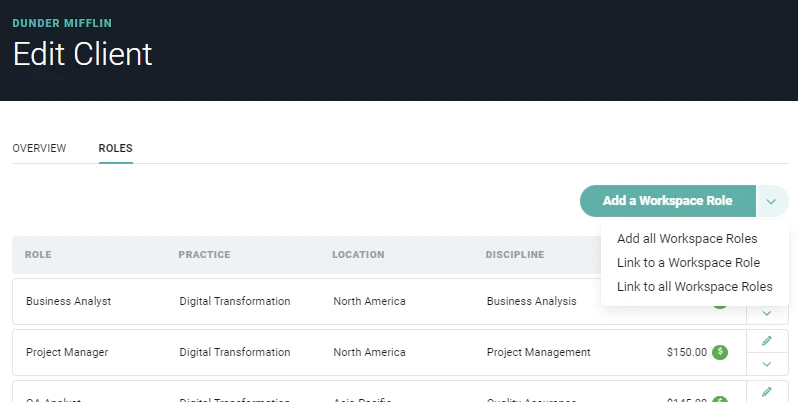
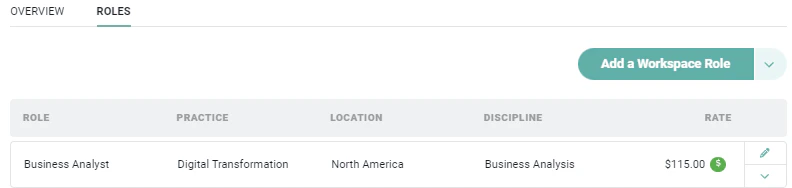
To “add” a workspace role and rate is to use the predefined role and rate on the client without being linked to the original record. The role and rate can be added to the client and is thereafter editable as part of the client record. When creating or editing a client via the Edit Client drawer (Figure 1), a workspace admin may choose to add workspace roles. On the Roles tab, clicking the Add a Workspace Role button will present a list of workspace-level project roles (Figure 6) established in Custom Data. Selecting one of these roles will add the role and the corresponding rate to the client (Figure 7).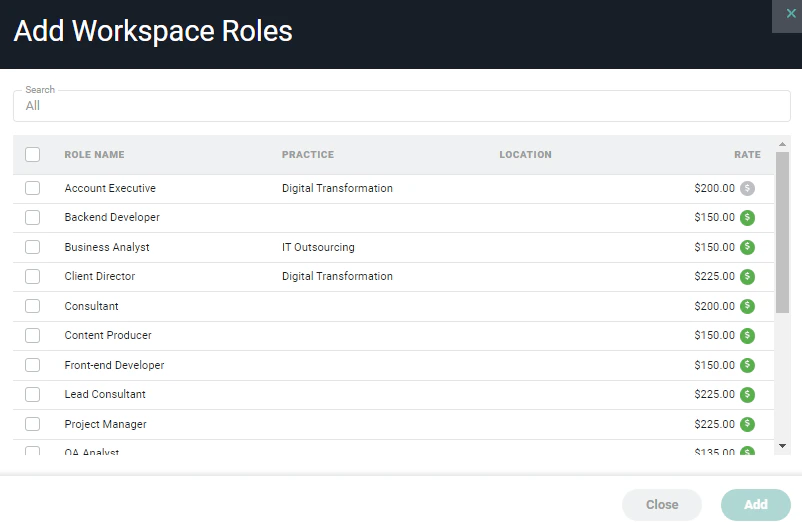
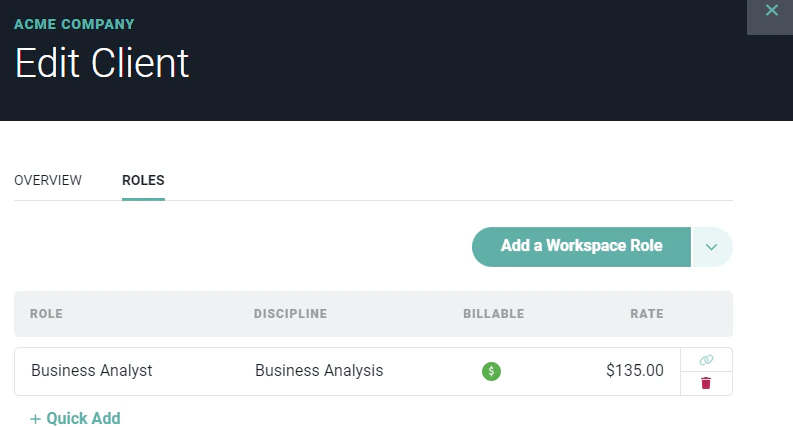
Create Client Roles
To create a client role, you will need Edit client permissions on your security role. To create a new role, simply click the + Quick Add button at the bottom of the Client Roles list. This will allow you to type in the name of the new role (Figure 9); optionally select a role practice, role, and / or discipline; set the role as either billable or non-billable; and provide a rate for billable roles. Disciplines are set by your Workspace Admin and they are used to group associated roles together for reporting purposes.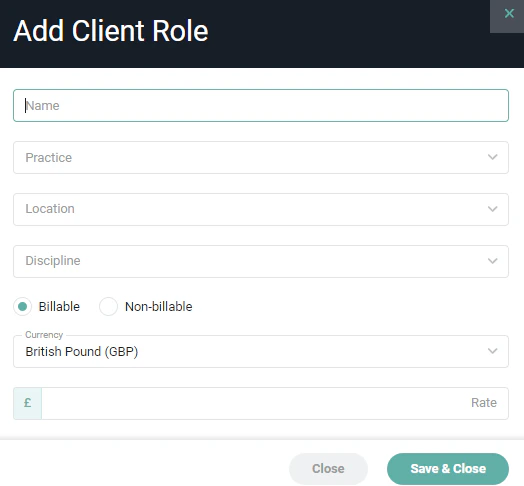
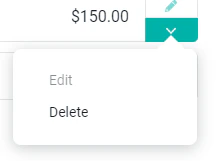
Delete a Role
A client role can be deleted by using the menu on the right side of the row. If you have Edit client permissions, you can delete a role from the client.