

Automatic Expense Approval
If a project uses automatic expense approval, the expense items will be immediately approved by Ruddr when those items are created. As such, each expense item will enter into an approved status. Members can continue to edit and delete expense items until they enter into a locked state.Manual Expense Approval
If the project uses manual expense approval and the Multi-Step Approval Workflow feature is disabled in the workspace, the Project Admin will be notified to review and approve (or reject) submitted expense items. The expense approval configuration for a project can be found in the Approval Options section (Figure 1) of the project’s Settings tab.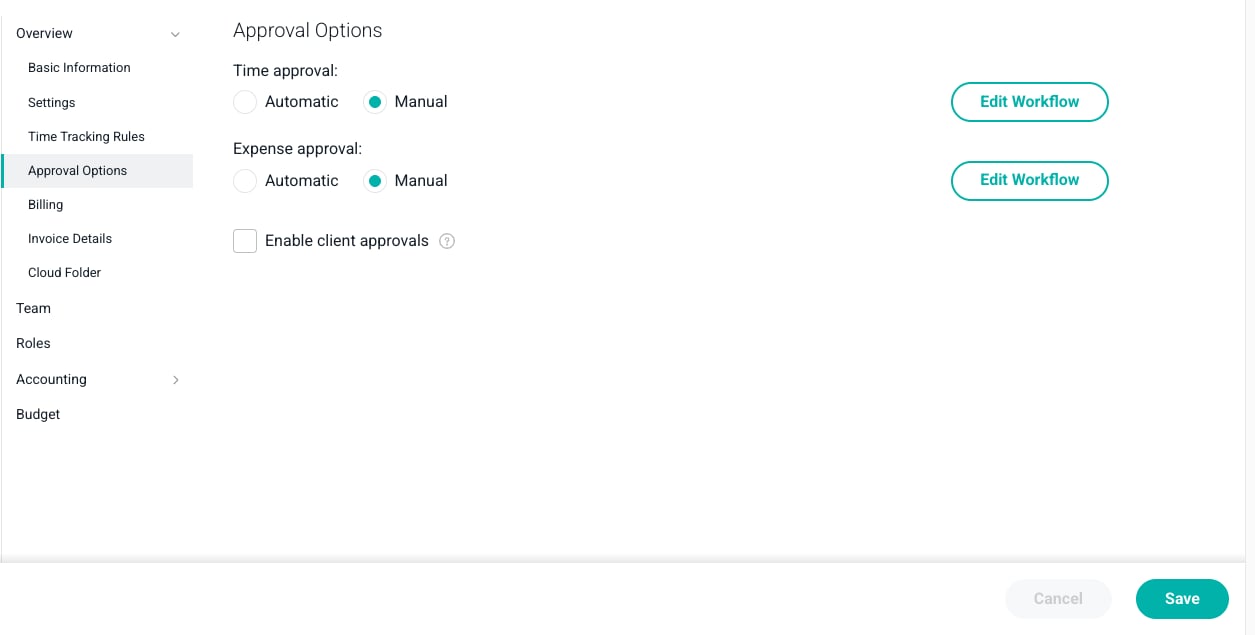
Figure 1 - Project Approval Options without Multi-Step Approval Workflow Enabled
Submitting Expense Items for Approval
Expense items can be submitted for approval from the expense report detail screen (Figure 2). This screen includes a listing of all expense items associated with an expense report. To get to this detail screen, simply click on any expense report shown on the expenses screen.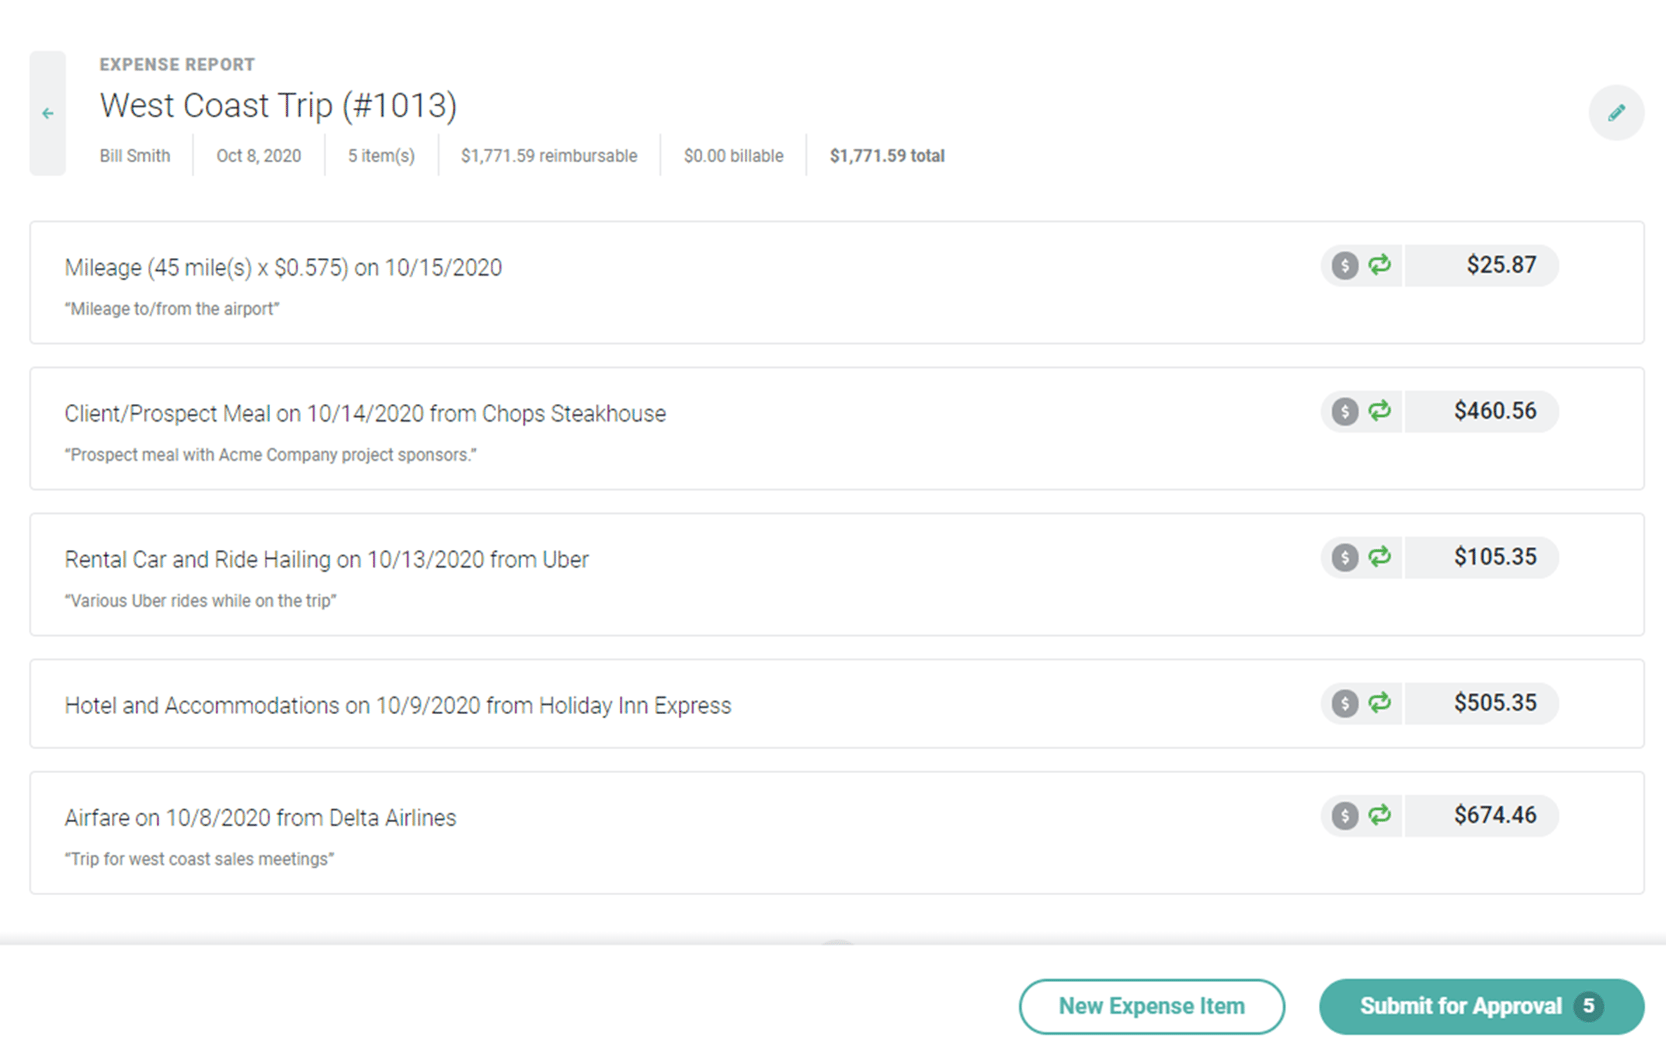
Figure 2 - This Member has Five (5) Expense Items that can be Submitted for Approval
Pending Approval Notification
When an expense item on a project has been submitted for approval, the Approvers established for the project will be notified in multiple ways. The Approvers will always receive an email message such as the one shown below (Figure 3). From this email, each Approver can click the Expense Approvals button and immediately take action. If your workspace has enabled Multi-Step Approval Workflow, each approver would receive this email notification as the workflow advances through the steps configured for the project. If multiple approvers are specified for a single step, all approvers will receive this notification. If your workspace does not use this feature, the Project Admin would receive all notifications and be tasked with the approval actions.
Figure 3 - Email Notification of Approvals in Member's Approval Queue

Figure 4 - Ruddr Slack Bot Notifications for New Expense Entry Submissions
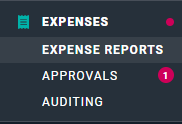
Figure 5 - This Member has One (1) Expense Entry in their Expense Entry Approval Queue
Approving Expense Items
When an expense item that requires manual approval is submitted, any workspace member who has the appropriate permissions for the associated project can approve or reject the expense item. The Project Admin on the project will be the person notified about the pending approval, but any member with the appropriate permission can take action. Expenses are approved from the Approvals screen (Figure 6) within the Expenses area. This screen will default to showing all expenses that are pending approval by the logged-in user. The list can be filtered by date, project, status, member, and approver.
Figure 6 - Approve any Outstanding Expenses

Figure 7 - The Edit Expense Entry Drawer Allows for Viewing/Editing Prior to Submission for Approval

Figure 8 - Expense Entry Approvers will have the Option to Approve or Reject an Expense

Figure 9 - Approved Expense Entry
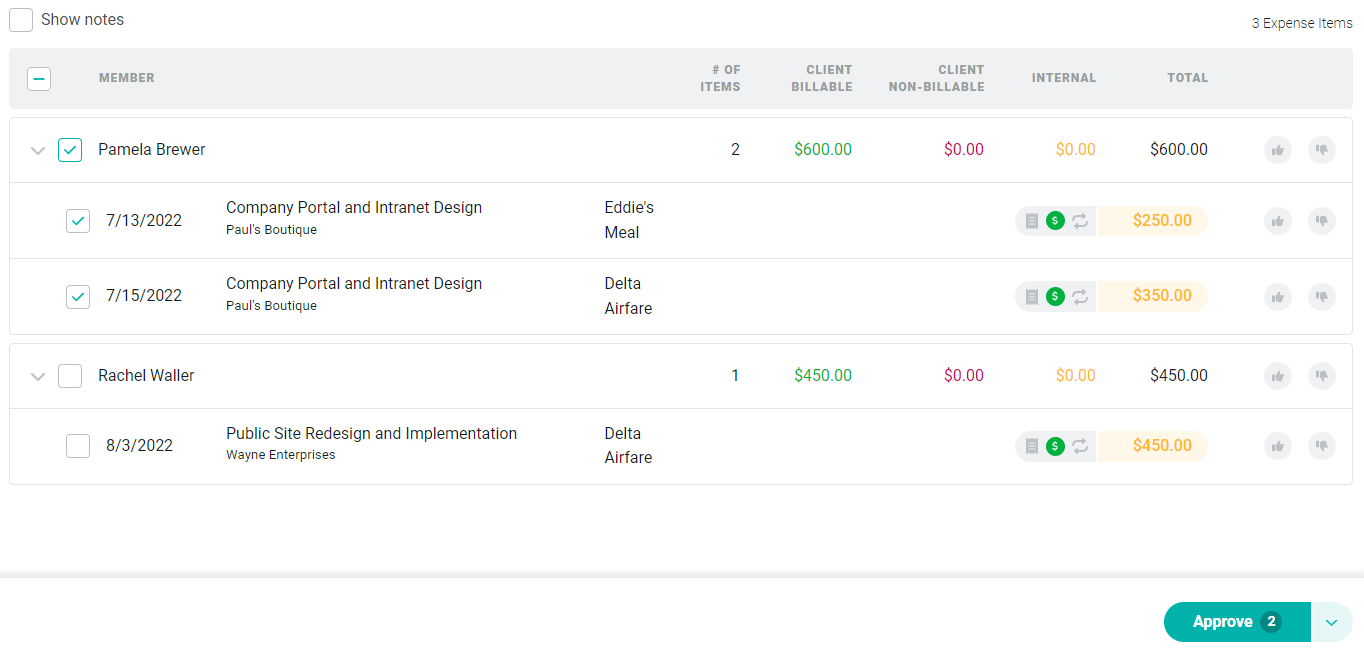
Figure 10 - Rejected Expense Entry
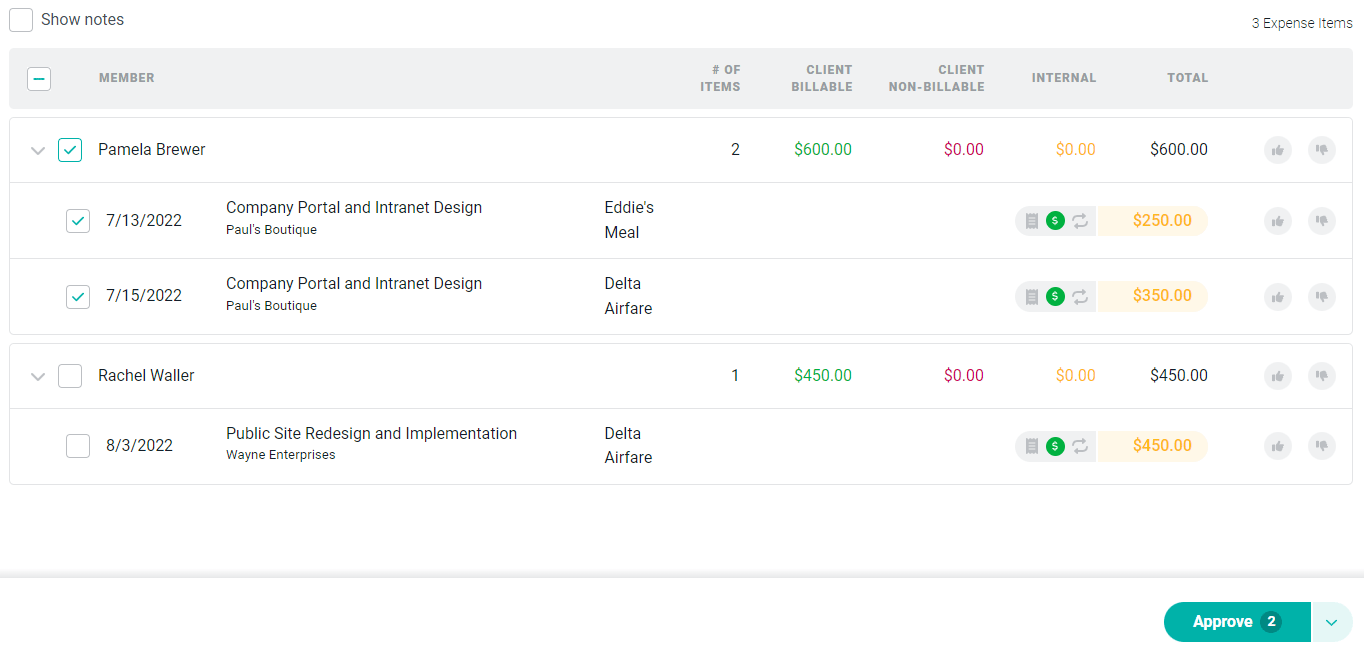
Figure 11 - Capture the Reason for Rejecting the Expense Entry
Bulk Approval Actions
If approvers have a large number of expense items to review and take action on, it is possible to approve or reject items in bulk. To do this, simply select the rows to approve or reject and then click on the bulk action button at the bottom of the approvals list screen (Figure 12). The bulk action button defaults to “Approve” but can be switched to “Reject”.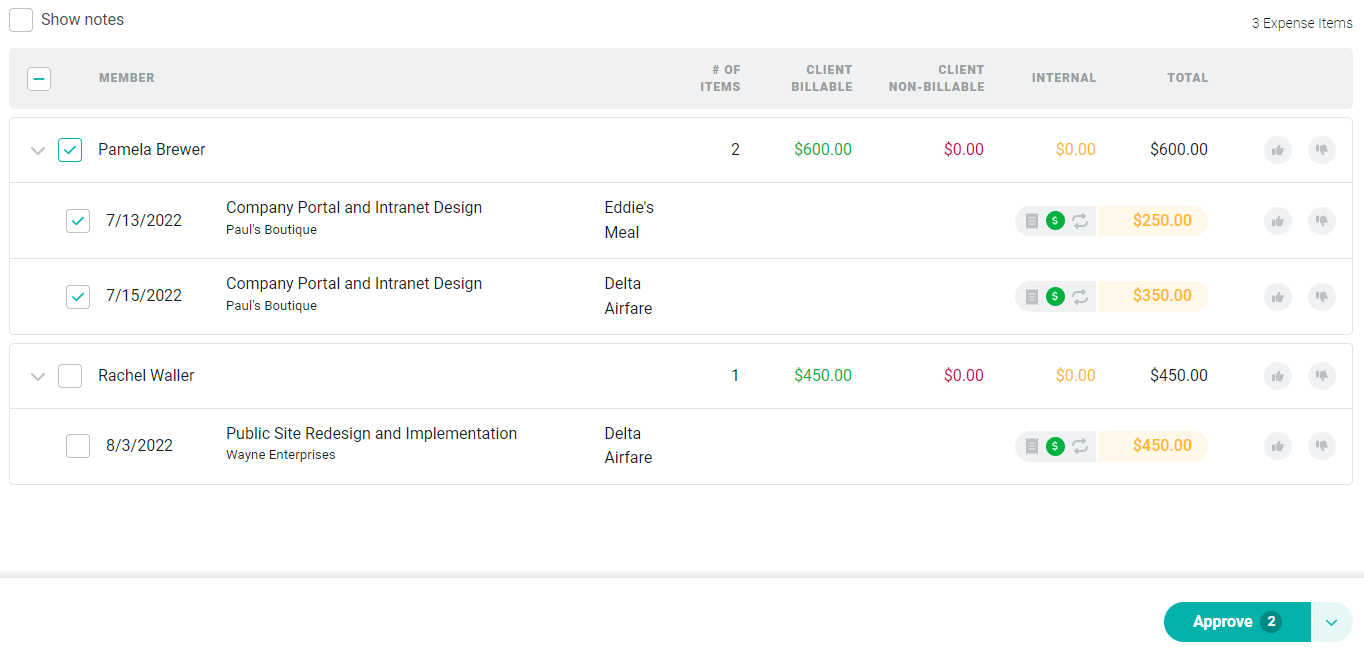
Figure 12 - Bulk Approval of Multiple Expense Entries