

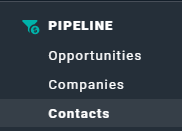
Figure 1 - Select Contacts to View the Contact List
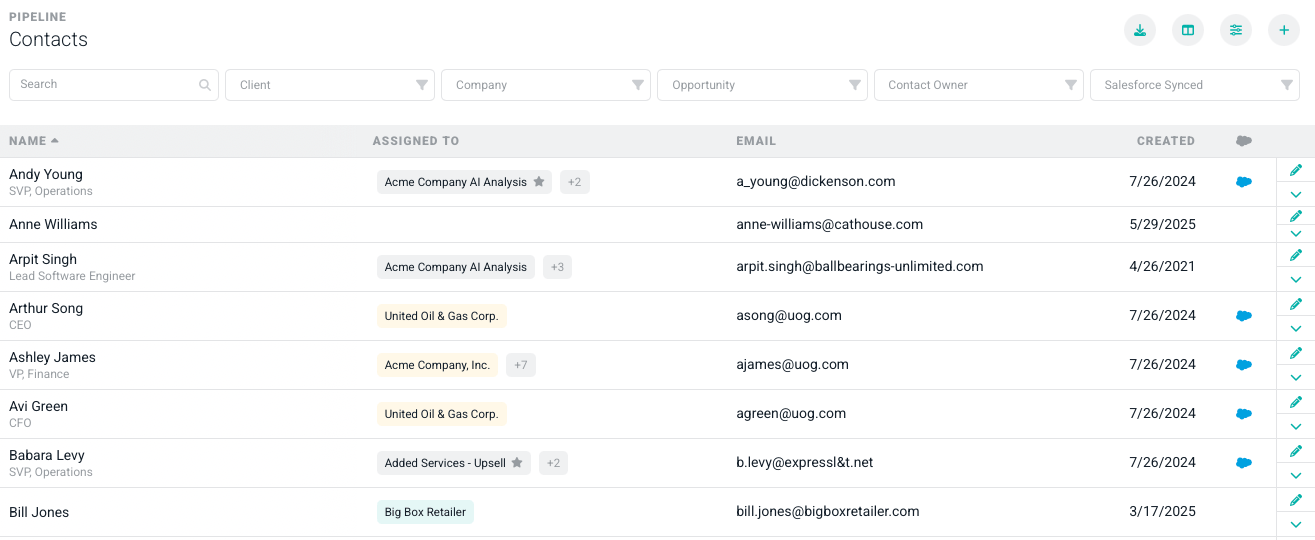
Figure 2 - Contact List Screen

Figure 3 - Click this + Button at the Top of the Contacts List Screen to Create a New Contact
- Contact Name - You can type in a partial contact name to narrow the results.
- Contact Owner - Narrow down the results to contacts assigned a specific owner.
- Contact Practice - Narrow down the results to contacts assigned to a specific Practice. This is available if the Practices feature is enabled in your workspace.
- Contact Business Unit - Narrow down the results to contacts assigned to a specific Business Unit. This is available if the Business Units feature is enabled in your workspace.
The Contact Dashboard
To view the contact dashboard for a particular contact, simply click on the row in the list. The contact dashboard provides high-level information about the contact and any related activity. Shown on the contact list are any associations that the contact has with other entities. In the Assigned To column, you will see this list. The assignments are color-coded as follows:- Clients are in light green.
- Companies are in light yellow.
- Opportunities are in light gray.
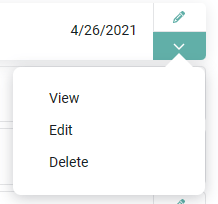
Figure 4 - Contact Actions from the Contact List
Edit a Contact
Clicking on the Edit action item in the action menu (Figure 4) will open the contact Edit Drawer (Figure 5). From here, you can make any edits to the contact information that you wish to make. For more on editing contacts, please refer to the Contacts - Create and Edit article.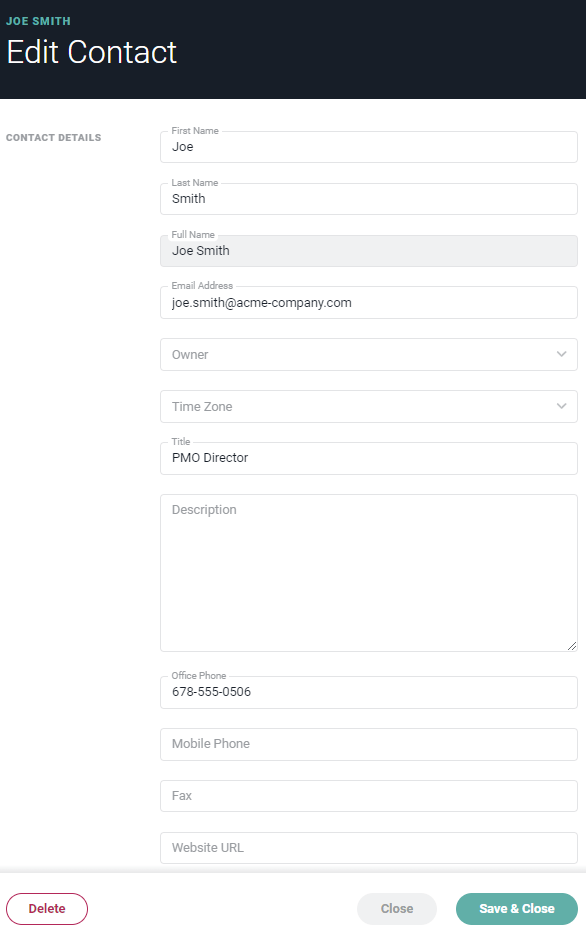
Figure 5 - Edit Contact Details in the Edit Contact Drawer
Delete a Contact
To delete a contact, simply click on the Delete menu option (Figure 4) on the row that you want to delete. This will bring up a confirmation window (Figure 6). Once you delete a contact, you cannot reverse this action and all data will be gone forever!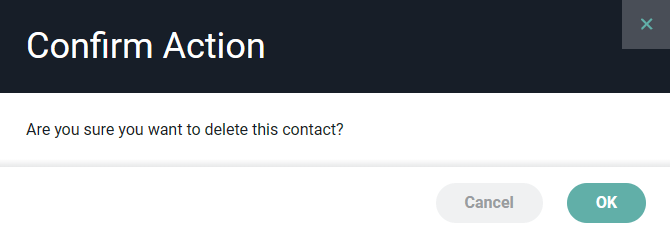
Figure 6 - Confirm your Decision to Delete a Contact
Bulk Edit Contacts
To update several contacts at once, select the checkboxes to the left of the contacts you want to change, then choose Bulk Actions (Figure 7) and select Edit.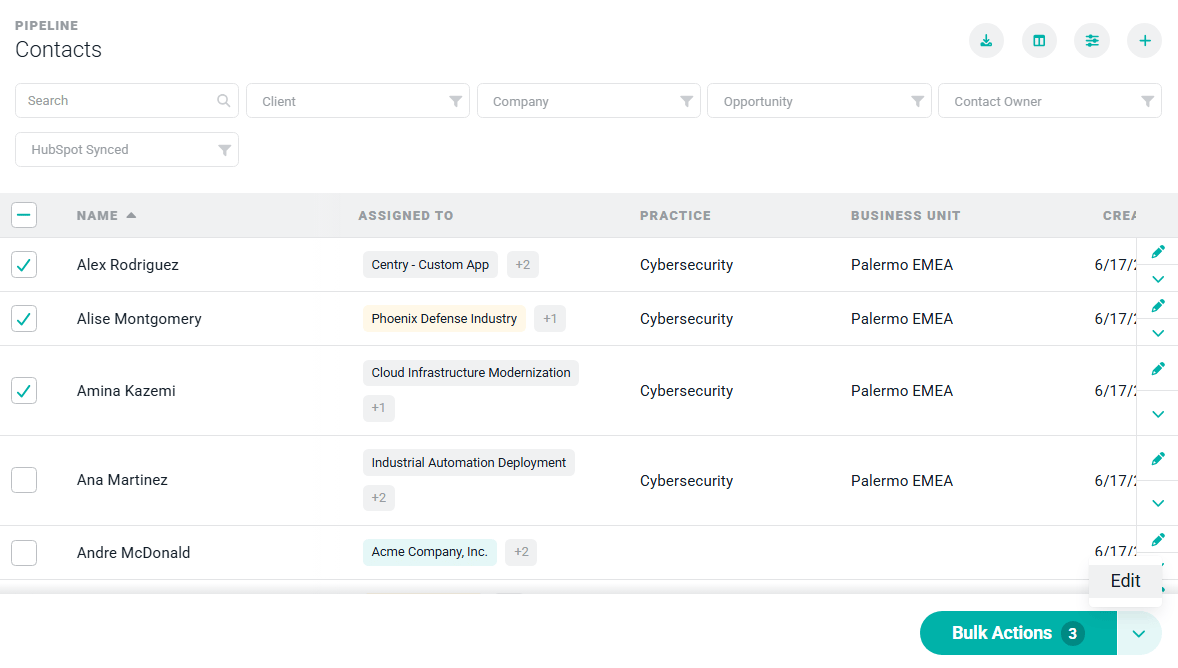
Figure 7 - Select Contacts and Choose Bulk Actions to Edit Several Contacts at Once
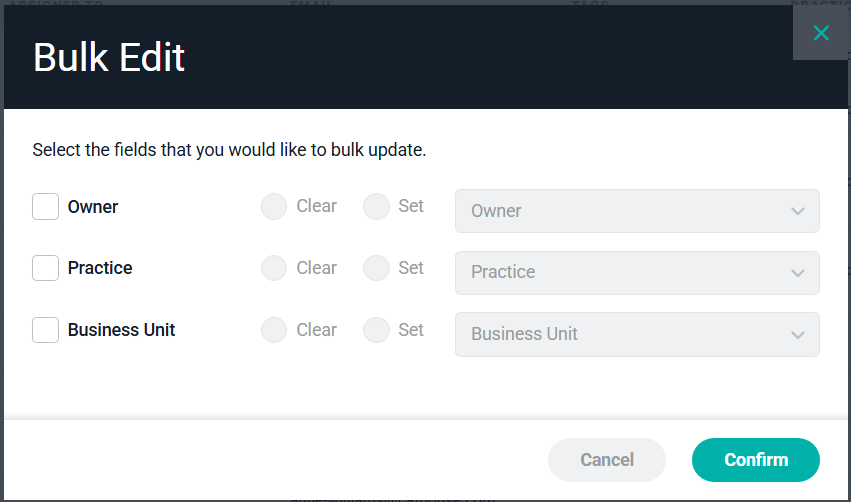
Figure 8 - Select Contact Fields to Edit