

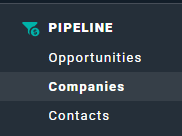
Figure 1 - Select Companies to View the Company List
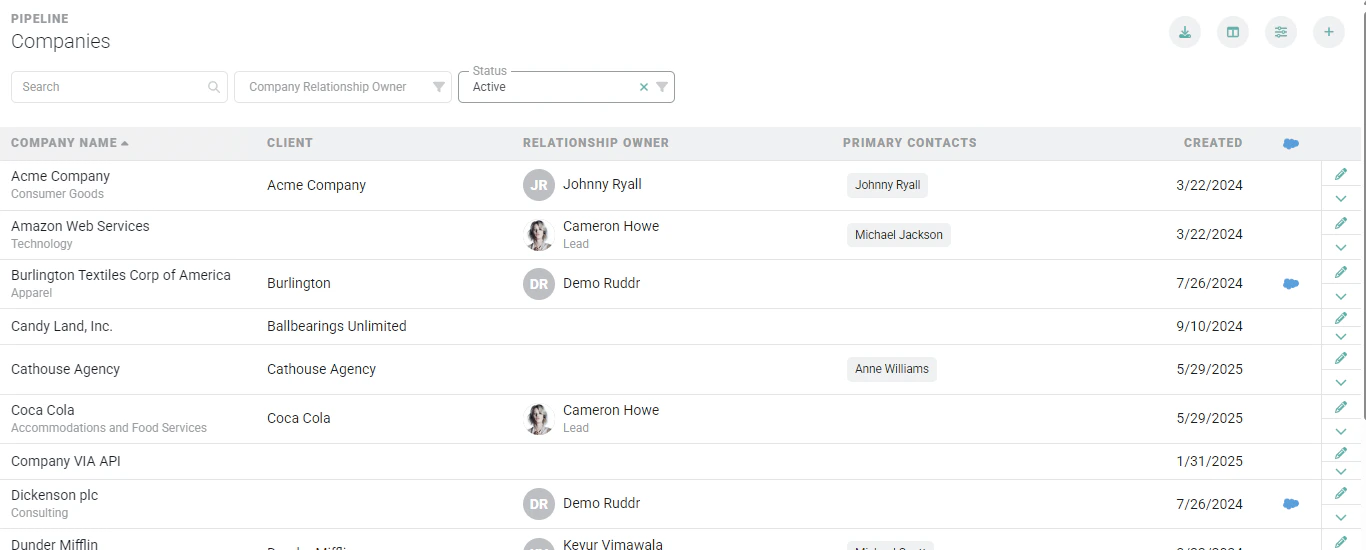
Figure 2 - Company List Screen

Figure 3 - Click the + Button at the Top of the Company List Screen to Create a New Company
- Search - You can type in a partial company name to narrow the results.
- Company Relationship Owner - Narrow down the results to companies assigned a specific relationship owner.
- Status - Specify “Yes” to view active companies or “No” to only view deactivated companies. In the companies list (Figure 2), deactivated companies will appear in a grey color.
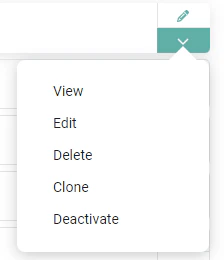
Figure 4 - Company Actions from the Company List
Edit a Company
To edit a company, your security role must grant edit access to that company (see Company Permissions). Simply click on the Edit menu option on the row that you want to edit. This will open up the Edit Company drawer (Figure 5). From here, you can make edits to the company information. For more on editing companies, please refer to the Companies - Create and Edit article.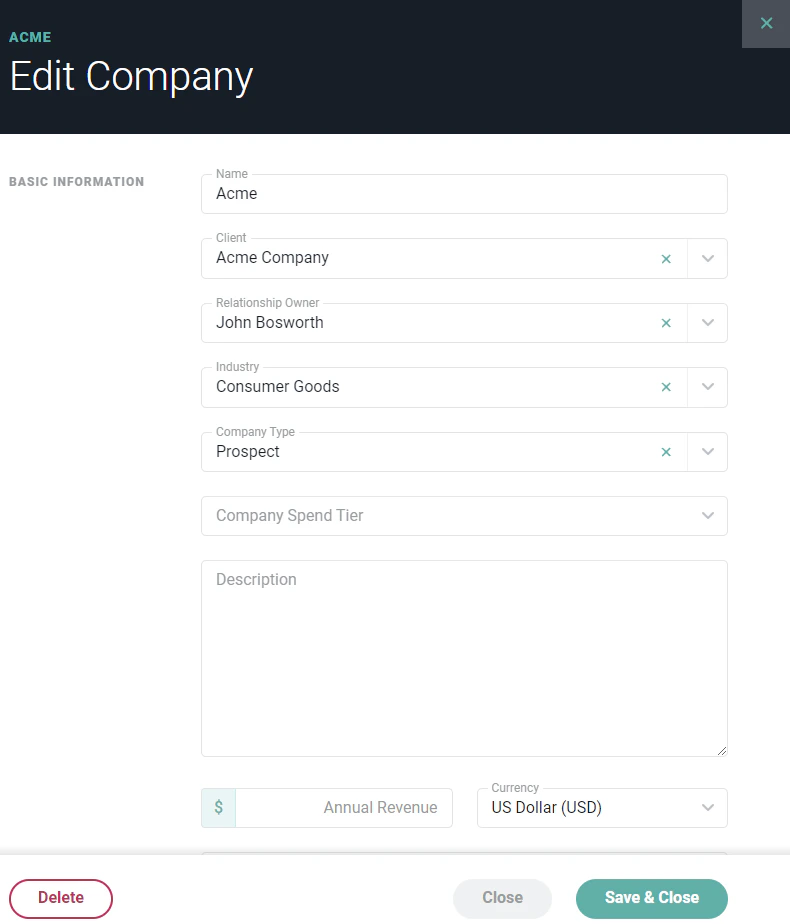
Figure 5 - Change Details about the Company in the Edit Company Drawer
Deactivate a Company
To deactivate a company, your security role must grant edit access to that company (see Company Permissions). Simply click on the Deactivate menu option (Figure 4) on the row that you wish to deactivate. This will bring up a confirmation window (Figure 6). When you deactivate a company, you will also deactivate all of the opportunities within that company.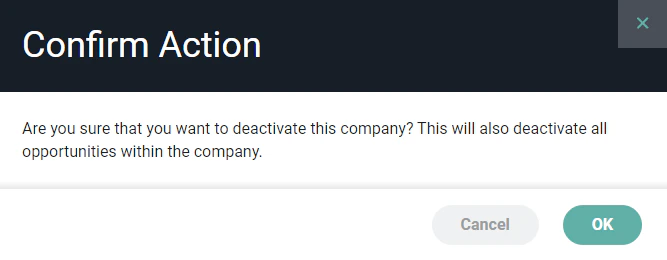
Figure 6 - Confirm your Choice to Deactivate a Company in the Workspace
Delete a Company
To delete a company, your security role must grant delete access to that company (see Company Permissions). Simply click on the Delete menu option (Figure 4) on the row that you want to delete. This will bring up a confirmation window (Figure 7). If the company has opportunities, it is strongly recommended that you deactivate the company instead of deleting it. Once you delete a company, you cannot reverse this action and all associated opportunity, file, and activity data will be gone forever!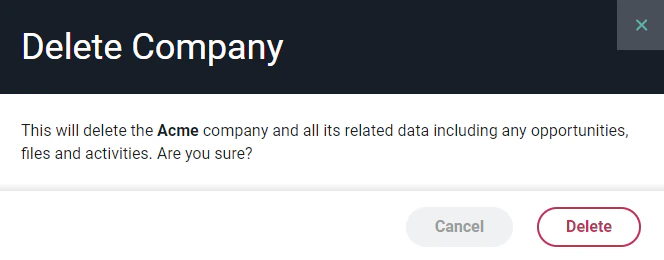
Figure 7 - Confirm your Decision to Delete a Company
Clone a Company
You can clone a company, copying all data associated with the original company into a new company. To clone a company, your security role must include the Create company permission along with edit access to that company (see Company Permissions). Simply click on the Clone menu option (Figure 4) on the row that you want to clone. You will then be prompted (Figure 8) to provide a name for the new company. Clicking the Save button will create the company and take you to the new company’s dashboard, where you can edit the new company.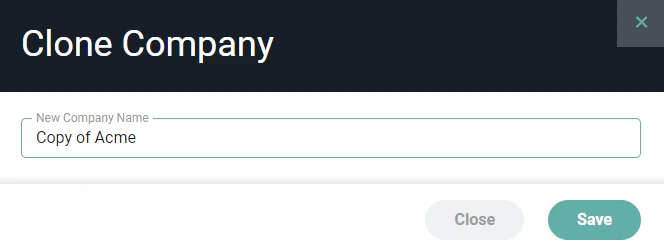
Figure 8 - Specify a Name for the Company Being Created via the Cloning Process