The Allocations Context Menu
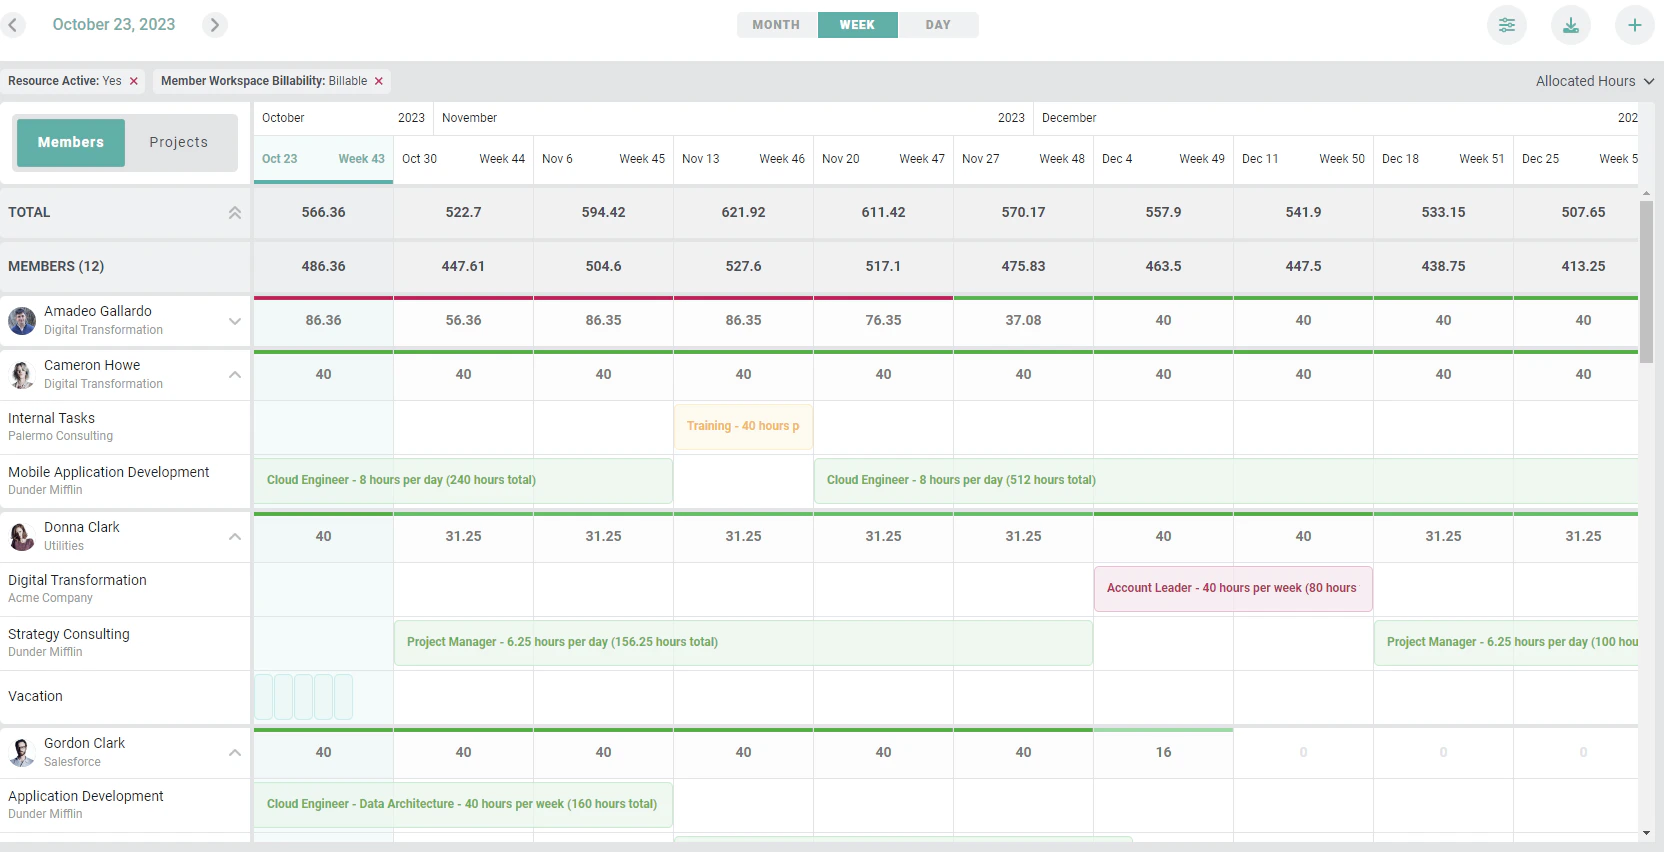
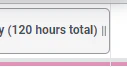
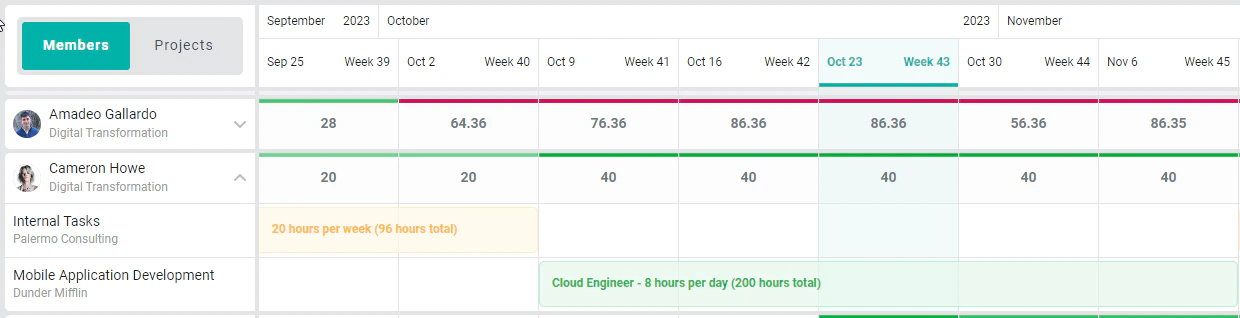
When you expand a member or a project row on the grid, you will see one or more individual allocations (Figure 3). These will show the project role and task (if those exist) as well as the number of hours per day and the total number of allocated hours.
Edit Allocations
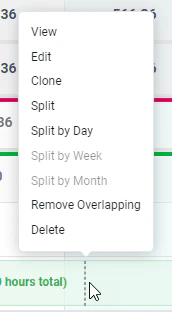
Clicking the Edit option in the context menu (Figure 4) will open the Edit Allocation drawer (Figure 5) which will show you the allocation details and allow you to edit or delete the allocation. Note that your security role must have the proper permission in order to modify resource allocations.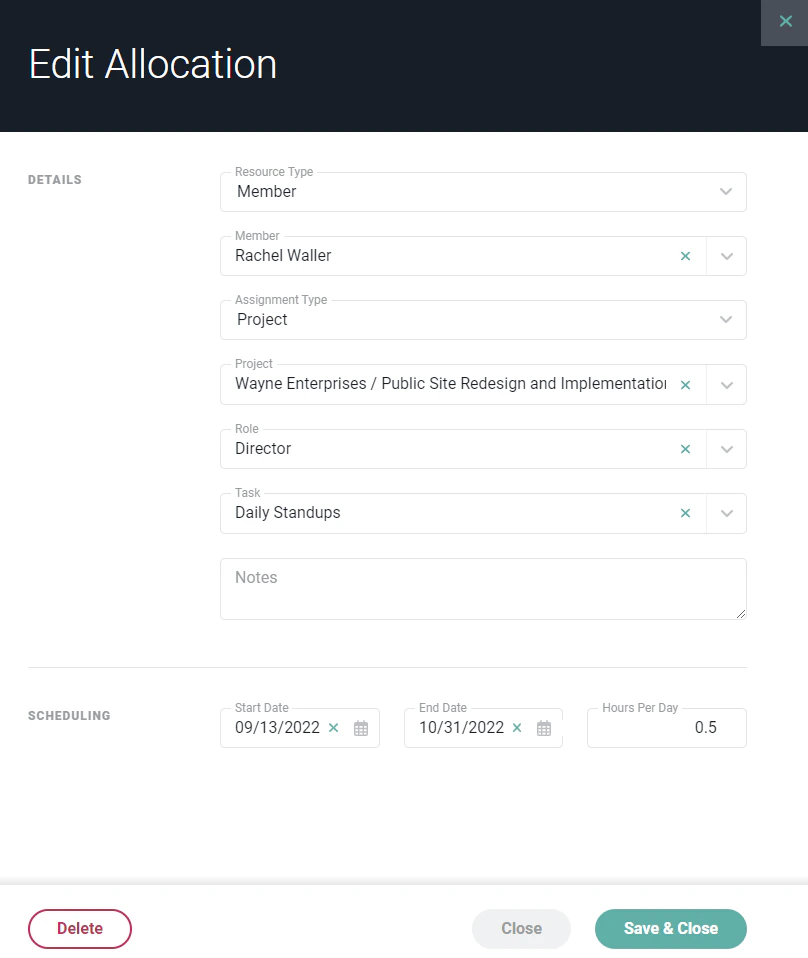
Clone an Allocation
Often times, you may want to create an allocation that is very similar to an existing allocation. Perhaps you want to create the same allocation but assign that to a different member. Or, perhaps you want to create an allocation that is similar to another but need to change the assigned task. To quickly create a copy of an existing allocation, click on an allocation (Figure 3) and select Clone from the context menu (Figure 4). An exact copy of that allocation will be created and displayed (Figure 7) in the allocations grid.
Split an Allocation
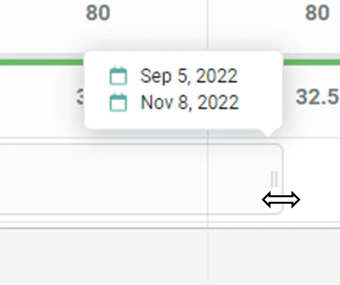
In the event that you need an existing allocation to have different settings depending on the timeframe, you can split a single allocation into two allocations. To do this, hover over the allocation on the date where you want to split it. As you click on the allocation, you will see a dotted line (Figure 8) that represents where the allocation will be split. If that is indeed where you want to split the allocation, select Split from the context menu (Figure 4).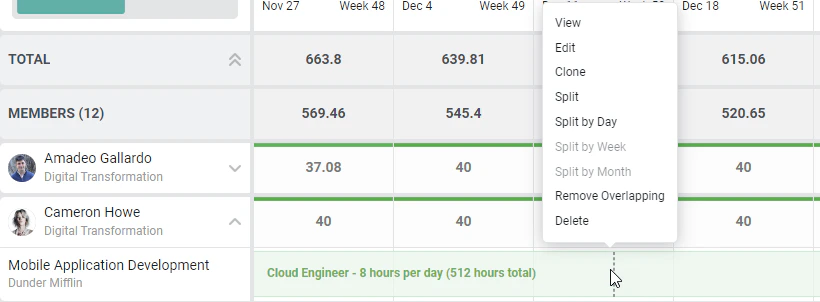

Split an Allocation by Period
When creating an allocation, you can specify whether you want to allocate hours per day, per week, or per month. Based on that selection, you can split a single allocation that spans an extended period into multiple allocation records. An allocation can only be split by its own period:- An allocation created for a number of hours per month can be split by Month.
- An allocation created for a number of hours per week can be split by Week.
- An allocation created for a number of hours per day can be split by Day.
Remove Overlapping Allocations
In some cases, you may want to ensure that resources do not have competing allocations, where one allocation “overlaps” another. In the below example (Figure 10), one allocation to an client billable project starts two weeks prior to an allocation for an internal project ending. In this scenario, you may want to prevent the internal allocation from overlapping the billable assignment. To accomplish this, and to better align the allocations with a member’s capacity, you can choose to remove the overlapping allocation by clicking on the allocation you want to keep and selecting Remove Overlapping from the context menu (Figure 4).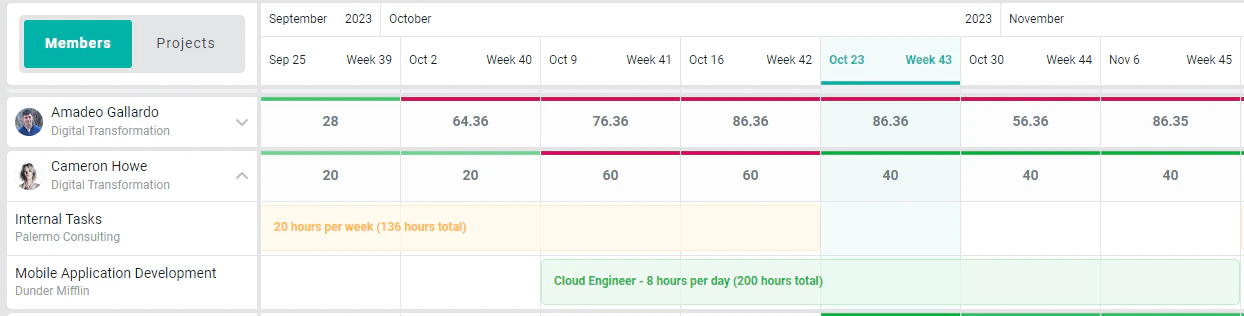
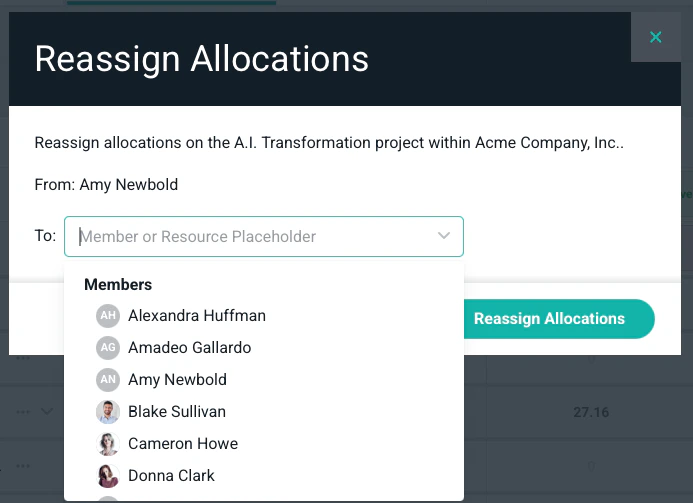
Reassigning an Allocation
To reassign an allocation, you will need to be under the Project view. Once you expand a project, you will select the 3 dotted lines. A pop up will appear to Reassign Allocations. (Figure 12)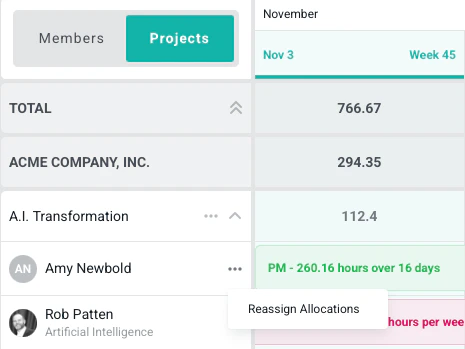
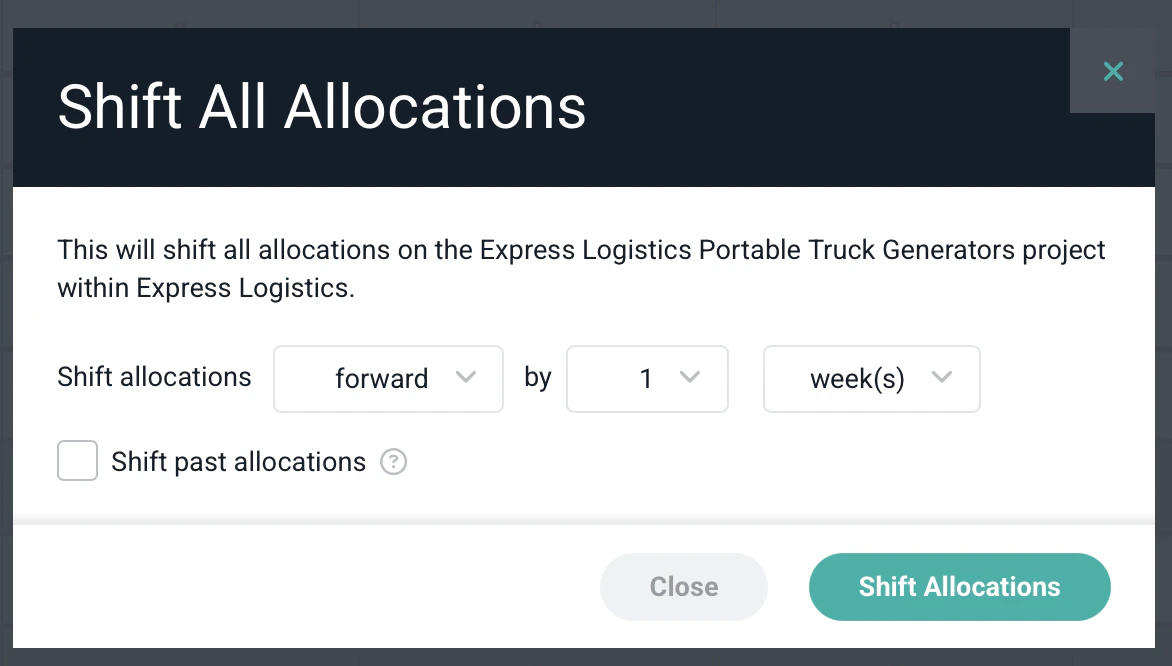
Shift Allocation
To shift an allocation, you will need to be in the Project view. Once you expand a project, you will select the 3 dotted lines. A pop up will appear to Shift All Allocations. (Figure 14)
Set Booking Type
From the Projects view, you can convert the booking type for all of a project’s allocations at once. Expand a project, select the three dots next to the project, and choose Set All Allocations to Soft or Set All Allocations to Confirmed. The confirmation dialog includes an Update past allocations checkbox — when it is left unchecked, only allocations ending today or later are updated. You can also convert the allocations for a single resource within a project. Expand the project, open the three-dot menu on that member or placeholder row, and choose Set Allocations to Soft or Set Allocations to Confirmed. This bulk action is available from the Projects view only.Delete an Allocation
To delete an allocation, you can take either of two actions:- Click on an allocation and select Delete from the context menu.
- Click on an allocation and select Edit from the context menu. On the Edit Allocation drawer (Figure 5), click the Delete button to delete the allocation.