Expenses
Expense Tracking Overview
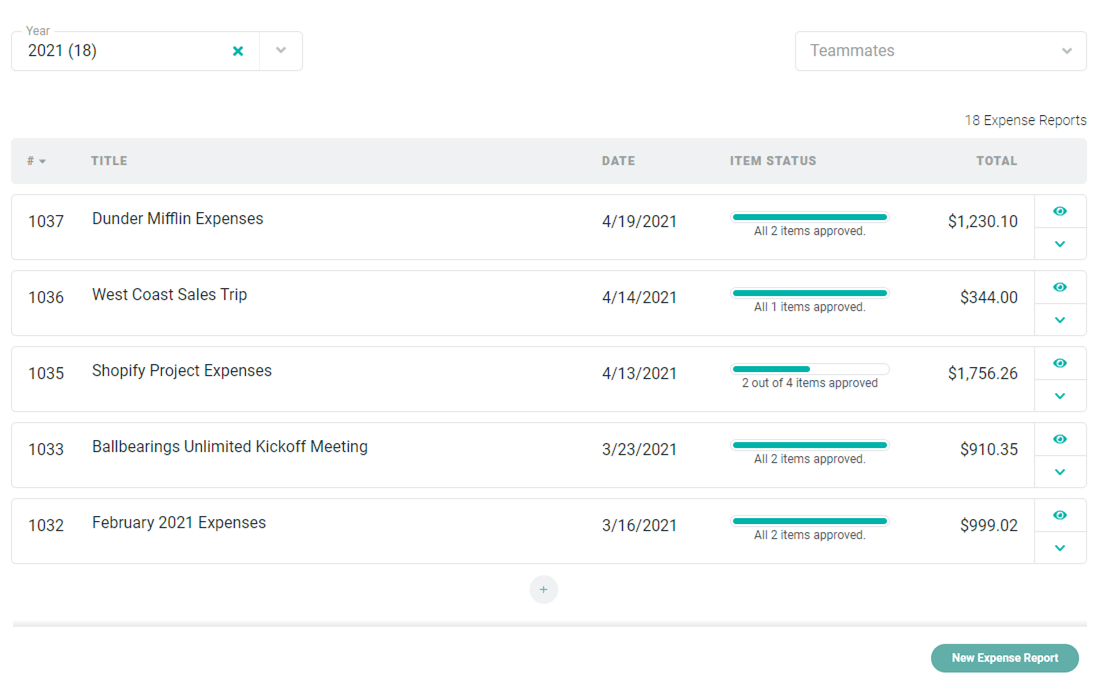
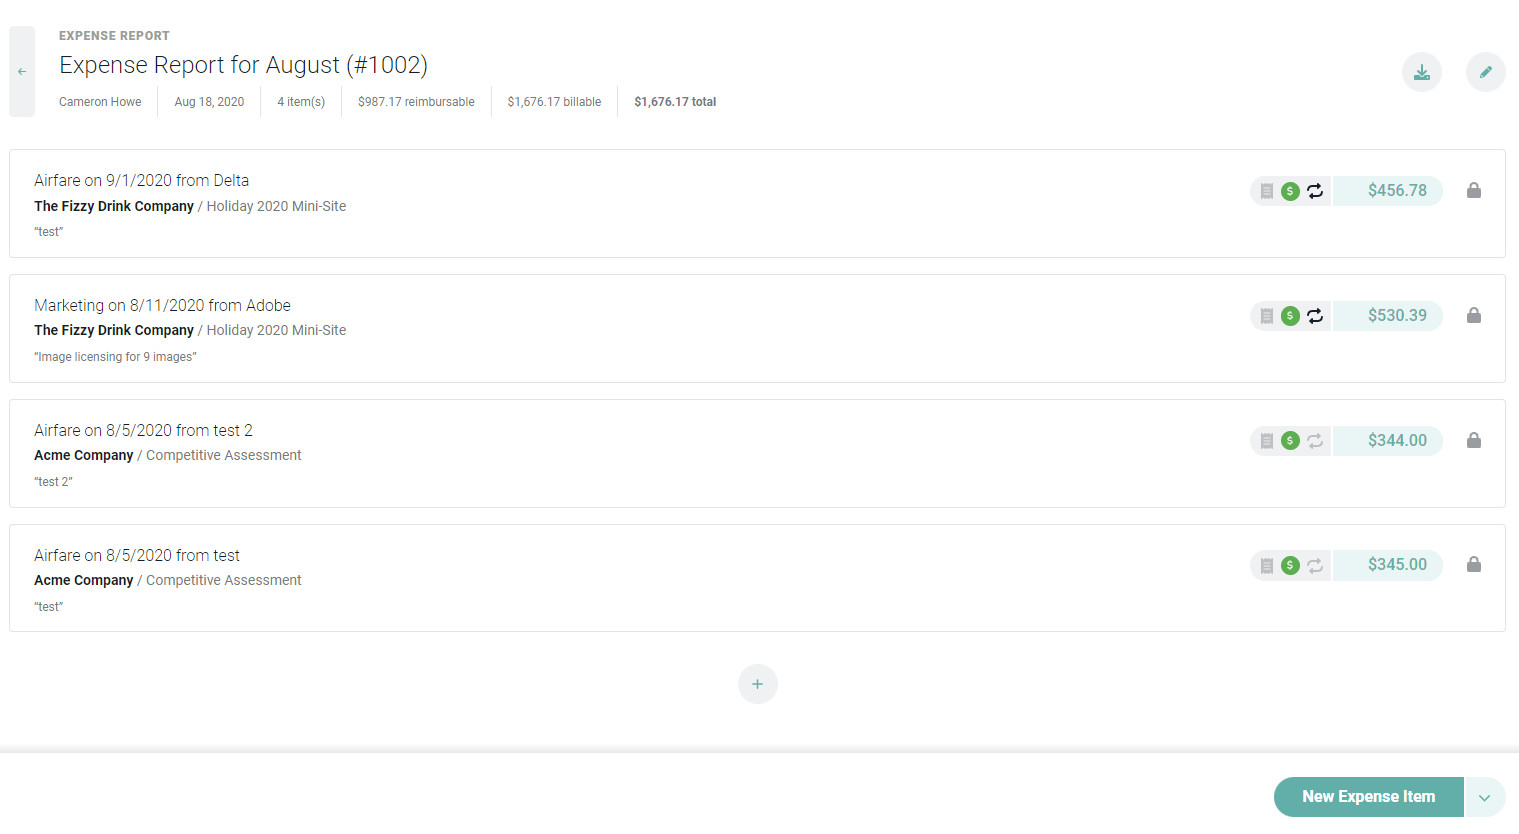
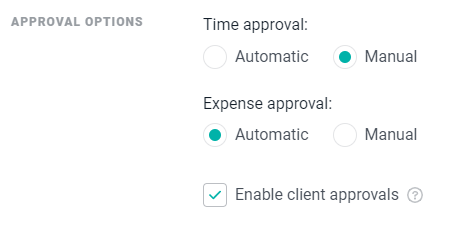
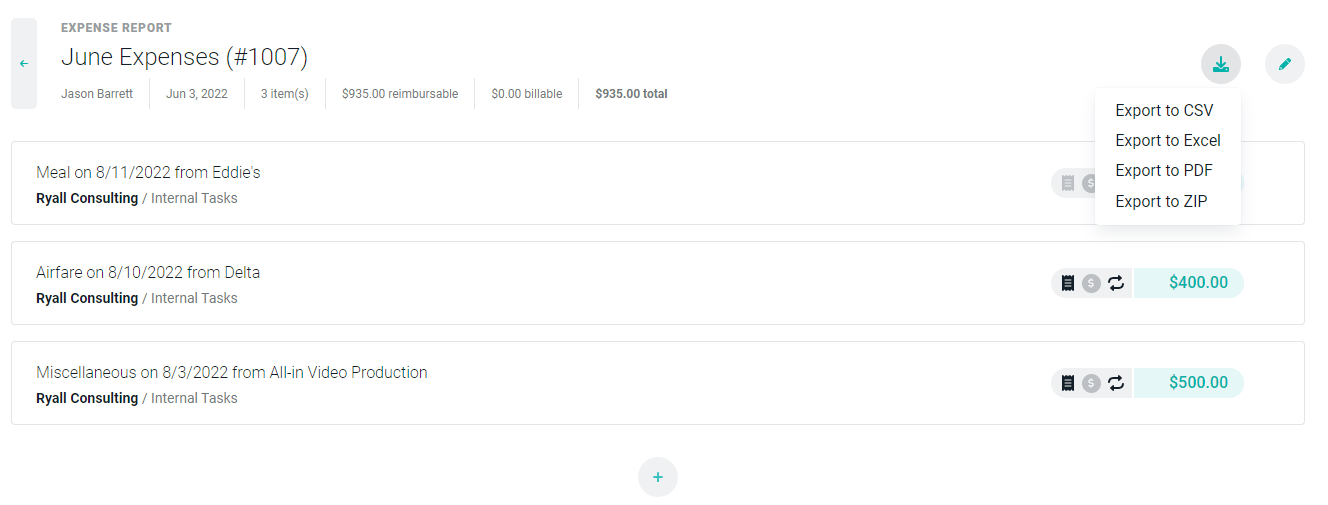
Expense tracking is one of the most fundamental aspects of professional services. In the course of delivering engagements for clients, you will often incur expenses that you will want to charge back to the client. Without accurate expense tracking, the team will fail to invoice properly and the business will underperform.
Ruddr provides simple, yet powerful, expense tracking functionality.