
Add an Expense Category
To add an expense category, simply scroll to the bottom of the expense category list in Custom Data and click on the + Add Expense Category button (Figure 3).

Edit an Expense Category
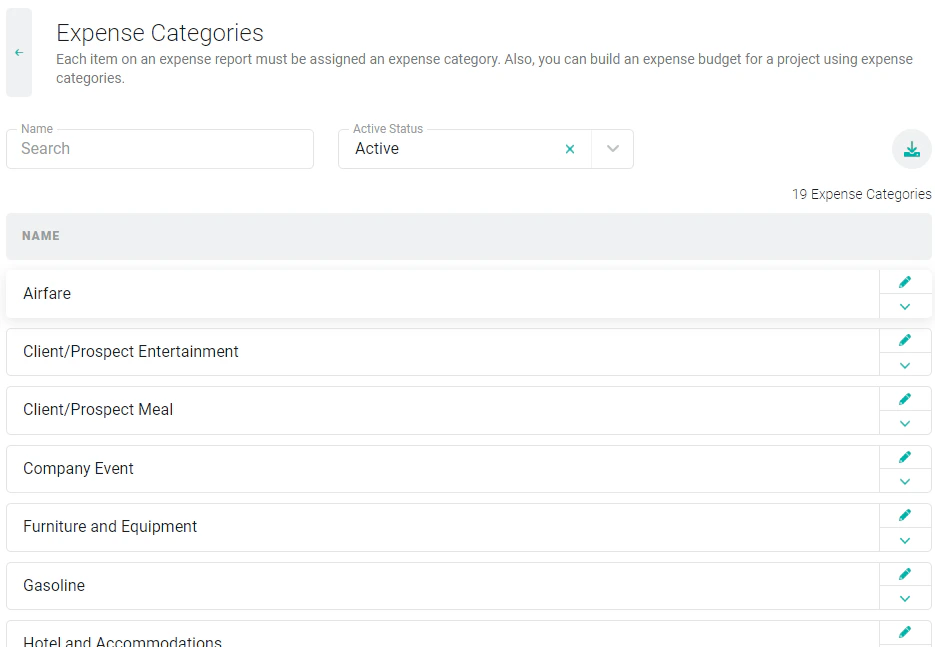
If you wish to edit an expense category, click on the edit (pencil) icon on the right side of the list (Figure 2). This will open up the expense category drawer (Figure 5) that will include additional options for the category.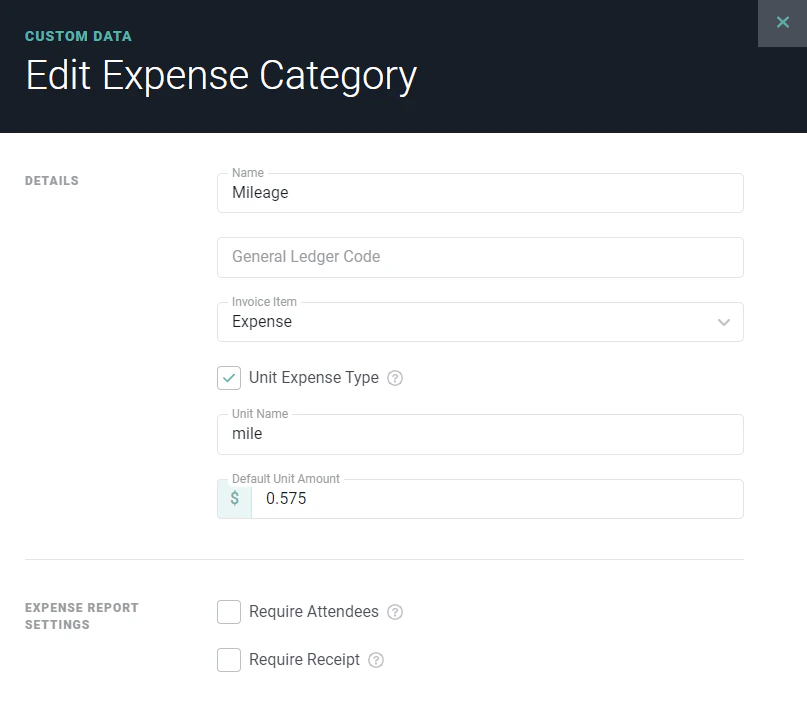
- Whether or not the category requires that the submitter provide attendee names. Some companies prefer to know the attendees for expense categories related to meals, entertainment, and events.
- If a receipt is required for all expenses for that expense category. For certain types of expenses, you may want to always require the attachment of a receipt.
- Whether or not the category should use units. If a category uses units, when an expense item is created for the category, the user will provide the number of units and then the expense total will be calculated automatically. The only default category that uses units is mileage.
- The Invoice Item that this type of expense should be associated with. By default, all expense categories are associated with the built-in “Expense” invoice item.
Delete or Deactivate an Expense Category
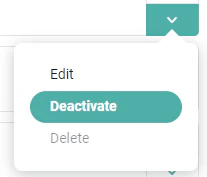
Use the dropdown (Figure 6) next to an item in the expense category list (Figure 2) to delete or deactivate an expense category. You can delete an expense category if it is not currently in use within Ruddr. If the category is in use, then the delete option will be disabled and you will only be able to deactivate the value. When an expense category is deactivated, it can no longer be selected for new expense items, but past items will remain unchanged.