Automatic Time Approval
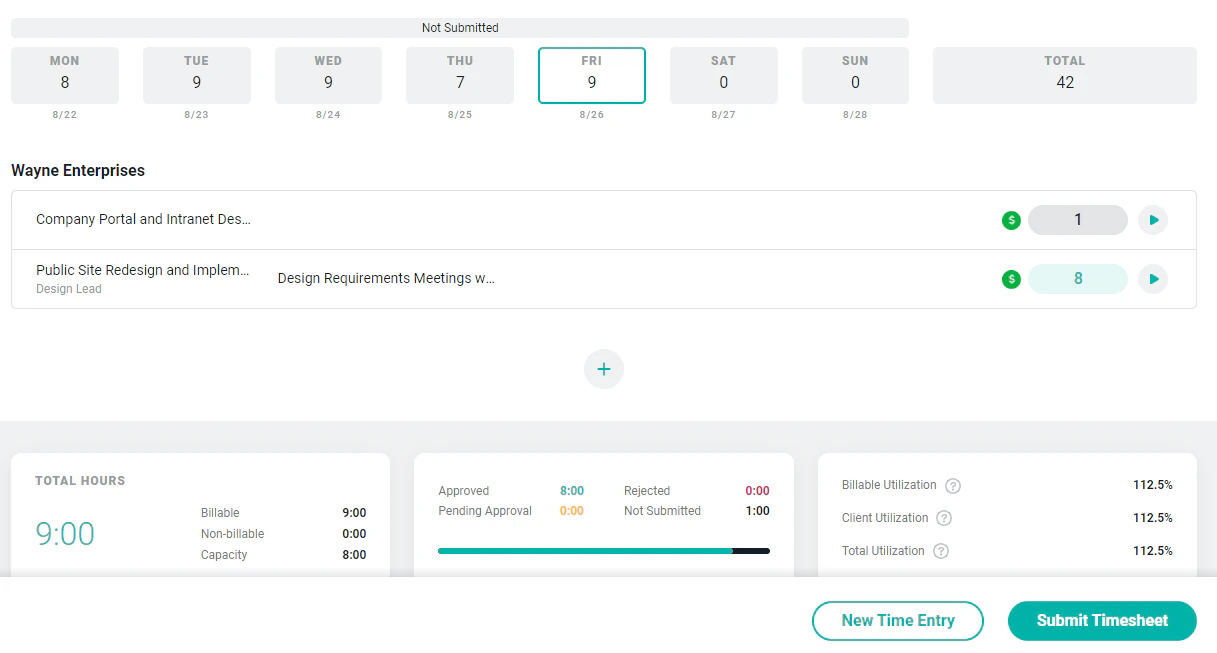
If a project uses automatic time approval, time entries will be immediately approved by Ruddr when they are created. Whether members create time entries in the Month, Week, or Day view, those entries will instantly enter an approved status. When timesheets are disabled, members can continue to edit and delete individual time entries until they enter a locked state. Timesheets In workspaces that leverage the Timesheets feature, multiple time entries are submitted as part of individual timesheets. Members do not submit individual time entries, nor do they submit groups of time entries across multiple timesheets. To submit a timesheet, a member can click the Submit Timesheet button (Figure 3) on the day view or on the week view of the time entry screen. Once submitted, all time entries associated with that timesheet are locked. For more information on unsubmitting a timesheet, please refer to the Timesheet Overview article in Ruddr Help Center. With regards to Automatic approval where the Timesheets feature is enabled, time entries associated with that timesheet are automatically approved if the project uses automatic time approval.Manual Time Approval
If the project uses manual time approval and the Multi-Step Approval Workflow feature is disabled in the workspace, the Project Admin will be notified to review and approve submitted time entries. Project approval configuration is set within the Approval Options section (Figure 1) of the Edit Project drawer.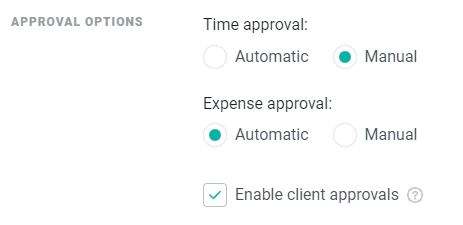
Submitting Time for Approval
In workspaces where Timesheets are disabled, Time can be submitted for approval from the day, week, or month view of the time screen (Figure 2). At the bottom of each view, there is a Submit for Approval button that will show the number of time entries that will be submitted via the current view. Clicking this button will submit all time entries on the view that are not currently in the Approved or Pending Approval state.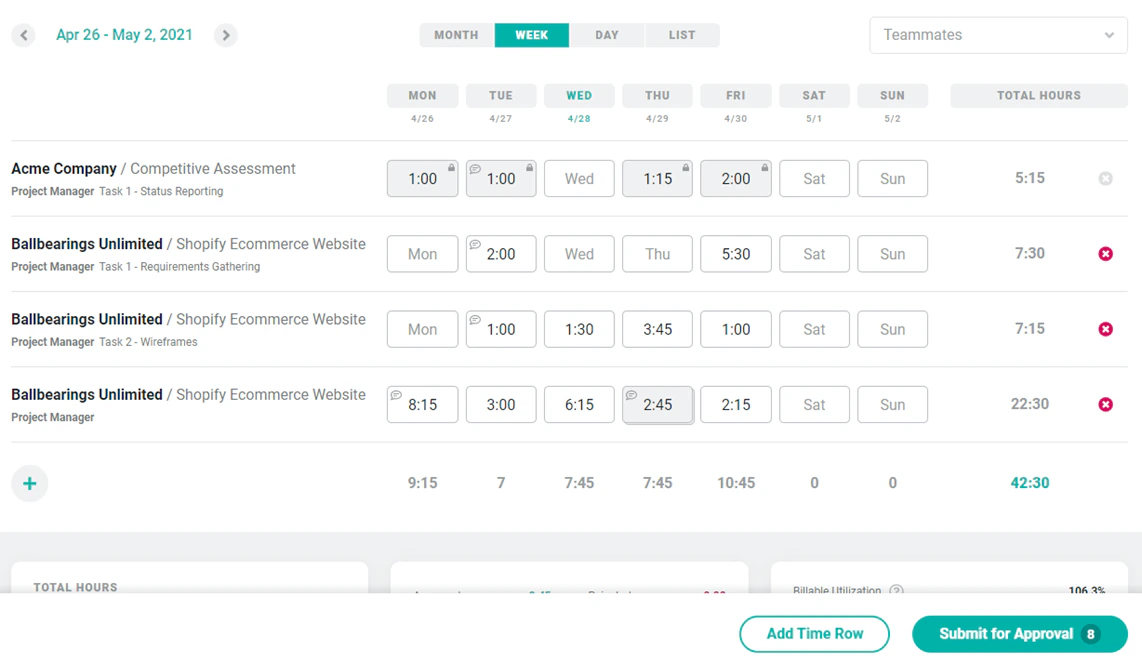
Pending Approval Notification
When time on a project has been submitted for approval, the Project Admin of the project will be notified. The Project Admin will receive an email message such as the one shown below (Figure 4). From this email the Project Admin can click the Time Entry Approvals button and immediately take action. If your workspace has enabled Multi-Step Approval Workflow, each approver would receive this email notification as the workflow advances through the steps configured for the project. If multiple approvers are specified for a single step, all approvers will receive this notification.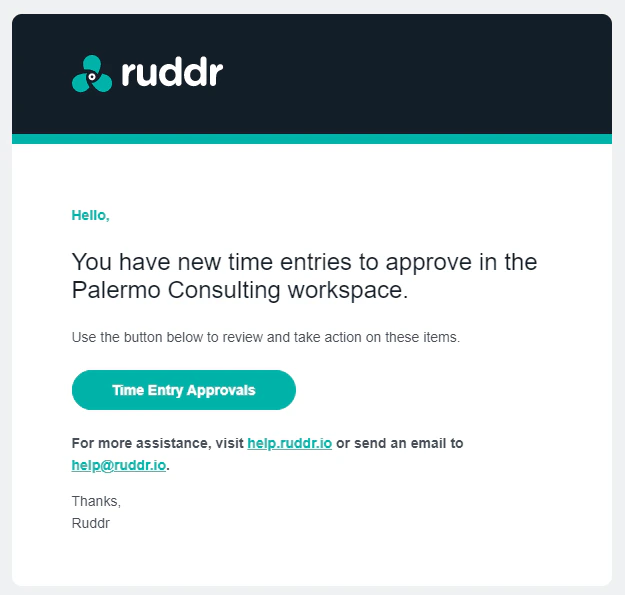

Approving Time
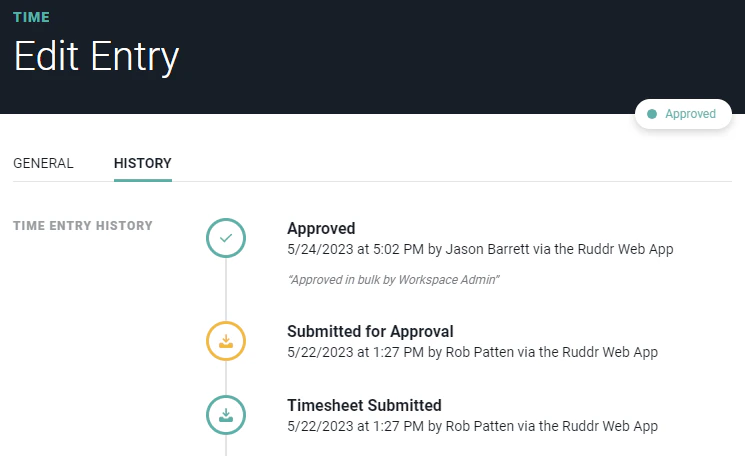
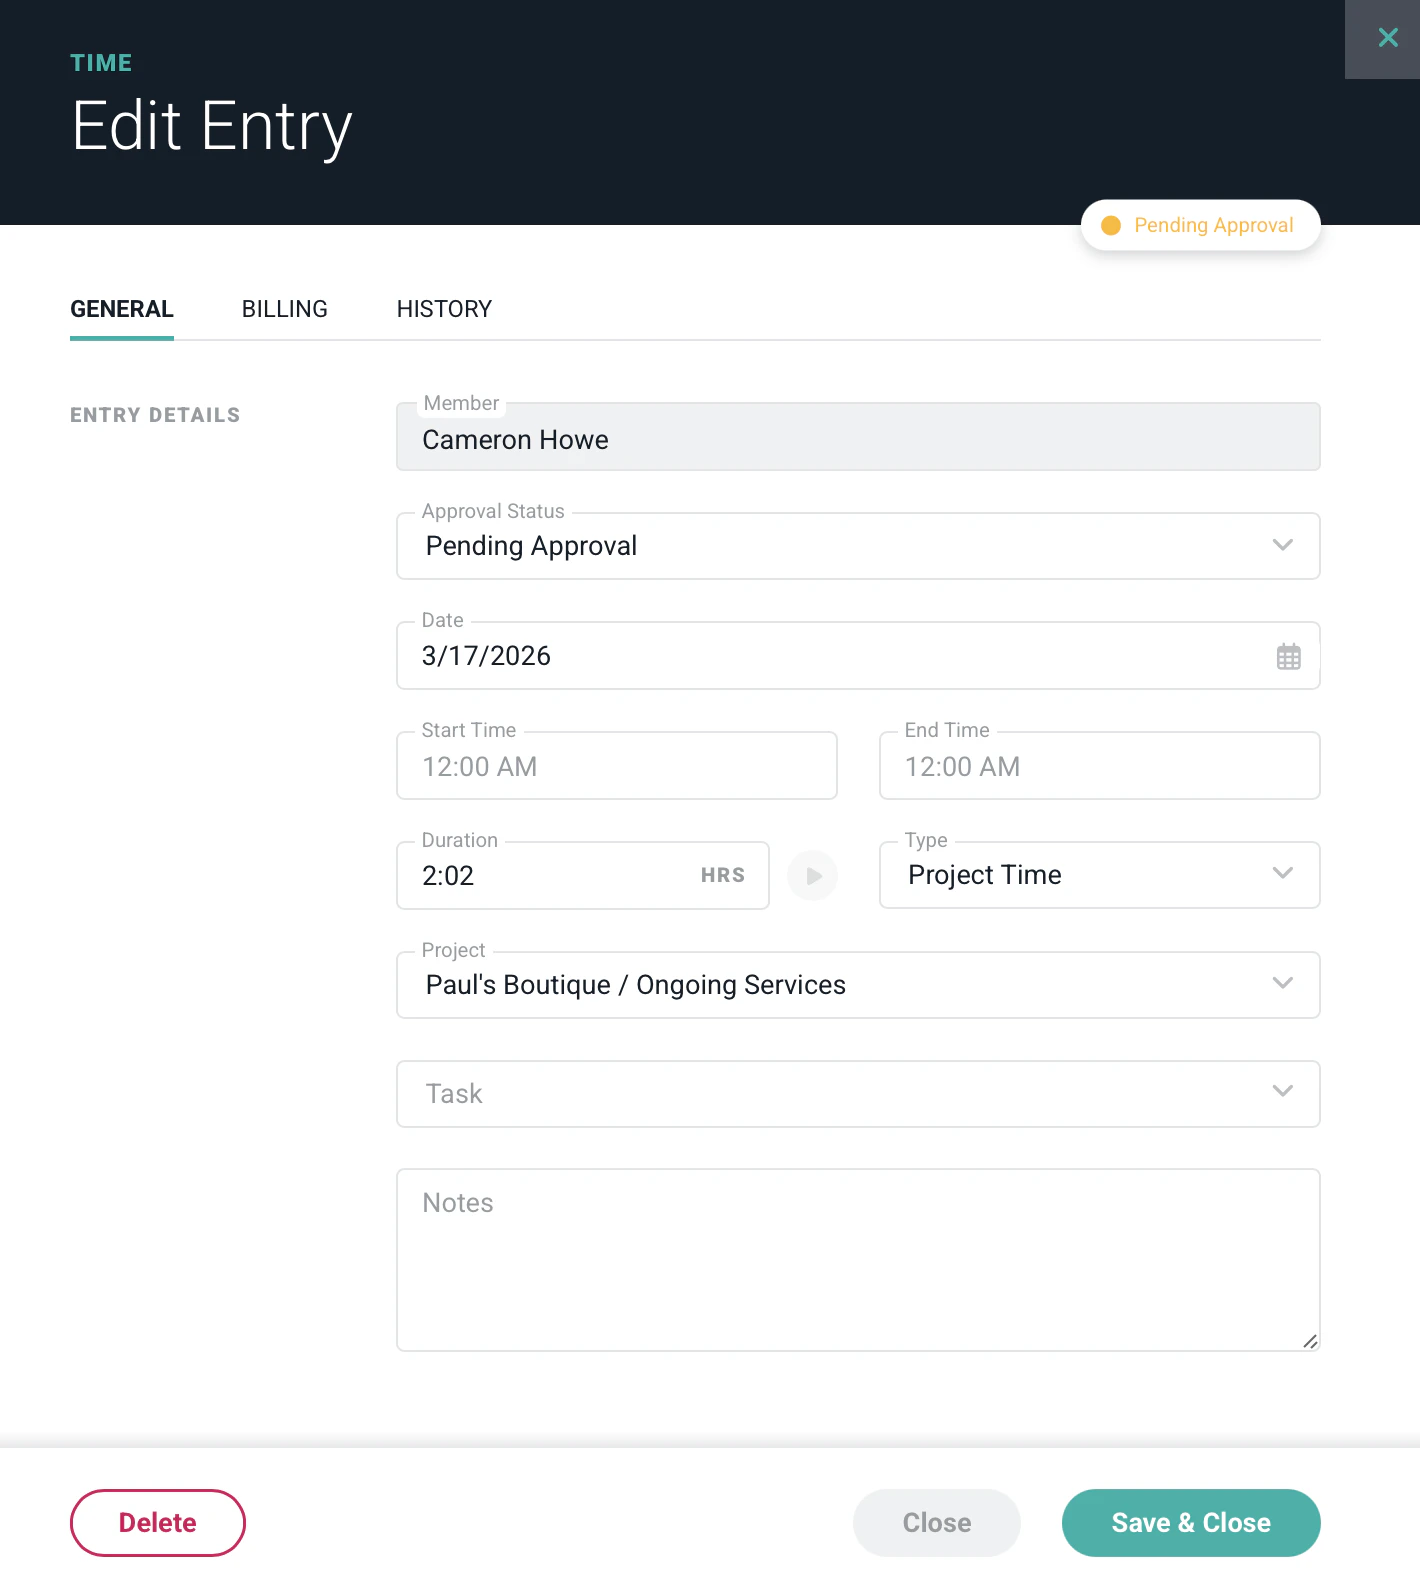
When a time entry that requires manual approval is submitted, any workspace member who has the appropriate permissions can approve or reject the time entry. The Project Admin on the project will be the person notified about the pending approval, but any member with permission can take action. On Behalf of Another Approver Those members with member-level time and expense administrative permissions can approve time on behalf of another approver. There may be times, such as when an approver is on vacation, when an administrator may need to access another approver’s queue and approve time in that queue. To do that, simply select the approver from the Approver dropdown to access their queue and to approve time as outline below. For more on this topic, please refer to this FAQ article on approving time and expense on behalf of another member. The approver can click on any row in the approvals list (Figure 7) to see the full detail of the time entry (Figure 8). Edits can easily be made to the time entry before the entry is approved or rejected.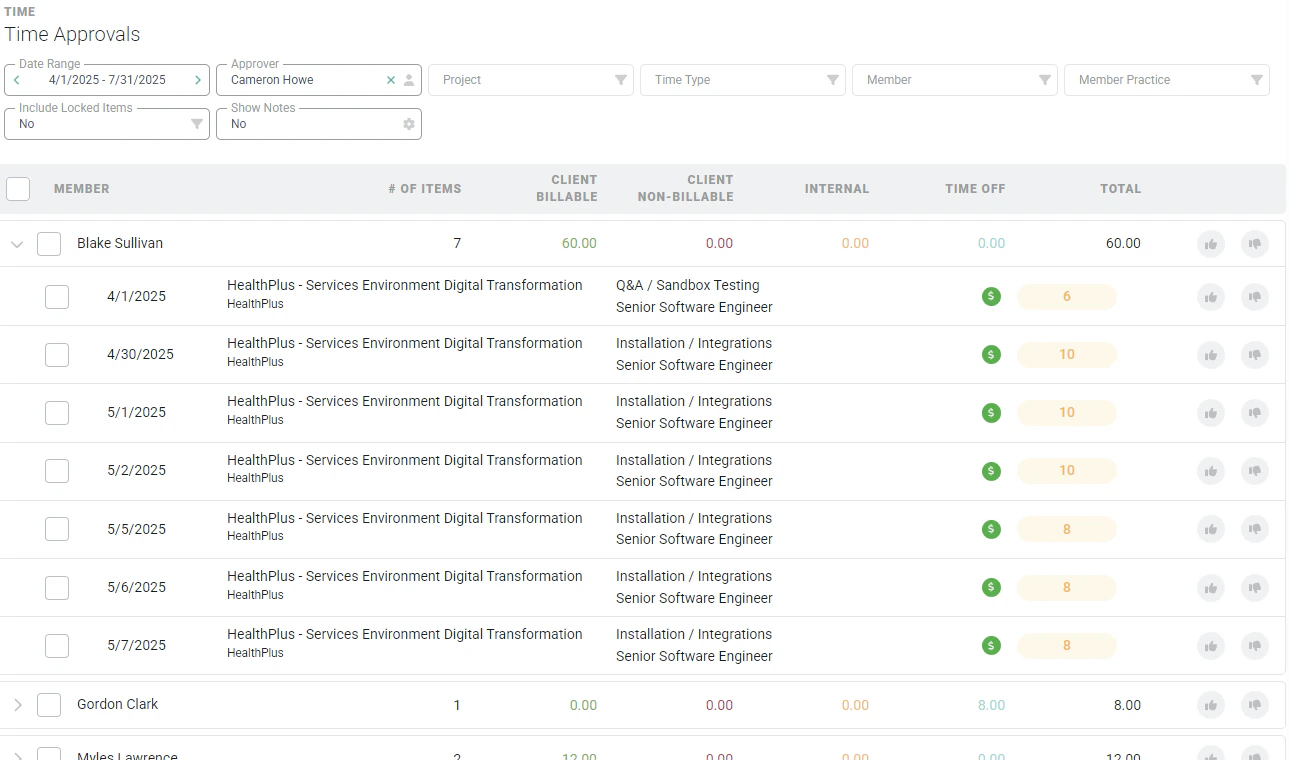


Multiple-entry Approval Actions
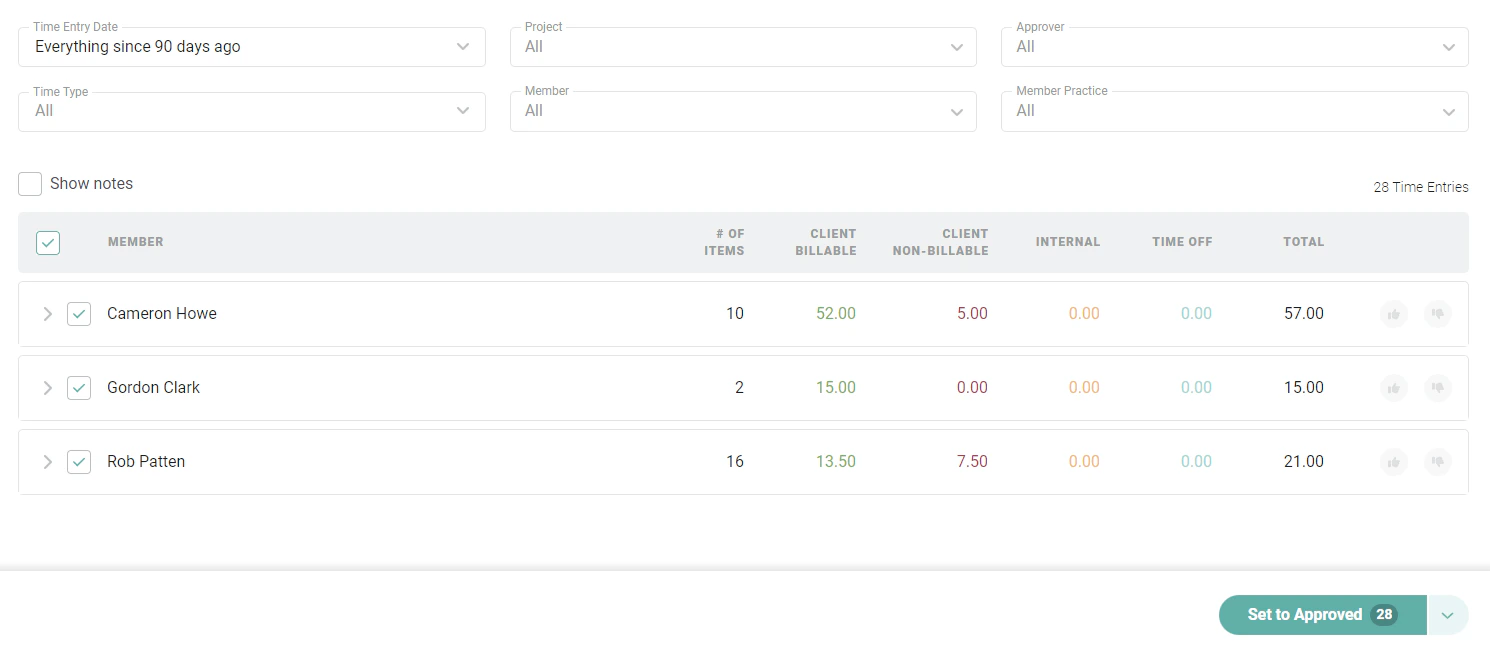
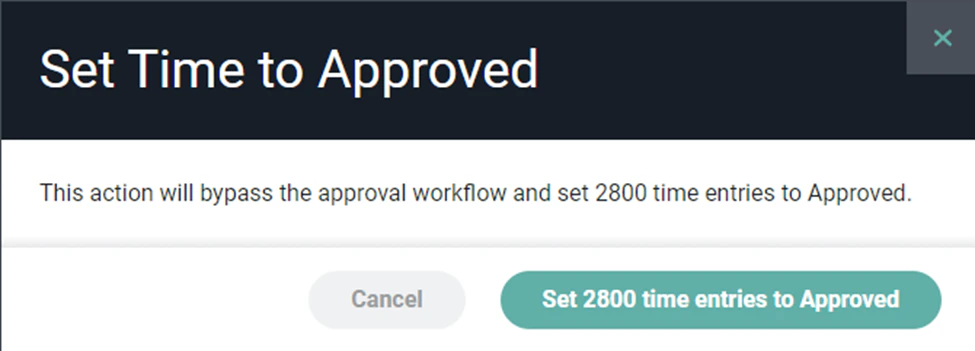
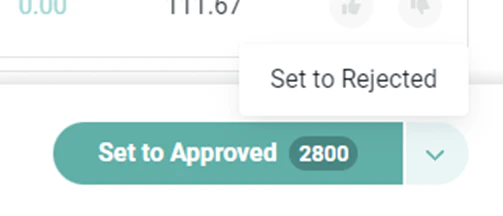
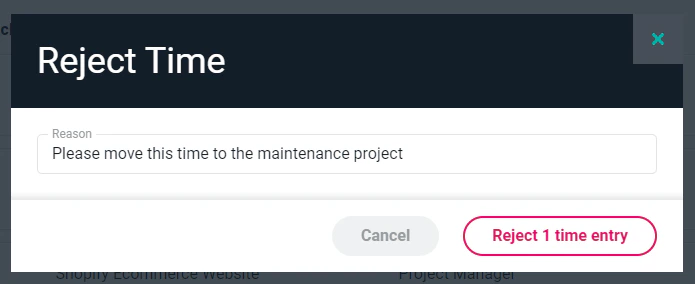
If an approver has a large number of time entries to review and take action on, it is possible to approve or reject multiple entries in their queue. To do this, simply select the rows to approve or reject (as shown in Figure 12) and then click on the action button at the bottom of the screen (Figure 13). The action button defaults to “Approve” but can be switched to “Reject”.
Client Approval of Time Entries
On certain projects, your company may be required to get client approval of time and expenses before those time and expenses can be invoiced to the client. For these situations, Ruddr provides a separate client approvals feature. When client approvals are enabled for a project, a batch of time and expenses can be sent to the client for approval. For more information, see the client approvals article.Bulk Time Approval and Rejection
Bulk time approval is limited to Workspace Admins only. When a Workspace Admin needs to approve large quantities of time entries, they can do so via the Approvals screen (Figure 7). To do this, the Workspace Admin would clear the Approver dropdown filter (Figure 14). The ability to clear this field is only available to Workspace Admins.