

Creating a Member Template
To create a template, open the Member Templates screen from Custom Data and click the New Member Template button. This opens the Member Template drawer, where you provide the template’s details and defaults. Every field on a template is optional. A field you leave unset simply means “do not prefill this value when creating a member”. When a member is created from the template, only the values you have set are applied. The drawer organizes a template’s defaults into the following sections.Details
- Name - The name of the template, shown when you select a template during member creation (Figure 1).
- Description - An optional description to help Workspace Admins understand when the template should be used.
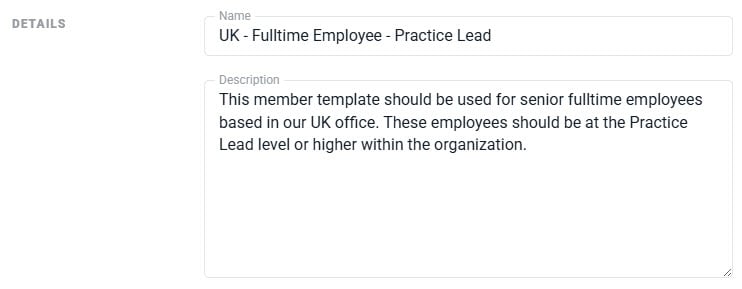
Figure 1 - Name and Description of the Member Template
General
- Member Type - The member type applied to new members created from the template. This can be Employee, Contractor, or Other.
- Labor Cost Type - The method used to determine the member’s labor cost. This can be Hourly Wage, Fixed Wage Per-Hour, or Fixed Wage Per-Month.
- Billable Workspace Member - Whether the member is billable. Only members configured as billable can record billable time and expenses toward projects.
- Security Role - The security role that determines the member’s privileges within the workspace.
- Authentication Provider - The default authentication provider suggested for the member. See Applying a Template When Creating a Member below for how this interacts with login access.
- Holiday Schedule - The holiday schedule assigned to the member.
- Location - The member’s location.
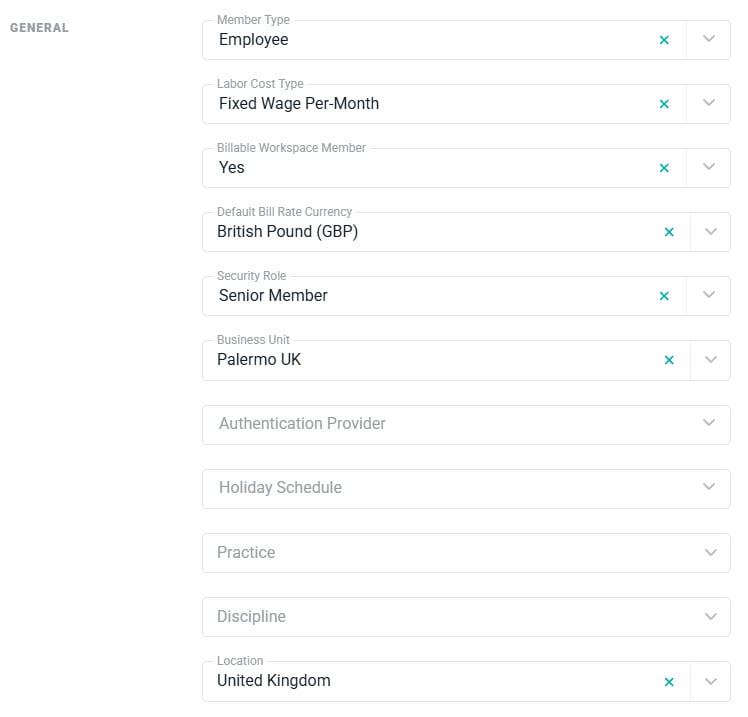
Figure 2 - The General Settings of the Member Template
- Default Bill Rate Currency - Available with the Multicurrency feature.
- Business Unit - Available with the Business Units feature.
- Practice - Available with the Practices feature.
- Discipline - Available with the Disciplines feature.
- Ruddr Assistant - Available with the Ruddr Assistant feature. Sets whether the assistant is enabled for the member.
Time Tracking
- Ability to Track Time Off - Whether the member is allowed to track time off.
- Allowed Time Off Types - When time off tracking is allowed, choose whether the member can use all time off types or only specific ones. Selecting Specific time off types reveals a Time Off Types field where you choose the individual time off types the member can use.
- Time Off Approval - The approval mode used for the member’s time off entries.
Expenses
When the Expense Reporting feature is enabled, the Expenses section includes an Internal Expense Approval field that sets the approval mode for the member’s internal expenses.Notifications
- Missing Time Reminders - Whether the member receives reminders for missing time.
Applying a Template When Creating a Member
When you add a new member to your workspace, you can select a Member Template (Figure 3). Selecting a template automatically prefills the member’s settings with the template’s defaults.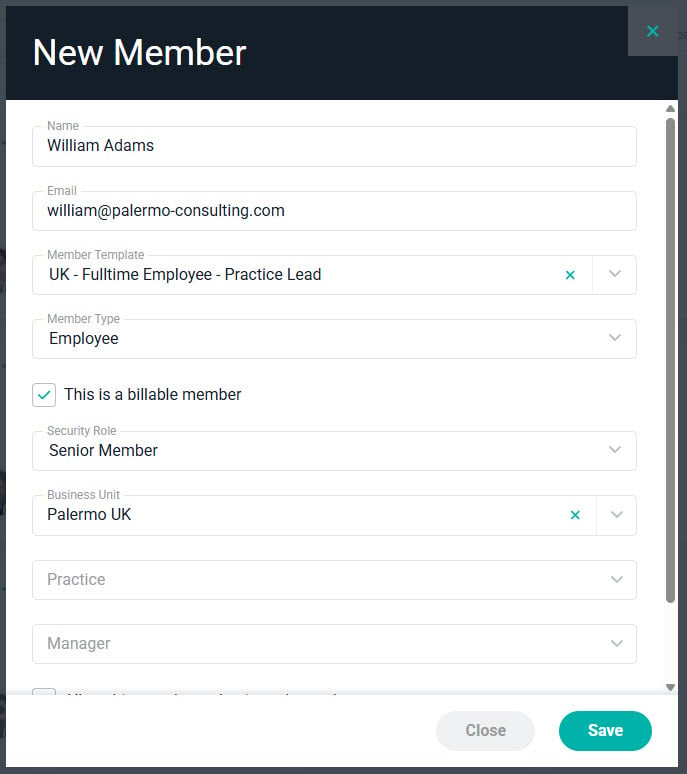
Figure 3 - Creating a New Member Using a Member Template