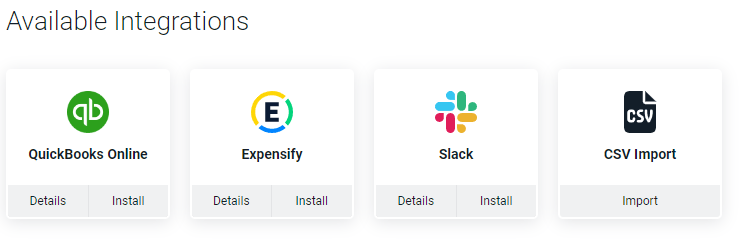
Ruddr provides Workspace Admins with a CSV import tool that lets you load data into your workspace in bulk, rather than entering each record by hand. This is especially useful when you are first setting up your workspace and need to bring across data from an existing system. The CSV import tool lives in the Integrations section of the Settings area (Figure 1). For an overview of everything found in that section, see the Integrations article.
The Integrations Section of the Settings Area

Figure 1 - The Integrations Section of the Settings Area

Supported Data Entities

The CSV import tool can populate the following Ruddr data entities:
  • Workspace Members
  • Clients
  • Contacts
  • Projects
  • Purchase Orders
  • Time Entries
  • Expenses
  • Project Roles
  • Project Rate Cards
  • Project Tasks
  • Project Member Assignments
  • Project Ledgers
    • Fixed Fee Billing Schedule
    • Fixed Fee Revenue Recognition Ledger
    • Project Expenses
    • Products
    • Additional Services
    • Other Items to Bill
    • Earned Revenue Adjustments
  • Allocations
  • Member Costs
  • Member Skill Assignments
NOTE: Entities must be imported in the sequence above (Members > Clients > Contacts > Projects > Time Entries). This is because:
  • Members are required for fields in Clients / Projects / Time Entries
  • Clients are required for Contacts / Projects / Time Entries
  • Projects are required for Time Entries
For example, attempting to import Projects before Clients are created will result in -0- Projects being imported.

Importing a CSV File

In the Integrations section (Figure 1), click on the CSV Import tile to navigate to the CSV Import admin screen (Figure 2).
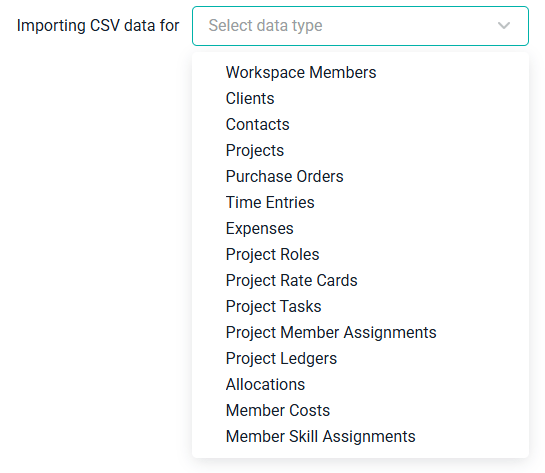
Importing CSV Data for a Selected Data Type / Entity
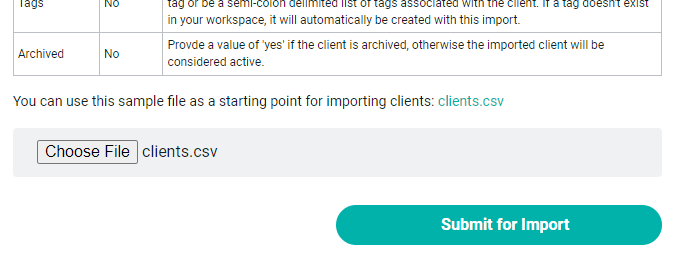
Figure 2 - Importing CSV Data for a Selected Data Type / Entity

As a first step, specify the type of data you would like to import, using the supplied drop-down. Once you select a data type, you will see a second step, where you can upload a CSV file with your data. Note that Ruddr supplies you with a sample CSV file for each data type. Click on the link to open the sample file and use it as a starting point for creating your CSV. NOTE: Your CSV must adhere to the format provided on the screen and all required data must be provided. Please be sure to review the requirements for each field. Once your CSV file has been created, click the Choose File button to upload your CSV to Ruddr. Once uploaded, you will see the name of the file listed. Click Submit for Import (Figure 3) to initiate the import.
Upload Your CSV File and Submit for Import

Figure 3 - Upload Your CSV File and Submit for Import

Once uploaded, you will see a confirmation of records added (Figure 4).
Import Confirmation

Figure 4 - Import Confirmation

Importing Expense Markup

When the Expense Markup feature is enabled, the Expenses data type can mark up imported expense items using two optional columns:
  • Markup Unit - How the expense is marked up: percentage to mark it up by a percentage of the expense amount, or amount to mark it up by a fixed amount.
  • Markup Unit Value - The markup to apply. For percentage, enter a whole percentage, such as 10 for 10% (up to 100). For amount, enter the fixed markup in the expense’s currency, such as 15.00.
Provide both columns together, or leave both blank to import the expense without markup. A row is skipped if only one column is provided, the Markup Unit is not percentage or amount, or the Markup Unit Value is zero, negative, or over 100 for a percentage. Markup applies only to billable expenses, so set Billable to Yes on rows you mark up. If a row includes markup but isn’t billable, or Expense Markup isn’t enabled in your workspace, the expense is still imported, but without markup, and you’ll see a warning for that row.

Importing Earned Revenue Adjustments

Entries for a project’s Earned Revenue Adjustment Ledger are imported with the Project Ledgers data type, using the optional Adjustment column:
  • Adjustment - Set to Yes to import the row as an earned revenue adjustment. Leave it blank or set it to No to import the row into the ledger named in the Ledger column, as usual.
  • Ledger - When Adjustment is Yes, this column names the type of revenue being adjusted instead of a ledger: service, expense, product, or other. Rows with any other value, such as revenue or milestone, are skipped.
Adjustment rows use only the Date, Amount, and Notes columns; Expense Category, Invoice Item, Quantity, Rate, and Billable are ignored. The amount can be negative to reduce earned revenue. Notes are optional and are limited to 255 characters. As with other ledger rows, the Import ID prevents the same adjustment from being imported twice.

Onboarding Migration Services

As part of Ruddr’s onboarding services, our team can assist you with the migration of data from your current system. If you can access your current data, we can work with you to import it into your workspace. For more on preparing your data, see Importing Your Data into Ruddr.