

- Free, Pro, and Max — you add Ruddr yourself.
- Team and Enterprise — an organization owner or admin enables Ruddr once, and it then appears for every member to connect.
Adding Ruddr from the Connector Directory
This is the route on a Free, Pro, or Max plan, and for a Team or Enterprise member whose admin has already enabled Ruddr.- Go to Customize > Connectors in Claude.
- Choose Discover.
- Find Ruddr, either by searching for it or by browsing the Productivity category.
- Open it and click Connect to Claude (Figure 1).
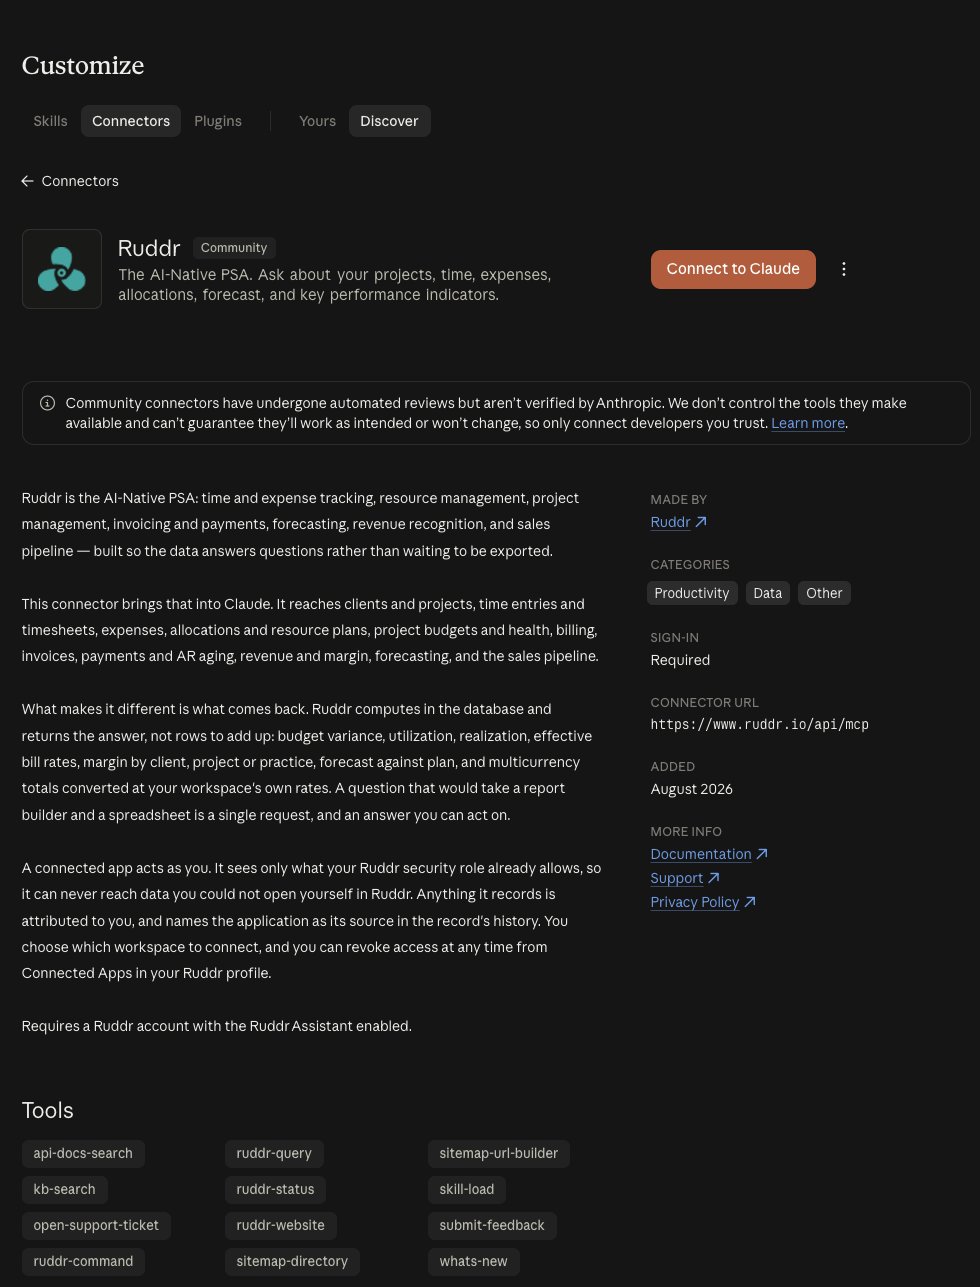
Figure 1 - Ruddr in Claude's Connector Directory
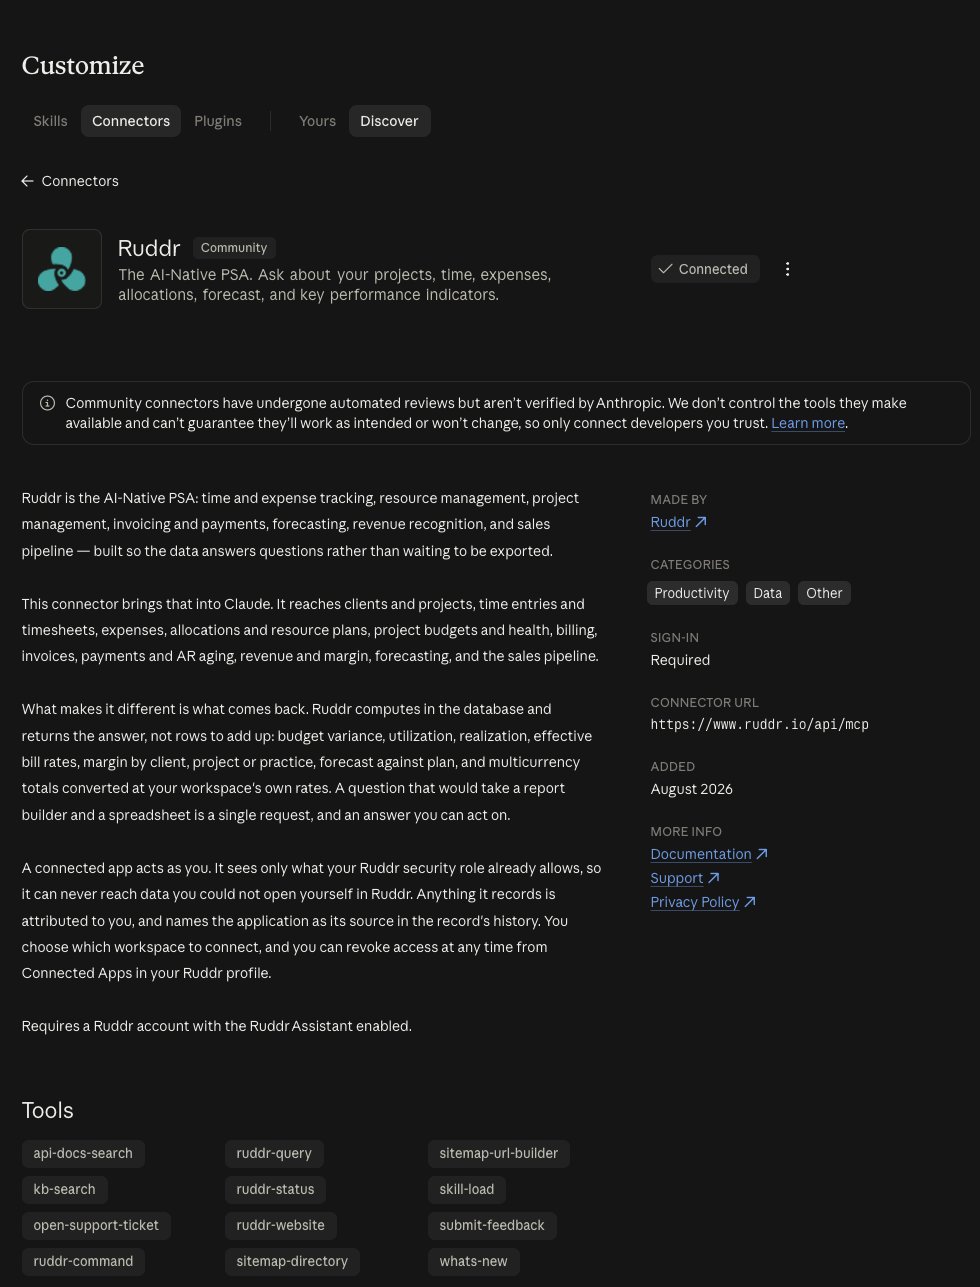
Figure 2 - Ruddr Connected to Claude
Enabling Ruddr for a Team or Enterprise Organization
Members of a Team or Enterprise organization cannot connect Ruddr until an owner or admin enables it for the organization. The owner goes to Customize > Connectors, chooses Discover, opens Ruddr, and clicks Connect for your team (Figure 3).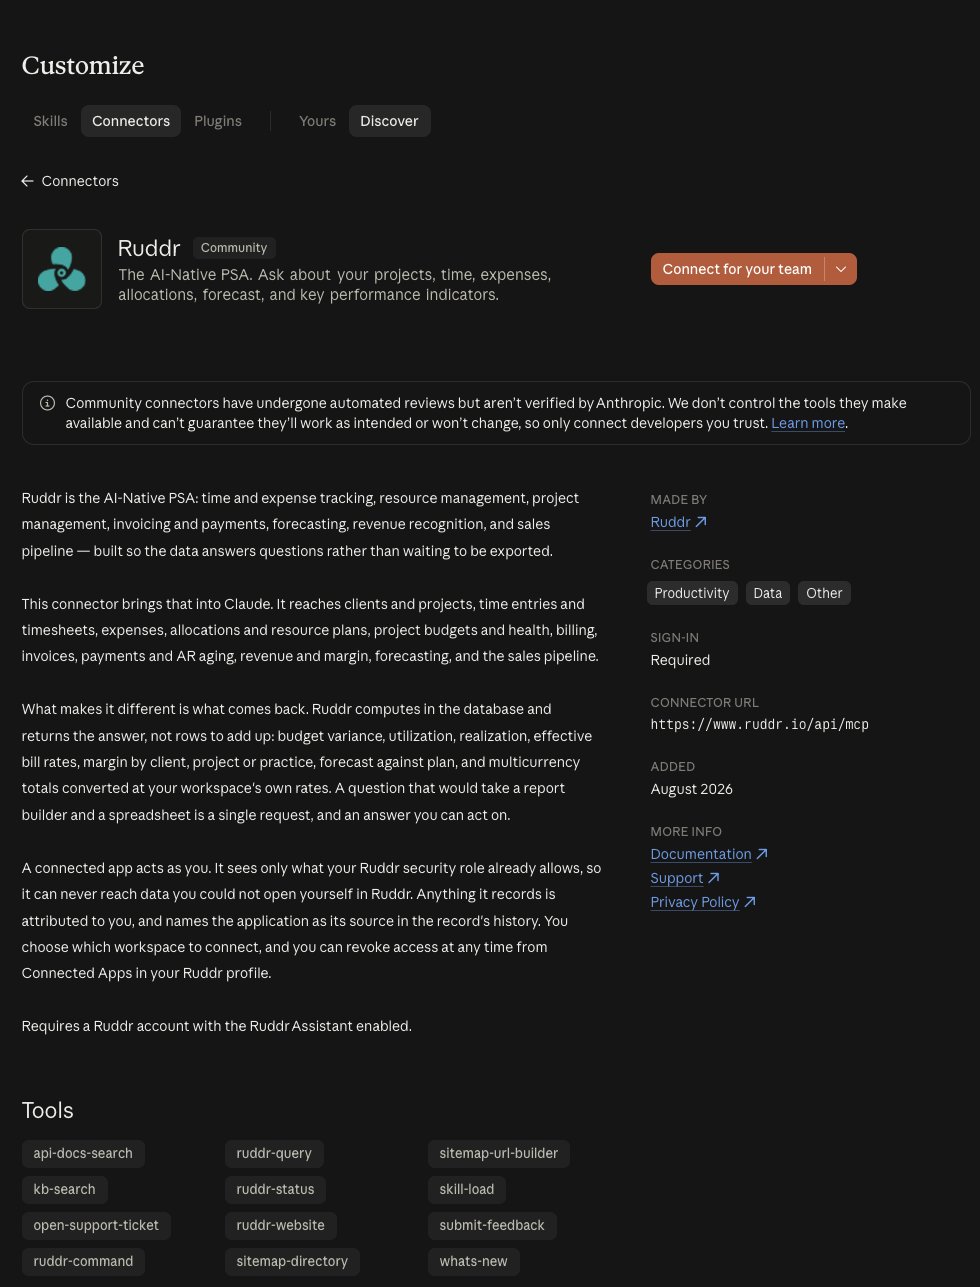
Figure 3 - Enable Ruddr for a Whole Claude Organization
Adding Ruddr as a Custom Connector
Use this route if Ruddr does not appear in the directory for your organization or region, or if your admin would rather manage it as a custom connector. Both routes reach the same server and behave identically. You enter the Ruddr server address yourself:On a Free, Pro, or Max Plan
- Go to Customize > Connectors in Claude.
- Click +, then Add custom connector.
- Enter
Ruddras the name and the Ruddr server address as the URL. - Leave the authentication settings as Claude detects them. Ruddr publishes its own sign-in requirements, so there is no OAuth client ID or secret for you to create.
- Click Add.
For a Team or Enterprise Organization
An owner does this once for the whole organization. Individual members cannot add custom connectors themselves.- Go to Organization settings > Connectors in Claude.
- Select Add, then Custom. If Claude asks for the connector type, choose Web.
- Enter
Ruddras the name and the Ruddr server address as the URL. - Leave the authentication settings as Claude detects them. If you are asked how Claude should identify itself, Use Anthropic’s hosted client metadata is the option Ruddr supports and the one to choose.
- Click Add.
Connecting
However the connector was added, each member connects individually. Go to Customize > Connectors, find Ruddr, and click Connect. Claude sends you to Ruddr to sign in and approve the connection — see Connecting an Application for what that screen is asking. A member can only connect if they have the Ruddr Assistant enabled on their member profile, and once connected they see exactly the data their security role allows. Members of your Claude organization who are not members of your Ruddr workspace cannot connect at all.Using Ruddr in a Conversation
Connectors are turned on per conversation. Click the + button in the chat, choose Connectors, and switch Ruddr on. Claude will then use it when your question calls for it — asking about a client’s budget, this week’s hours, or an unbilled balance, for example.Claude Code
Claude Code runs in your terminal and is configured with two commands rather than through the connector settings. For anything about Claude Code itself, see Anthropic’s own MCP documentation for Claude Code. Add the Ruddr server:--scope user makes Ruddr available in every project you work on. Leave it off if you only want Ruddr in the project folder you are currently in.
Then start Claude Code and run the /mcp command, select ruddr, and choose the authenticate option. Claude Code opens your browser, where you sign in to Ruddr and approve the connection.
If you are working over SSH or on a machine with no browser, authenticate from the command line instead:
claude mcp list. To remove it, run claude mcp remove ruddr.
Removing the Connection
Removing the connector, or runningclaude mcp remove, stops Claude from using Ruddr. The authorization itself lives in Ruddr, so to revoke it there as well, delete the connection from your Connected Apps page.