Enabling the Xero Invoice Export Integration
The Xero Invoice Export Integration can be enabled from within the Integrations section of Workspace Settings. A member must have the Workspace Admin security role to access and enable this integration. From within the Integrations section, there will be a Xero Invoice Export tile (Figure 1). Click Install to enable and configure the integration.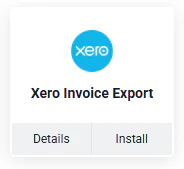
Integration Settings
Upon clicking Install, you will be prompted (Figure 2) to configure the integration settings. The settings are as outlined below.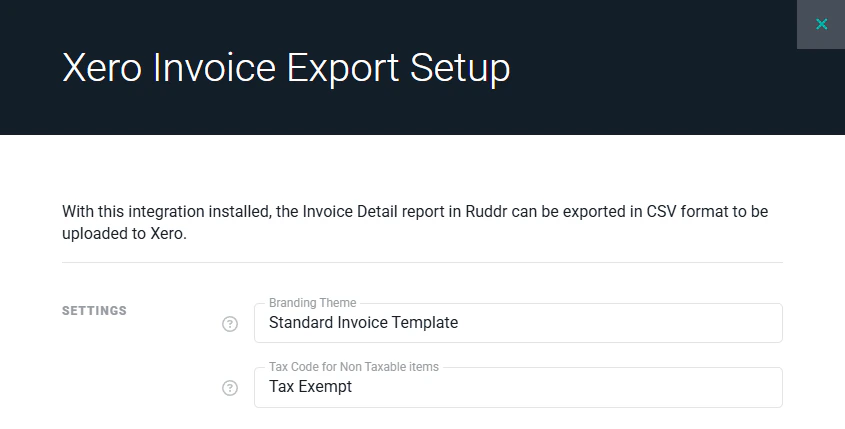
- Branding Theme - Xero supports the concept of Branding Themes which allow you to customize an invoice. For example, you could use a separate branding theme for each country in which your business operates and each theme could have its own street address. If no Branding Theme is provided, Xero will use the default Branding Theme.
- Tax Code for Non-Taxable Items - For items that will not have tax, you must supply the name of a tax code for non-taxable items. The default tax code for non-taxable items in Xero is “Tax Expense (0%)”.
Generating the Export File
Once the Xero Invoice Export Integration has been installed and configured, you are ready to export invoices out of Ruddr and import them into Xero. With the integration installed, the Invoice Detail report will have a new export option labeled “Export to Xero CSV”, as shown below.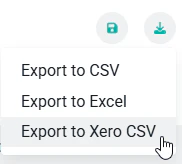
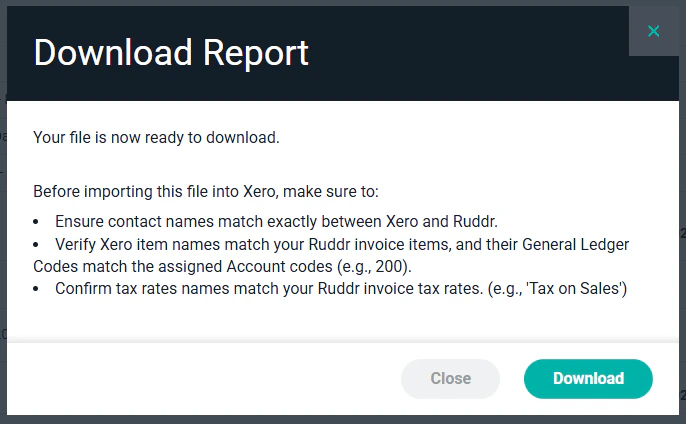
- Ensure that the client names in Ruddr match the corresponding contact names in Xero. These must match exactly on a character-by-character basis.
- Ensure that the Ruddr invoice item names match the corresponding Xero item names. Also, ensure that the General Ledger Code on each Ruddr Invoice Item (in the Custom Data are of Workspace Settings) matches the chart of accounts code in Xero.
- Ensure that the tax rate names in Ruddr match the corresponding tax rate names in Xero.
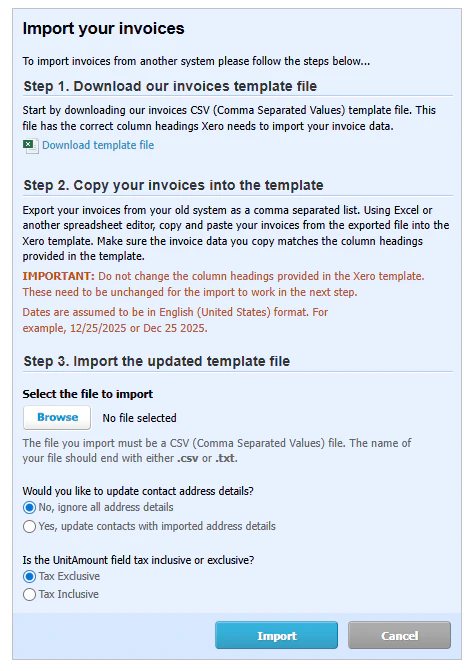
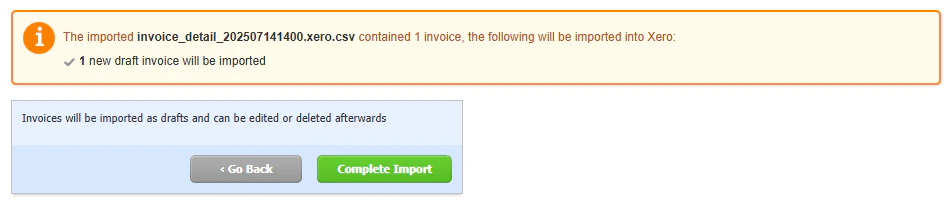
Importing the Invoices into Xero
To import the invoice CSV file that was generated in the previous step, log in to Xero and choose the Business main menu option and the Invoices secondary menu option. This will bring up the Invoices screen. At the top of this screen, click on the Import button to begin the import process.