Step 1: Install the Ruddr App in Rippling
Installing the Rippling integration involves the installation and configuration of the Ruddr application from within the Rippling App Shop. This installation can be initiated from within Ruddr or from within Rippling.Initiating the Installation from Ruddr
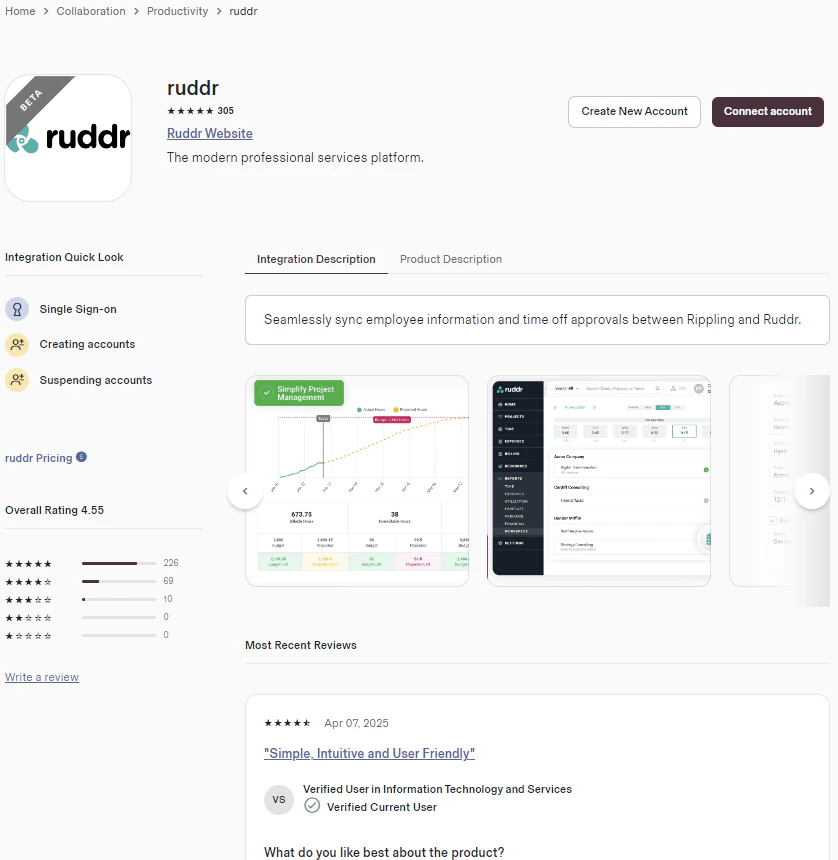
To get to the Integrations area of Ruddr, simply click on the Settings main nav bar option and then select the Integrations menu option (see Integrations for more information). The Integrations screen is separated into two sections which are Active Integrations and Available Integrations. If you have yet to set up the Rippling integration, it will be listed in the Available Integrations section. Simply click on the Install button at the bottom of the integration widget (Figure 1). This will redirect you to Rippling, where the installation will continue at Step 2 - Configure Ruddr App in Rippling.
Initiating the Installation from Rippling
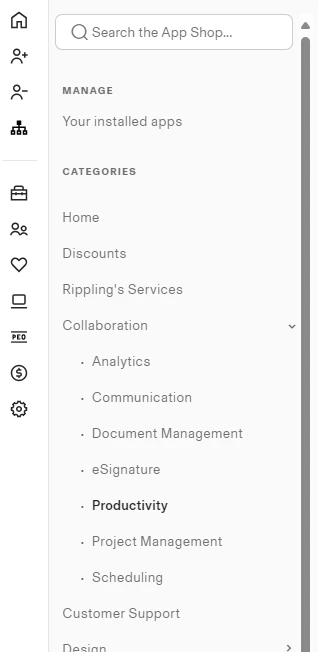
In Rippling, navigate to the App Shop. A link to the App Shop can typically be found towards the bottom of the left navigation menu in Rippling (Figure 2).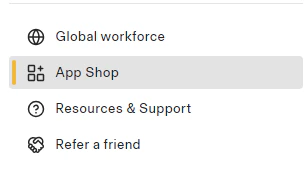
Step 2: Configure Ruddr App in Rippling
As a next step in Rippling, you will need either proceed with installing the Ruddr app as a Ruddr workspace administrator or designate a specific Ruddr admin for the installation (Figure 5). If you are a Ruddr admin, specify that you will install it and click the Continue button at the bottom-right of the screen to proceed to authorize the Ruddr app.
Permissions Authorization
Upon indicating that you are a Ruddr administrator, you will be prompted (Figure 6) to authorize Ruddr to access specific Rippling information. Review the permissions, then click the Authorize button at the bottom of the screen.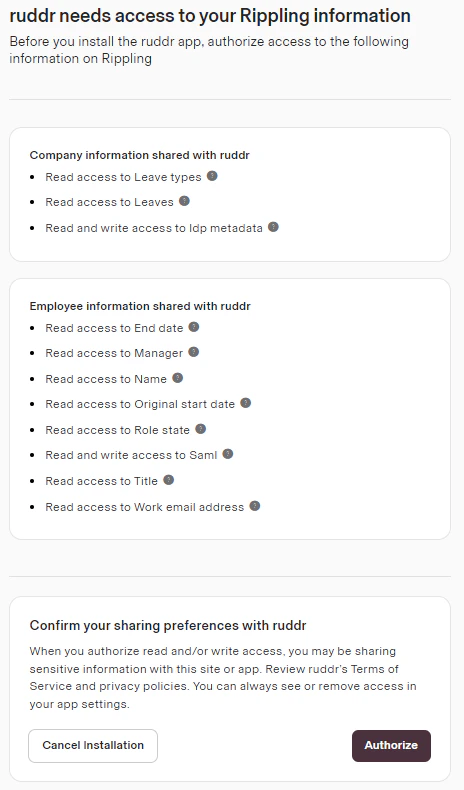
Application Access Rules for Your Organization
Upon authorizing Ruddr to read information for your organization, you will be prompted (Figure 7) by Rippling to assign access to people within your organization. Choose the option that best applies for your organization and click the Continue button to proceed.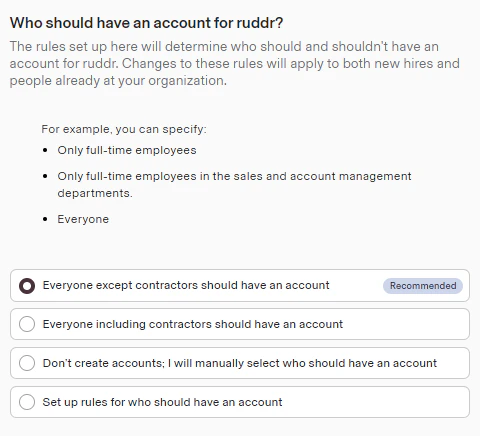
Finalize the Installation / Connection in Rippling
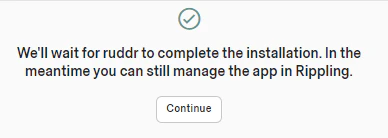
After authorizing access to the Ruddr app in Rippling, you will be prompted (Figure 9) to finalize the connection. Click on the Continue button to proceed and be redirected to Ruddr if you do not have an active Ruddr session in your browser.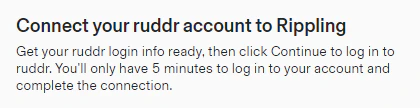
Step 3 - Configure the Rippling Integration in Ruddr
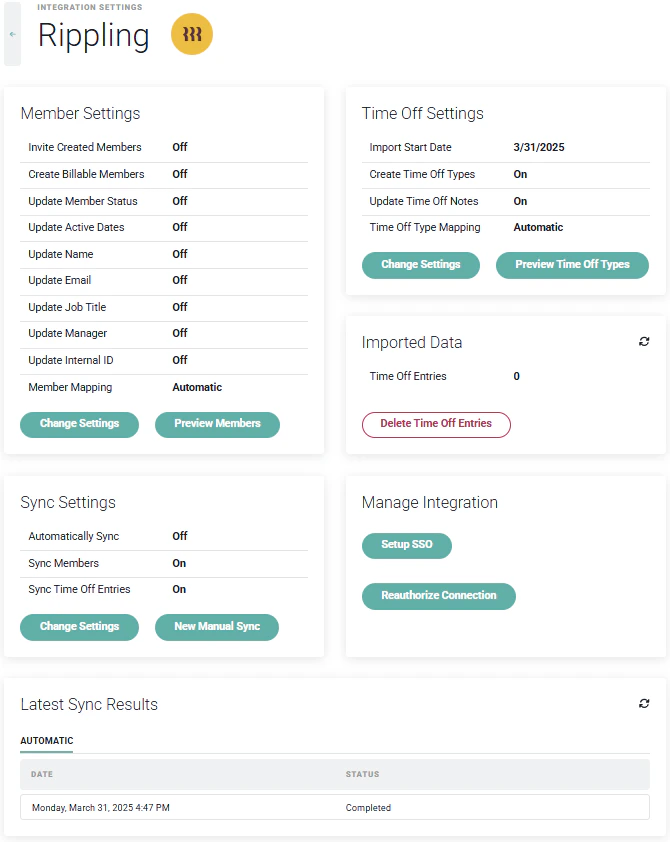
There are a number of Rippling configuration settings in Ruddr, available from the Settings screen (Figure 11).- Member Settings
- Time Off Settings
- Sync Settings

Member Settings
In the Member Settings section (Figure 13), you can specify how you want the integration to manage Ruddr workspace members and relevant member data fields.
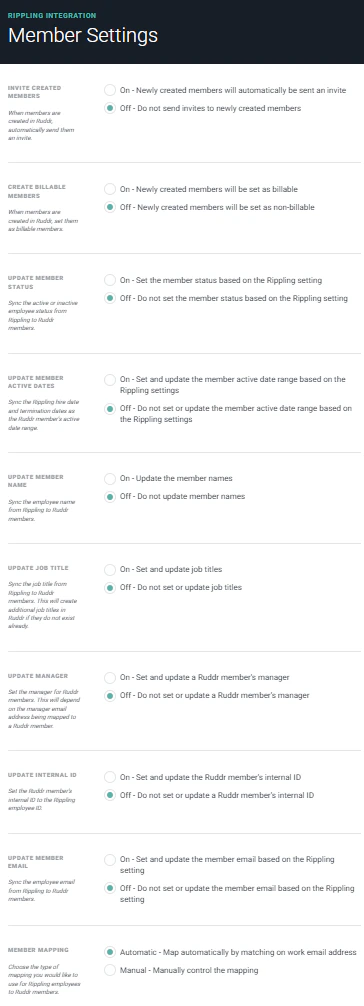
- Invite Created Members - by default, the integration is set to create new workspace members in Ruddr but not send invitations to those members. By toggling this setting to On, the integration will automatically send invitations to Ruddr members when they are created by the Rippling integration. Note that when members are created in Ruddr, their Security Role is set to the default Security Role in the workspace.
- Create Billable Members - by default, Ruddr members that are created by the Rippling integration are set as non-billable workspace members in Ruddr. Changing this to On will configure all newly created Ruddr members as billable in your workspace.
- Update Member Status - This setting controls whether or not the integration will automatically update a Ruddr member’s status (Active or Inactive) based on the employee status in Rippling. If an employee in Rippling is terminated, and this setting is set to On, the integration will automatically deactivate the member in the Ruddr workspace. Conversely, if an inactive employee in Rippling is reactivated, or a new employee is created, the integration will set this member’s workspace status to Active in Ruddr. By default, this setting is set to Off.
- Update Member Active Dates - enabling this setting will ensure that the Rippling hire date and termination date will be used as the Ruddr member’s active date and inactive date, respectively.
- Update Member Name - sync the employee name from Rippling to Ruddr members.
- Update Job Title - this setting allows the integration to sync an employee’s job title from Rippling to Ruddr members. If the Job Title does not exist as a record in Custom Data, then Ruddr will create the Job Title record.
- Update Manager - if the email of the employee’s manager maps to a Ruddr member, the manager will be set on the employee’s member record.
- Update Internal ID - enabling this setting will sync the employee’s Rippling employee ID to the Internal ID field on the member profile in Ruddr.
- Update Member Email - if you want to keep the email address used in Rippling as the member’s email in Ruddr, set this setting to On.
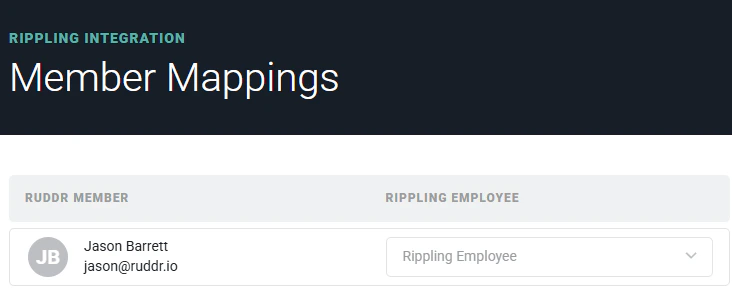
- Member Mapping - This setting controls how the integration maps Rippling employees to Ruddr members. Provided your workspace members use the same email address in both systems, you can leave this set to Automatic. Setting this to Manual requires you to manually map Rippling employees to Ruddr members. The default setting is Automatic.
- Successfully mapped members
- Members found in Ruddr but not in Rippling
- Members found in Rippling but not in Ruddr

Time Off Settings
In the Time Off Settings section (Figure 17), you can specify how you want to manage time off time entries from Rippling.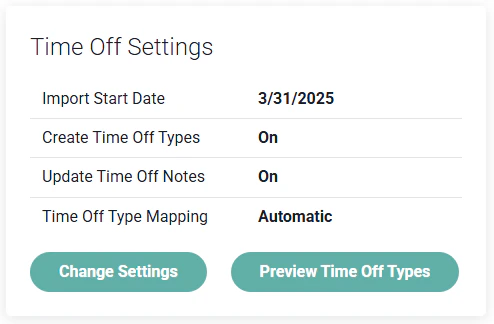
- Import Start Date - Setting this date establishes the first date of time off requests that Ruddr will import from Rippling. You may prefer to import time off time entries beginning on the date the integration is setup.
- Create Time Off Types - The default setting is On. In this case, the integration will map time off types between the two systems when the time off type name is identical. If no match is found, the time off type will be created in Ruddr and the time off entry will be imported. If this setting is switched to Off and the integration does not find a matching time off type, the time off entry will not be imported.
- Update Time Off Notes - Ruddr will sync any description associated with a time off request in Rippling as Notes on the time entry that gets created. If you do not want these notes to be available on the time entries in Ruddr, you can change this setting to Off.
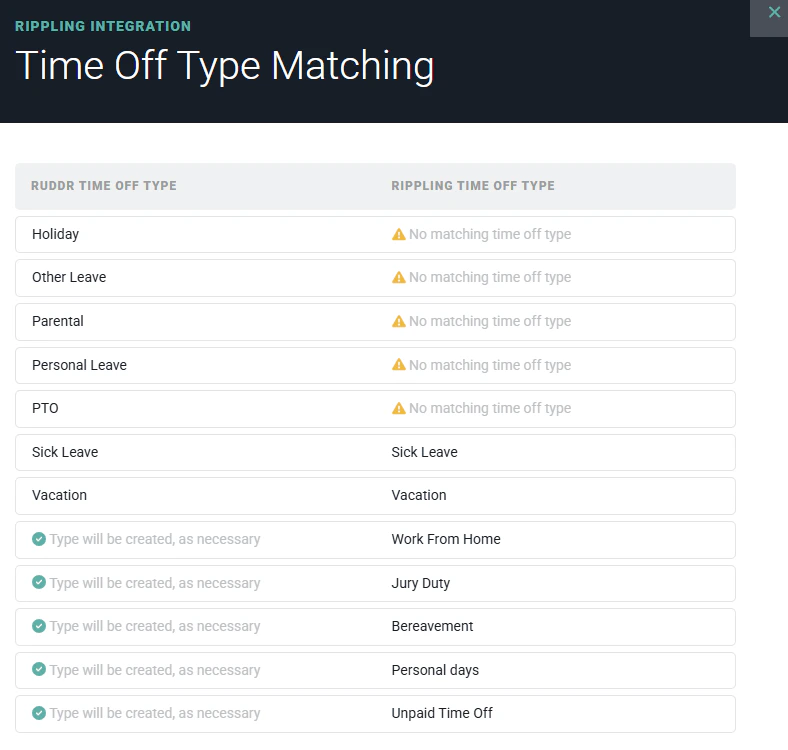
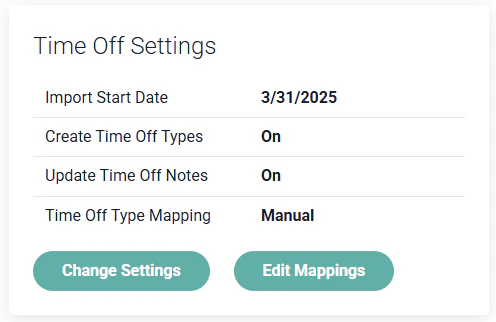
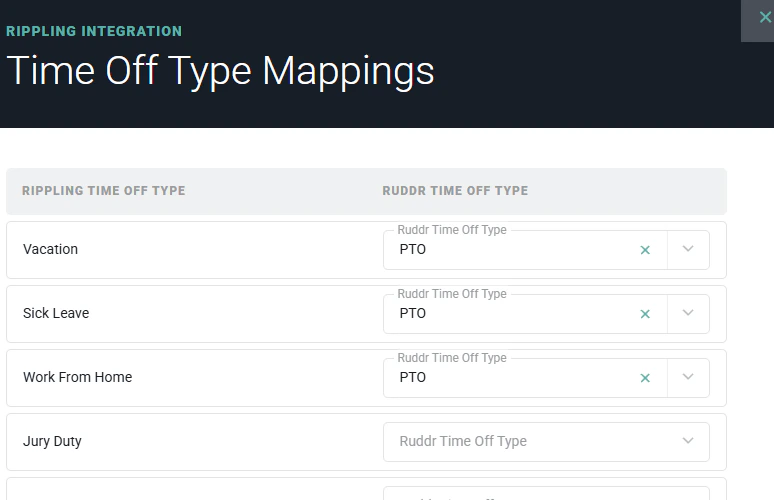
- Time Off Type Mapping - In Ruddr and Rippling, you can specify the types of time off available to employees. For example, you may allow employees to enter Vacation, Sick Leave, or Holiday time. The integration allows for Rippling time off types to be mapped to Ruddr time off types. Setting this to Manual will allow you to control the mappings between the two systems. The default setting is Automatic.
- Successfully mapped types
- Time off types found in Ruddr but not in Rippling
- Time off types found in Rippling but not in Ruddr
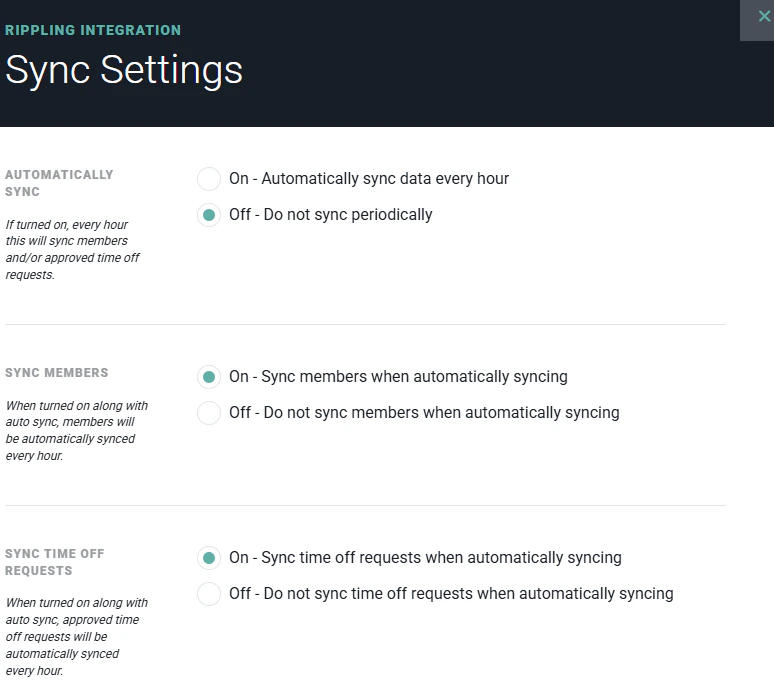
Sync Settings
The final step in the Rippling integration setup is to configure the sync settings. To do this, click the Change Settings button in the Sync Settings section (Figure 20).
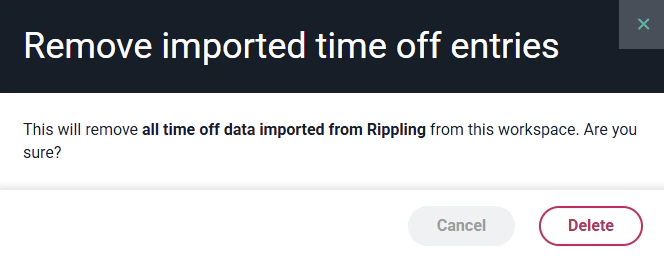
Imported Data
The Imported Data section (Figure 22) of the Rippling integration settings shows statistics about the data that has been synchronized from Rippling to Ruddr. This section also provides a mechanism to delete time off entries that have been synched from Rippling.
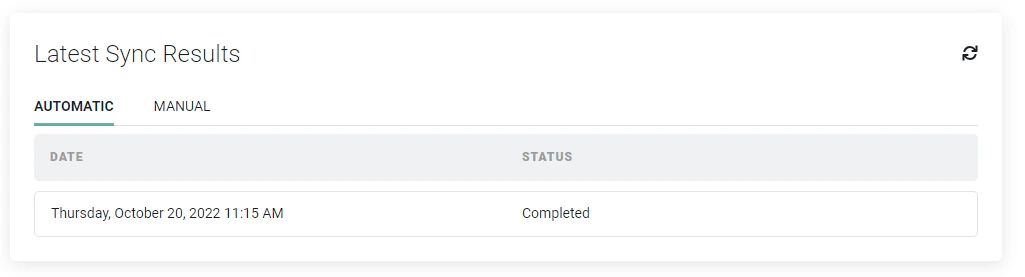
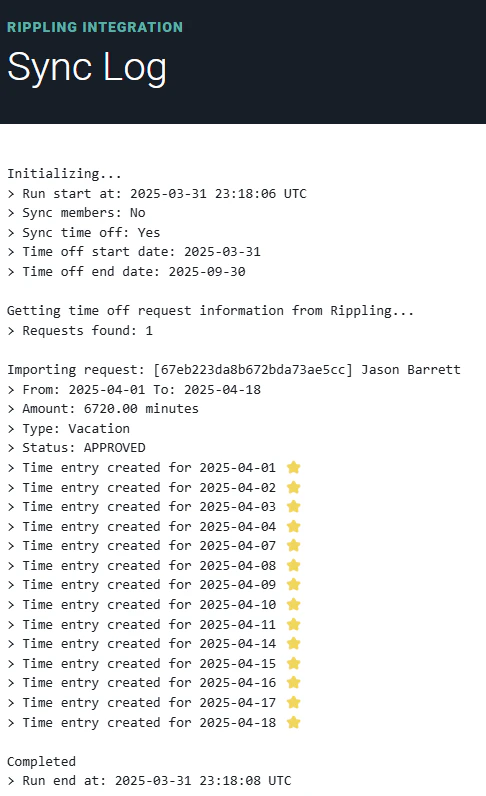
Latest Sync Results / Sync Logs
At the bottom of the Rippling integration settings screen, you will find a log of sync results (Figure 24) for both Manual and Automatic syncs. Clicking on a row in the log will display the details (Figure 25) regarding that synchronization. Viewing these logs can assist the Workspace Admin in evaluating the Ruddr records that have been created by the sync as well as information related to the Member mapping and the Time Off Type mapping.