

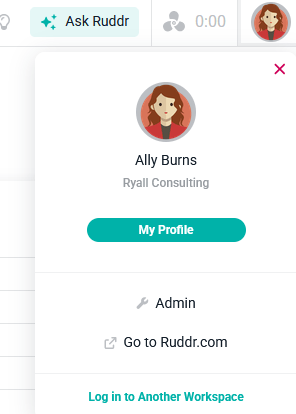
- My Profile — your name, email, photo, time zone, and formatting preferences.
- Change Password — update the password you use to sign in.
- Two-factor Authentication — add a second layer of security to your account.
- Connected Apps — review and revoke the applications you have authorized.
My Profile
The My Profile screen (Figure 2) is where you manage your personal information and formatting preferences.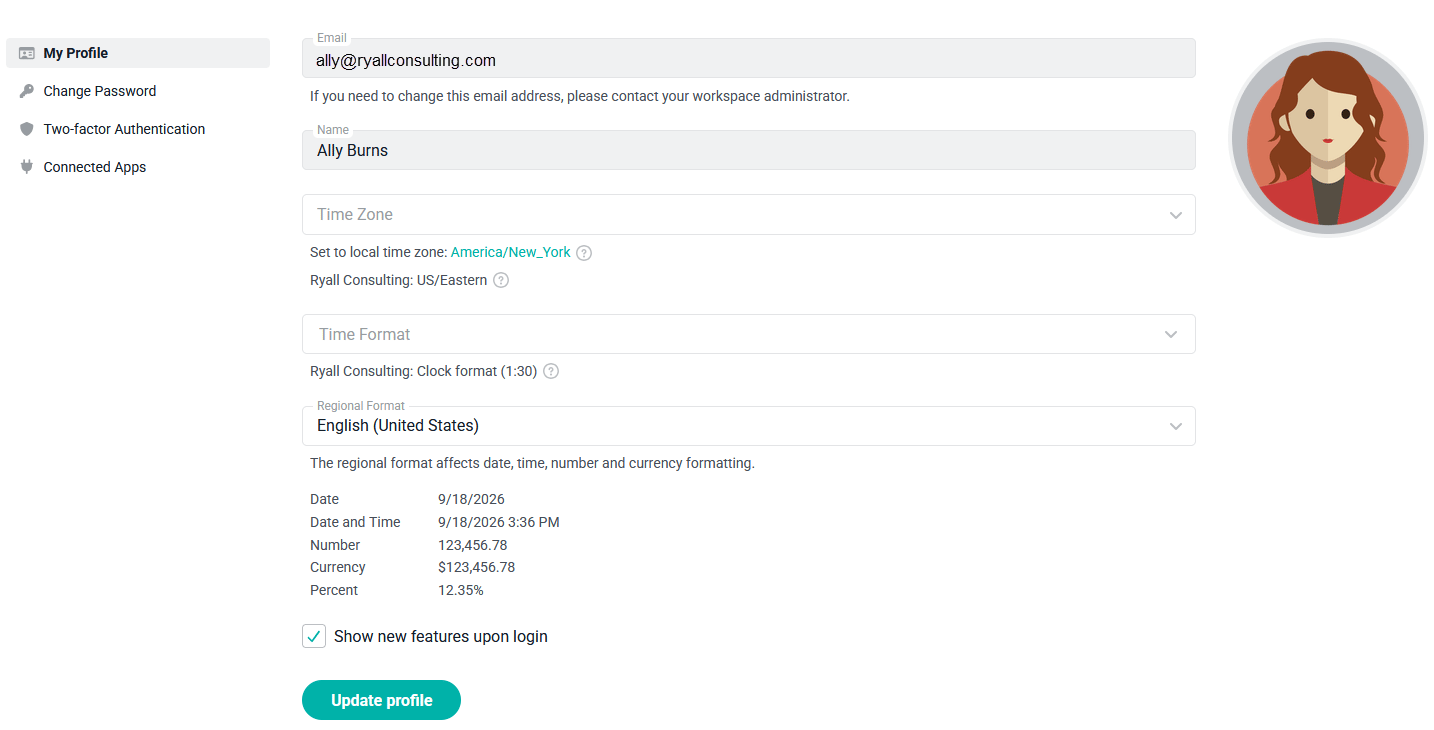
- Email — the address you use to sign in and where Ruddr sends notifications. If you need to change it, please contact your workspace administrator.
- Name — the name shown throughout the workspace.
- Time Zone — used to evaluate your time entries per day and to time notifications, so it is important that each member set the correct time zone. If you do not set one, your workspace’s time zone is used.
- Time Format — choose whether hours display in clock format (1:30) or decimal format (1.5). If you do not set one, the workspace setting is used.
- Regional Format — sets how dates, times, numbers, currencies, and percentages are displayed, following the standard for your country or region.
- Show new features upon login — check this to receive a summary of new Ruddr features each time you log in.
- Photo — upload a photo to personalize your account.
Change Password
To change the password you use to sign in, select Change Password from the menu on the left (Figure 3). Enter your Current Password, then your New Password, and repeat the new password to confirm it. Your new password must be at least 8 characters long. Click Update password to save it.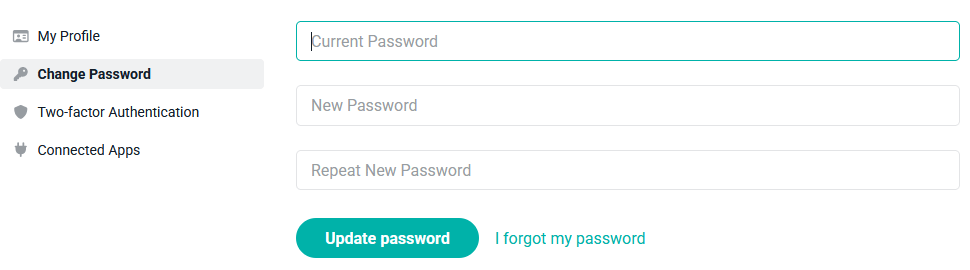
Two-factor Authentication
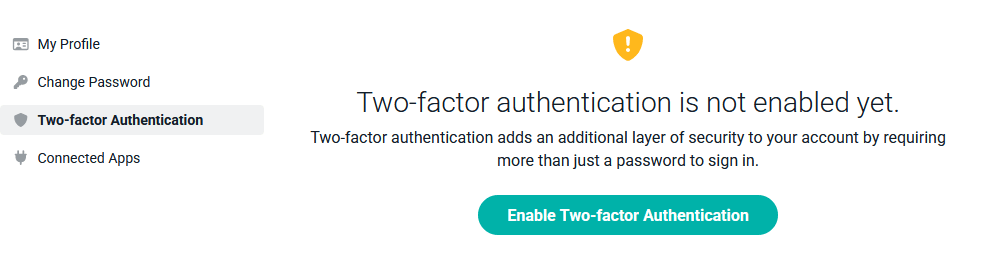
Two-factor authentication (2FA) adds an additional layer of security to your account by requiring more than just a password to sign in. Ruddr supports two methods:- A third-party authenticator app on your phone (such as 1Password, Authy, Google Authenticator, LastPass Authenticator, or Microsoft Authenticator), or
- SMS (text message).
Using an Authenticator App
In the first step of the wizard, ensure Set up using an app is selected and click Continue (Figure 5).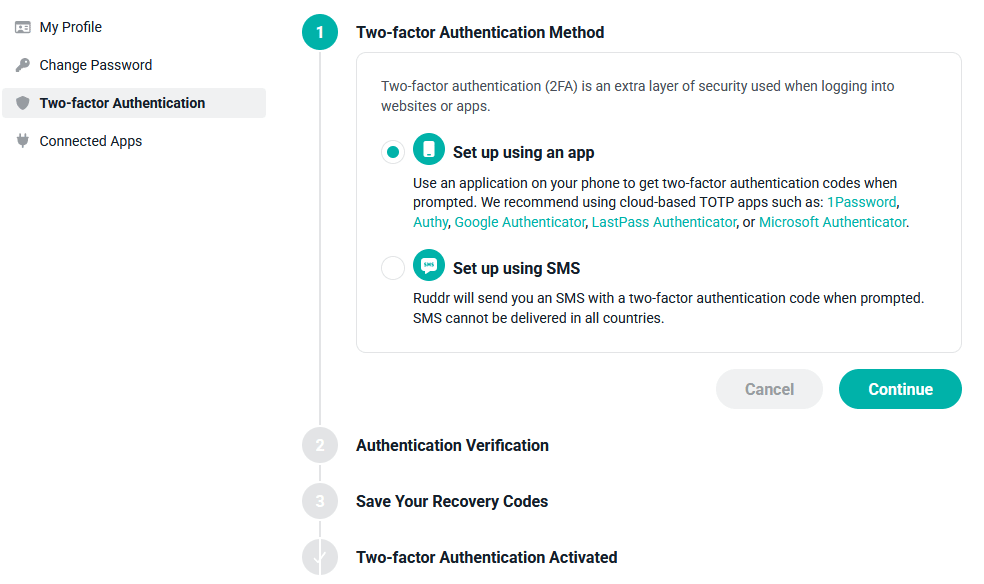
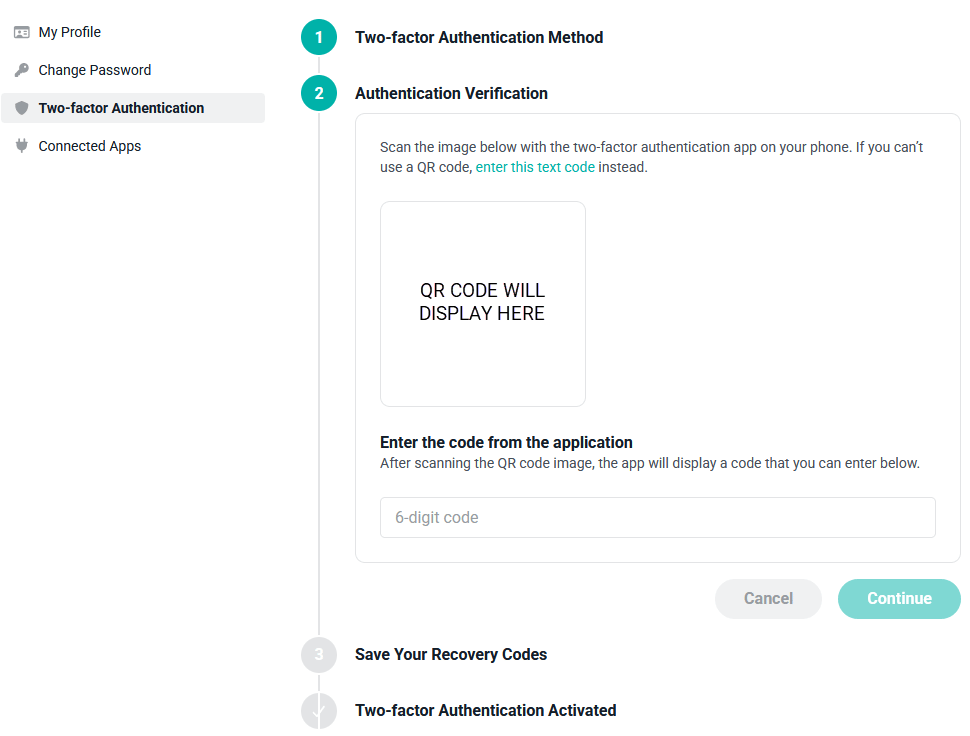
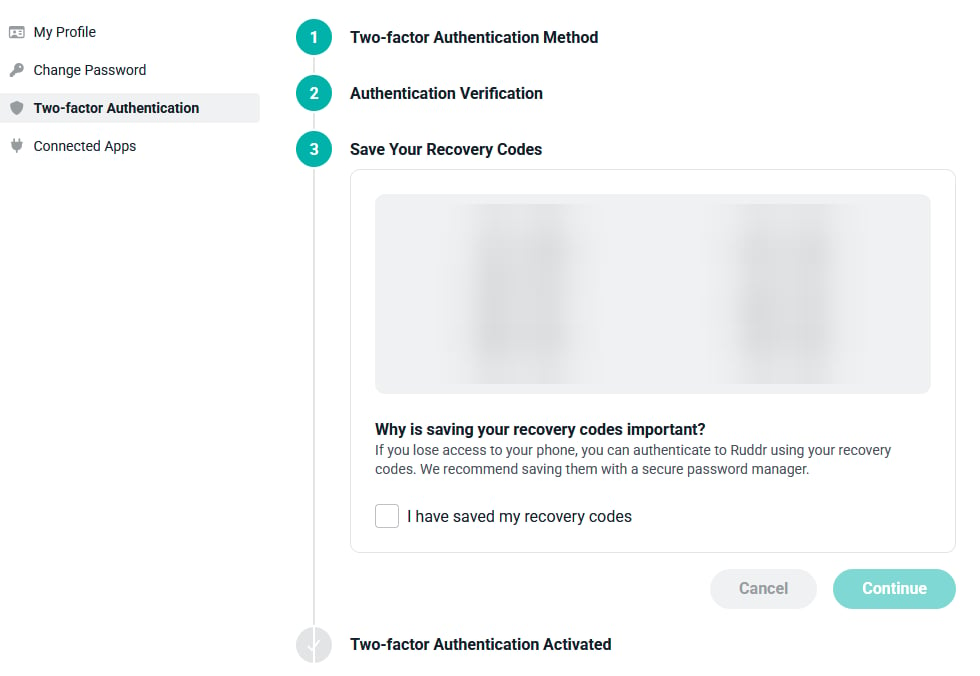
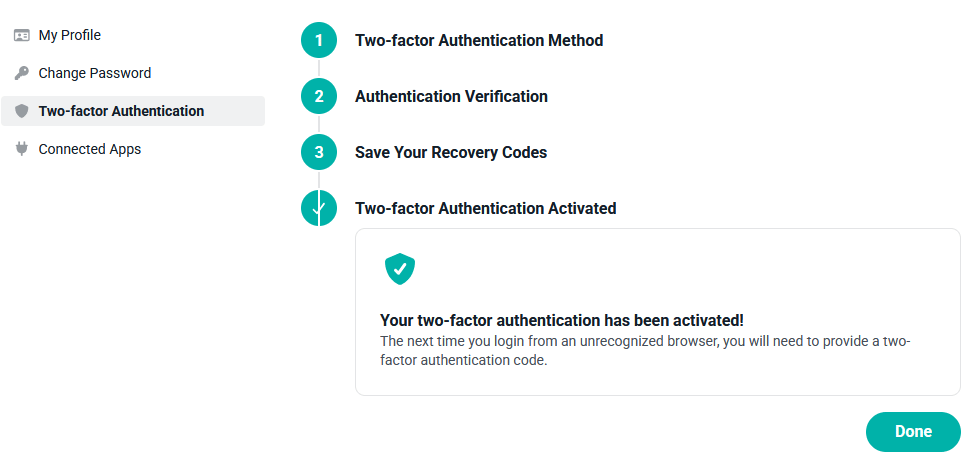
Using SMS
To receive codes by text message, select Set up using SMS in the first step and click Continue. Specify the country code and phone number where Ruddr should send your codes, then click Send Authentication Code (Figure 9). Enter the code you receive to verify the number.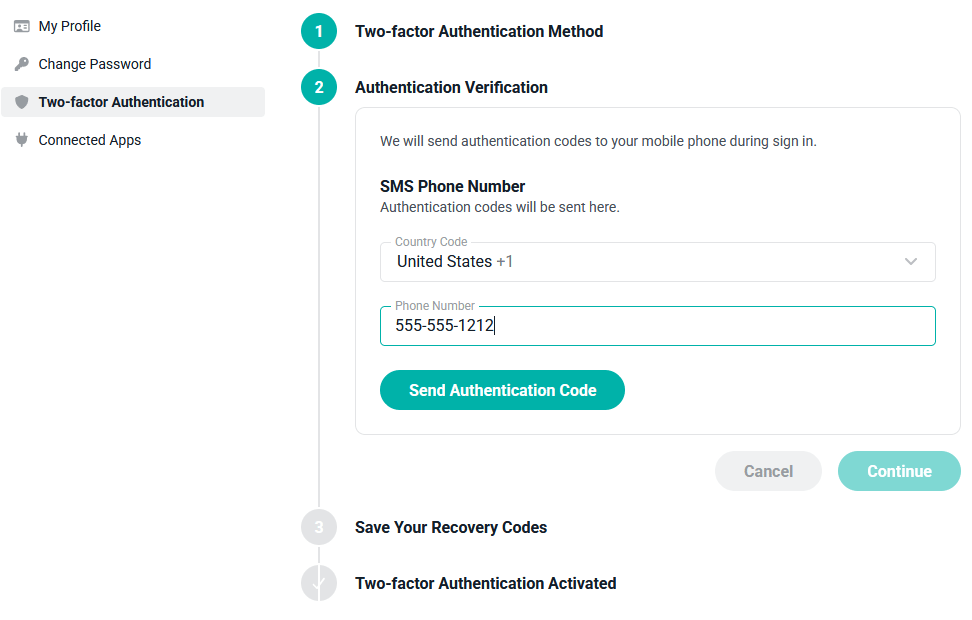
Changing or Disabling Two-factor Authentication
Once 2FA is enabled, the Two-factor Authentication screen shows your current status and method (Figure 10). From here you can select (Change) to switch methods, or click Disable Two-factor Authentication to turn it off. Disabling two-factor authentication removes your configured method and recovery codes, and you will no longer be prompted for a code when signing in.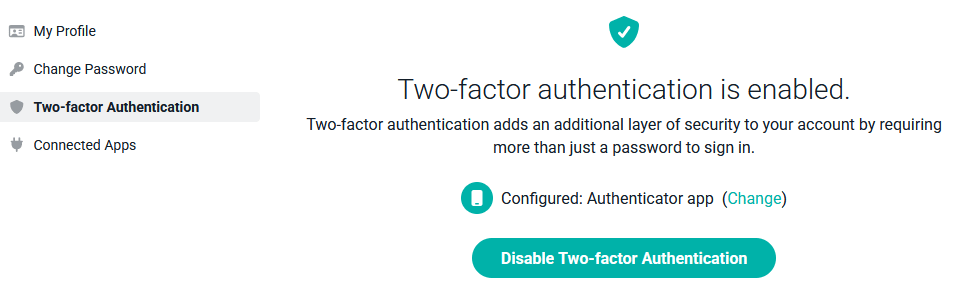
Connected Apps
The Connected Apps screen (Figure 11) lists the applications you have authorized to use Ruddr as you — such as an AI assistant connected through the Ruddr Assistant. Each connected application can only see and change the data your security role already allows, so it can never reach anything you could not open yourself.
- Application — the name of the connected application.
- Access — what the application is allowed to do on your behalf.
- Connected — when you authorized the application.
- Last Used — when the application last used the connection. This is a good way to spot a connection you no longer need.