> ## Documentation Index
> Fetch the complete documentation index at: https://help.ruddr.io/llms.txt
> Use this file to discover all available pages before exploring further.
# Contacts - Create and Edit
In order for a member to create contacts, the member's security role must include the **Administer all companies, contacts and opportunities** permission in [Security Roles](/workspace-administration/security-roles). To create a contact, access the Contacts list by clicking on **Pipeline** in the nav bar and then selecting the **Contacts** sub-menu option (Figure 1).
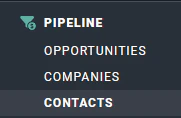 Figure 1 - Select **Contacts** to View the Contact List
At the top of the list screen, there is **+** button (Figure 2). Click on this button to create a contact. This will prompt you (Figure 3) to enter the basic contact data.
Figure 1 - Select **Contacts** to View the Contact List
At the top of the list screen, there is **+** button (Figure 2). Click on this button to create a contact. This will prompt you (Figure 3) to enter the basic contact data.
 Figure 2 - Click this **+** Button at the Top of the Contacts List Screen to Create a New Contact
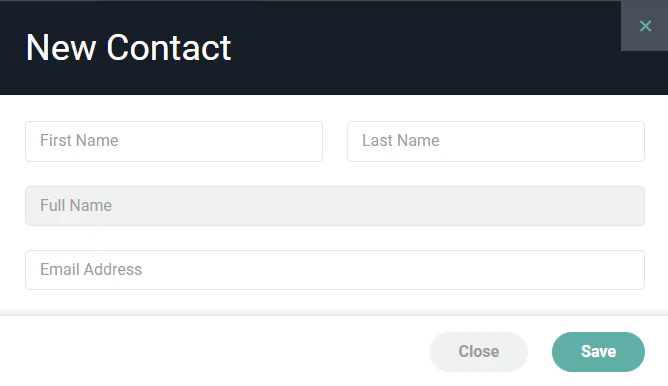 Figure 3 - Complete the Information on this Form to Create a New Contact
After completing the form, click the **Save** button to create the contact. You will then be taken to the [contact dashboard](/pipeline/contacts-create-and-edit#opportunity-dashboard), where you can edit the contact and view all activities related to the contact.
### Contact Dashboard
The contact dashboard (Figure 4) presents information about the contact as well as any related pipeline activity for that contact.
Figure 3 - Complete the Information on this Form to Create a New Contact
After completing the form, click the **Save** button to create the contact. You will then be taken to the [contact dashboard](/pipeline/contacts-create-and-edit#opportunity-dashboard), where you can edit the contact and view all activities related to the contact.
### Contact Dashboard
The contact dashboard (Figure 4) presents information about the contact as well as any related pipeline activity for that contact.
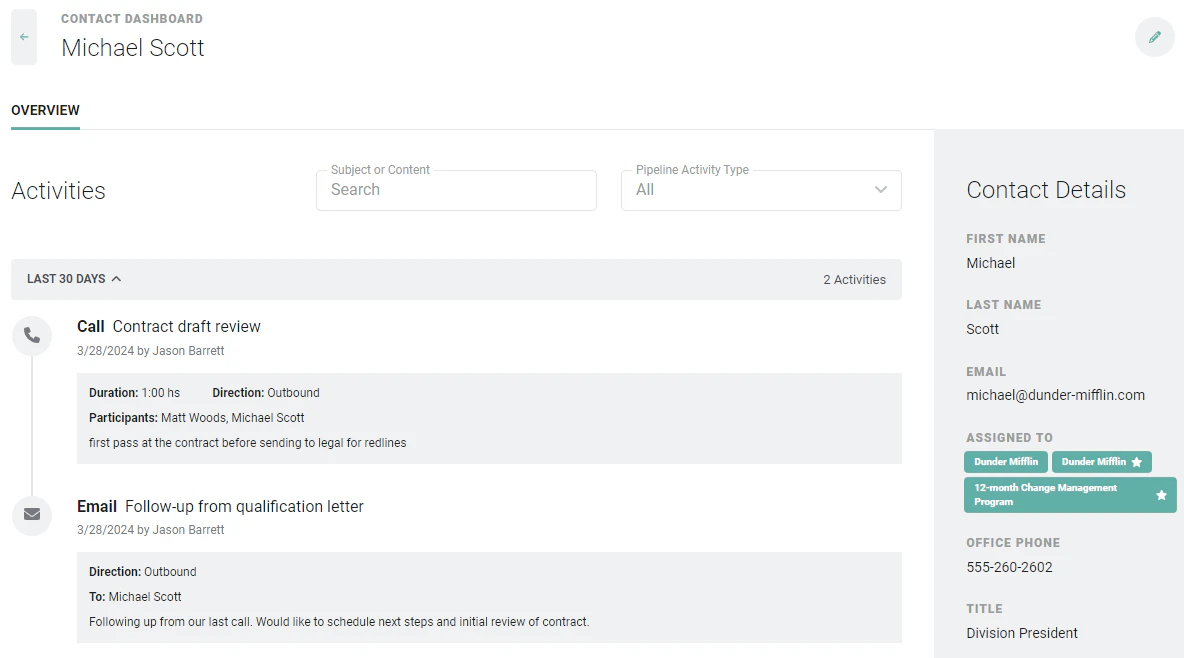 Figure 4 - View Related Activity Information and Contact Detail Information on the Contact Dashboard
### Editing a Contact
Once a contact has been created, you can edit the contact by clicking the edit pencil icon at the top right of the contact dashboard (Figure 4). This will open the **Edit Contact** drawer (Figure 5), where you can provide the following information about the contact.
* **First Name** - The first name of the contact.
* **Last Name** - The last name of the contact.
* **Full Name** - Ruddr will display the full name of the contact based on the values entered for first name and last name. Note that this field is disabled and read-only.
* **Email Address** - The email address of the contact. Note that each contact must have a unique email address. If you attempt to create / save a contact with an email address that is in use by another contact in Ruddr, you will receive an error and will be unable to create / save the contact.
* **Owner** - The workspace member who is responsible for the contact relationship.
* **Time Zone** - Specify the time zone in which the contact is located.
* **Title** - The contact's job title.
* **Description**- Any information about the contact that would be helpful for those viewing the contact.
* **Office Phone** - The business phone number of the contact.
* **Mobile Phone** - The mobile phone number of the contact.
* **Fax** - The fax phone number of the contact.
* **Website URL** - The website you wish to associate with the contact. This could be a URL to their LinkedIn profile, to their company's website, etc.
Figure 4 - View Related Activity Information and Contact Detail Information on the Contact Dashboard
### Editing a Contact
Once a contact has been created, you can edit the contact by clicking the edit pencil icon at the top right of the contact dashboard (Figure 4). This will open the **Edit Contact** drawer (Figure 5), where you can provide the following information about the contact.
* **First Name** - The first name of the contact.
* **Last Name** - The last name of the contact.
* **Full Name** - Ruddr will display the full name of the contact based on the values entered for first name and last name. Note that this field is disabled and read-only.
* **Email Address** - The email address of the contact. Note that each contact must have a unique email address. If you attempt to create / save a contact with an email address that is in use by another contact in Ruddr, you will receive an error and will be unable to create / save the contact.
* **Owner** - The workspace member who is responsible for the contact relationship.
* **Time Zone** - Specify the time zone in which the contact is located.
* **Title** - The contact's job title.
* **Description**- Any information about the contact that would be helpful for those viewing the contact.
* **Office Phone** - The business phone number of the contact.
* **Mobile Phone** - The mobile phone number of the contact.
* **Fax** - The fax phone number of the contact.
* **Website URL** - The website you wish to associate with the contact. This could be a URL to their LinkedIn profile, to their company's website, etc.
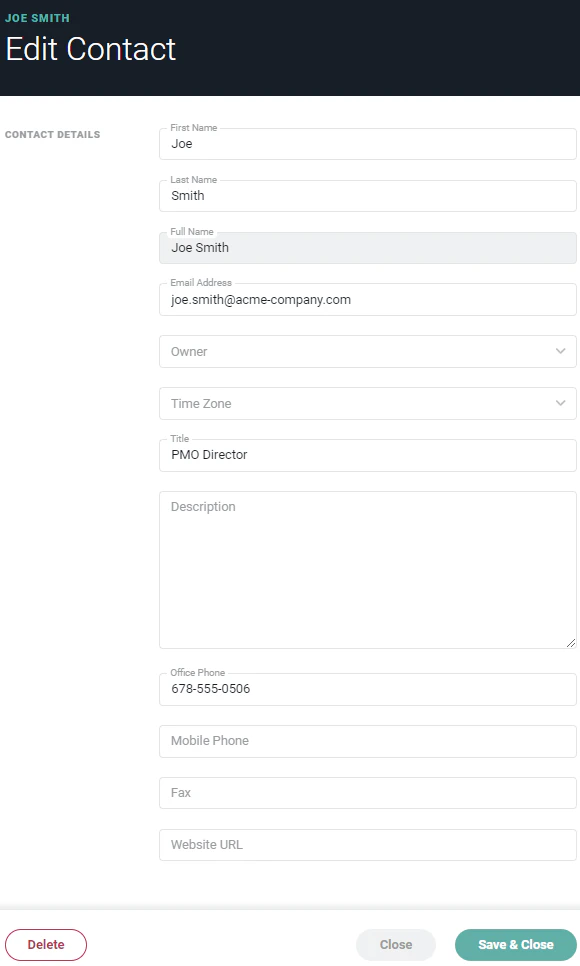 Figure 5 - Edit Contact Information via the Edit Contact Drawer
Click on **Save & Close** at the bottom of the drawer to save the changes that you have made to the contact.
Figure 5 - Edit Contact Information via the Edit Contact Drawer
Click on **Save & Close** at the bottom of the drawer to save the changes that you have made to the contact.